• Help Support Hardline Crawlers :

All Trussed Up.... And Shaved!!!

archer66

Well-Known Member
Joined
May 30, 2006
Messages
50
Reaction score
0
Location
Scappoose OR
For those of you who lurk around FSB this'll be a repost

Had a little fun over the weekend...

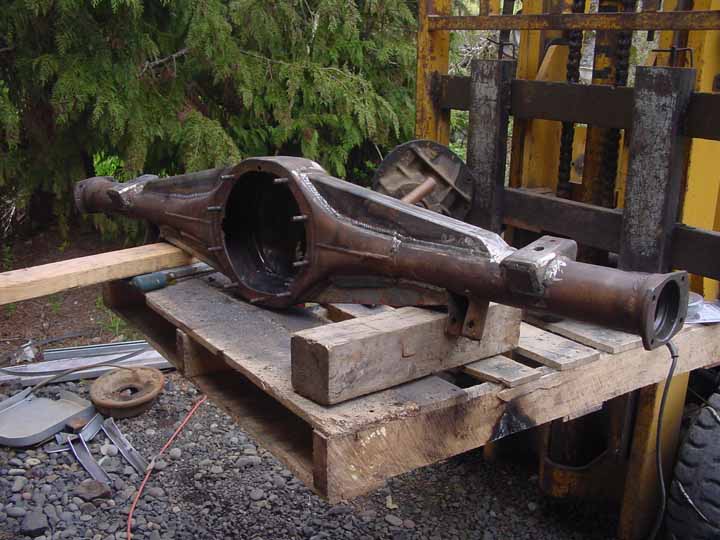
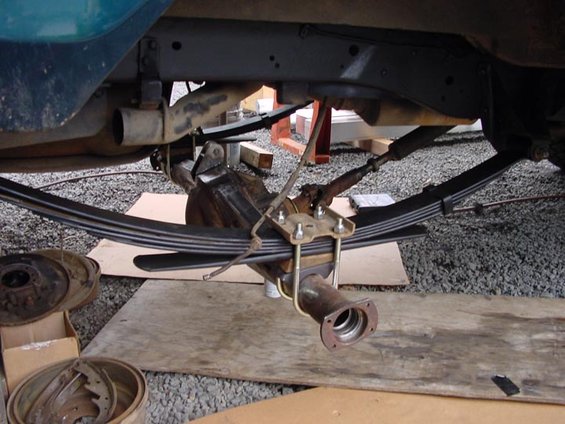
Started with this...
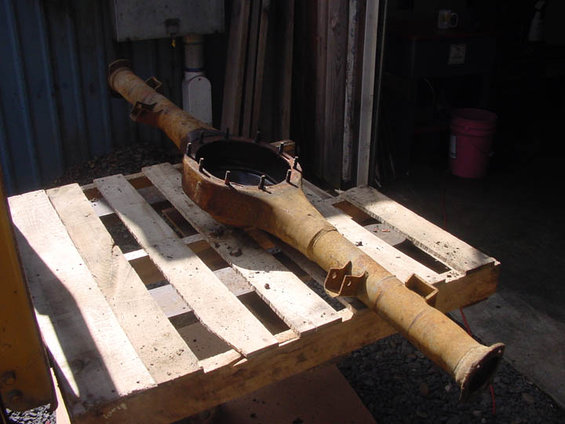
stripped.jpg


after cleaning it up and whacking a chunk off...
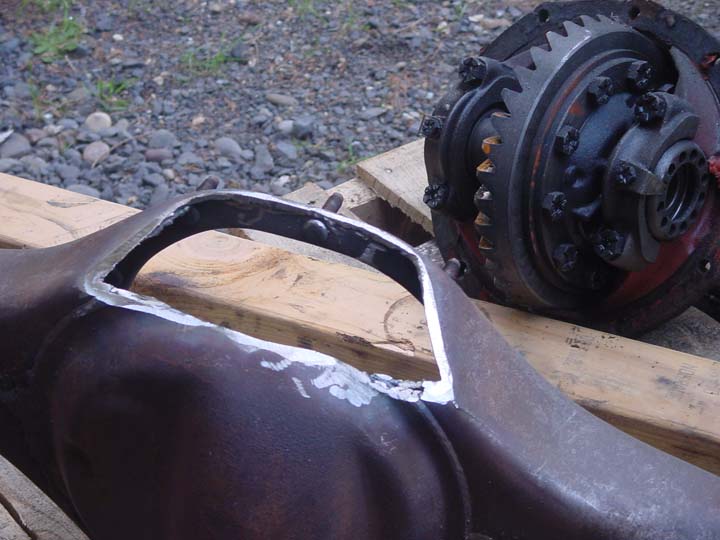
hole-bottom-back.jpg


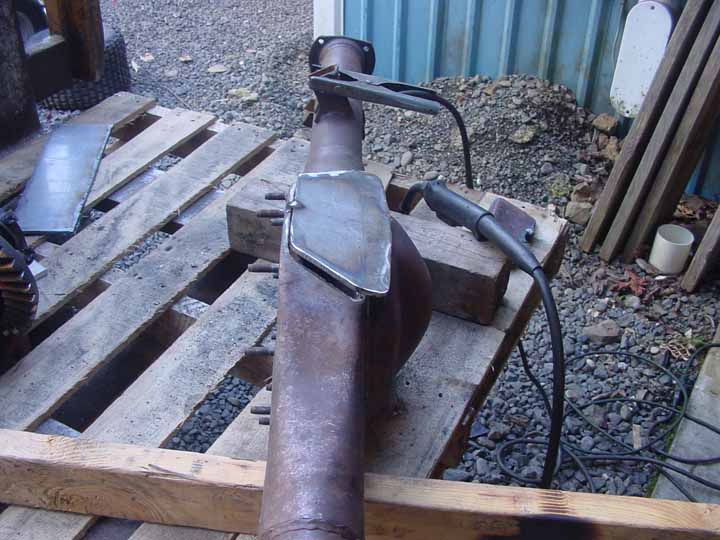
Add some 1/4" plate

plate-bottom.jpg


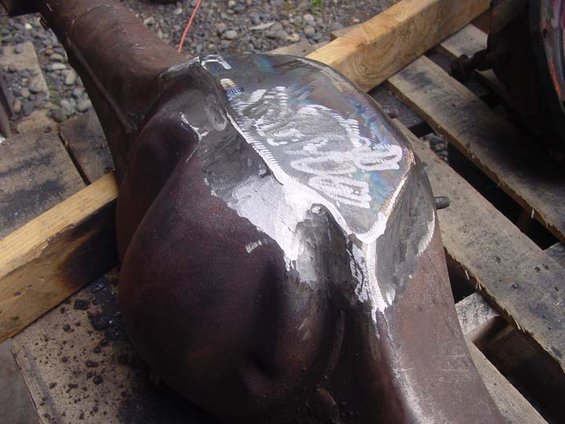
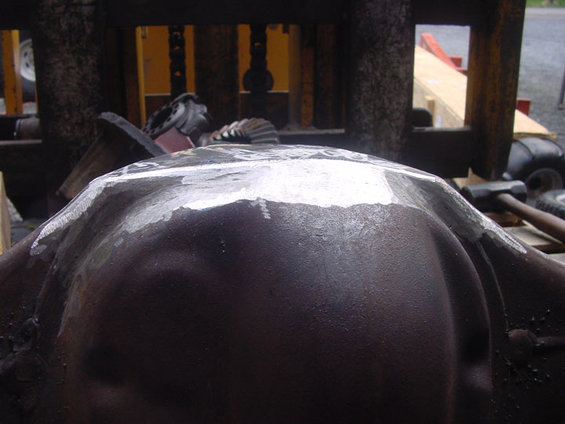
a little grinding and welding

botm-fin-side.jpg


botm-fin-front.jpg


botm-fin-back.jpg


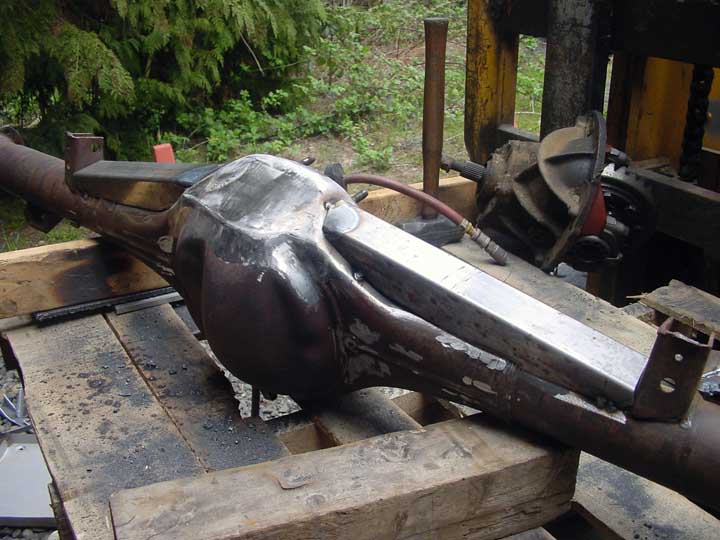
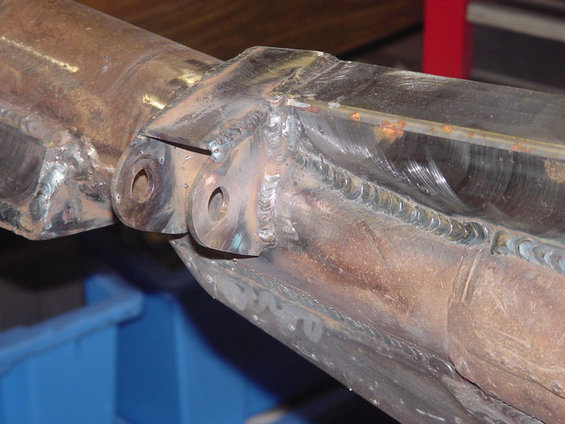
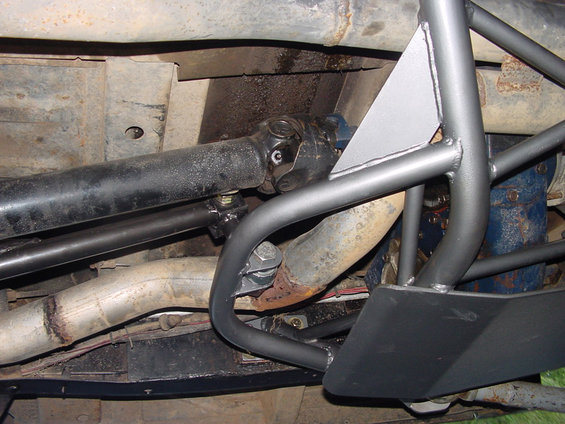
Now some gussets/trusses....

truss-bottom.jpg


fin-front.jpg


fin-back.jpg


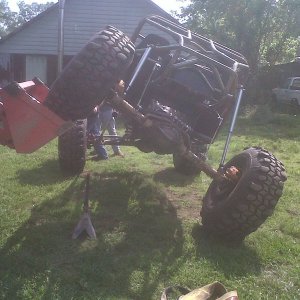
And I've gotta get a picture in here of the reason for all this ....:redneck:
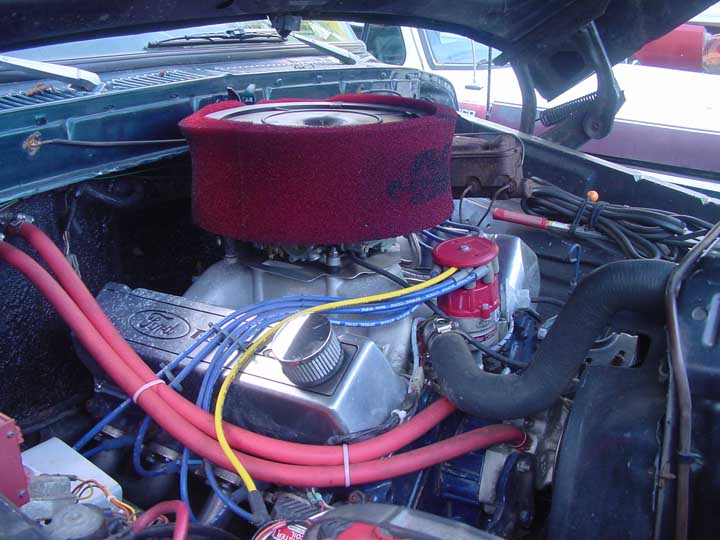
twister.jpg


I still need to build the mount points for the center traction bar and fab it and its x-member....
I'm also going to build a flush "bung" for draining the rear housing and set the gears up on my Detroit. Should be done with that this coming weekend.

And yes I plan on shaving the shock mounts...caught some greef over that already. I'm working on a quad shock set up just haven't settled on a design yet...
 
:awesomework: Mmmm... I like it shaved. I've done that to a few toy front axles. Found I could gain about 3/4" of clearance.
But Larry who bought my truck was a little miffed at the fact there was no longer a drain plug:haha: :haha: :haha:
 
:awesomework: Mmmm... I like it shaved. I've done that to a few toy front axles. Found I could gain about 3/4" of clearance.
But Larry who bought my truck was a little miffed at the fact there was no longer a drain plug:haha: :haha: :haha:

I'm going to D&T a piece of DOM 1/4- Pipe and weld it inside the bottom of the housing (with a hole drilled through the 1/4" plate) I'll cross drill the bung just above the weld where the plug will seal it. This will give me a below flush drain.

Works in my head anyway...:D
 
Did you put an alignment bar in that? with cutting it and throwing so much weld on it, it will surely be bent & twisted if you didn't.
 
Did you put an alignment bar in that? with cutting it and throwing so much weld on it, it will surely be bent & twisted if you didn't.

Threw a shaft through it and it looks good. I spent a lot of time staging the welds to counter each other as they stressed and shrunk the thing.

have you seen a good way to indicate the housing ends and check for alignment ?

Sven
 
have you seen a good way to indicate the housing ends and check for alignment ?

Sven

use an alignment bar...it's a straight bar that goes through the whole housing and has different size pucks that fit in the outer bearing surface
 
Ok... so after further review going to have to straight'n her up some.

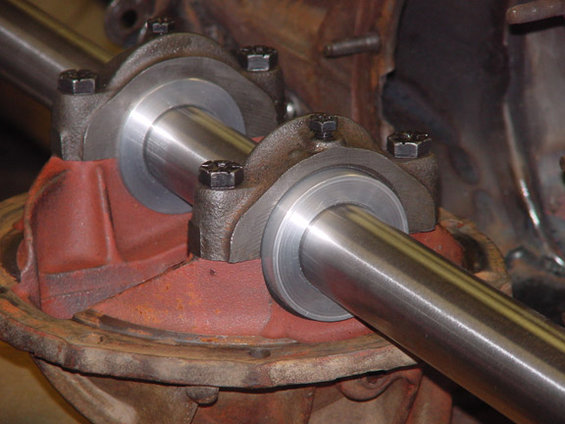
I'm going to build a shaft that slides through a set of carrier bearing size donuts and bolt a third member in sans gears etc and use the shaft to indicate the housing ends. Then heat and shrink the thing to bring it in.

This could be a learn'n experience.

Sven
 
Thanks briejer That looks a lot like what i had pictured in my head as what needed to be done.

I'm going to see how much I can move it around by heating and then shrinking the tubes where needed.
 
Use your imagination on the shaved part.....

info-bondage-1.jpg


Now for the rest of Ya'

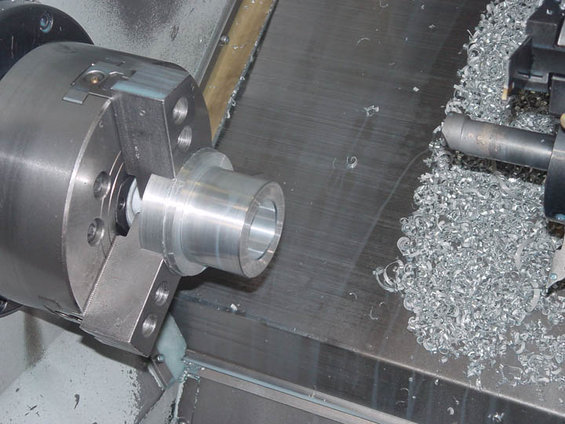
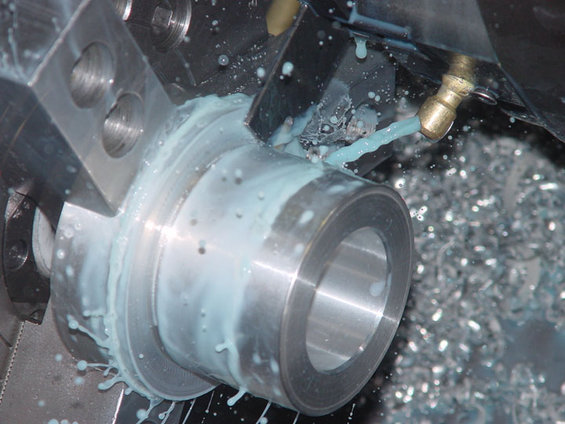
Plunked a couple of pieces of aluminum in the lathe over the weekend and built bushings to fit the bearing bores in the 9"

lathe-1.jpg


lathe2.jpg


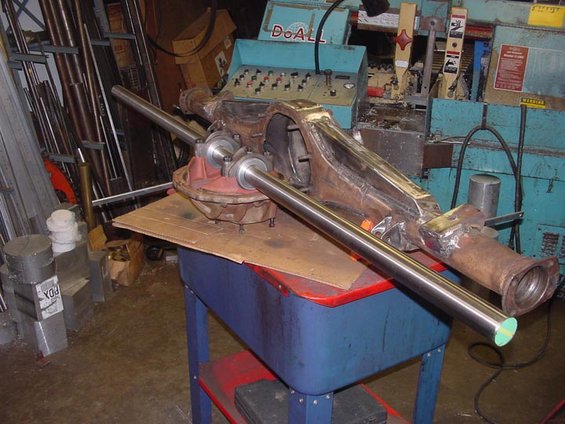
Here is how they assemble

test-bar-1.jpg


test-bar-2.jpg


Here are some shots of the adjusted shock mounts. I'm going to wait on the dual shock set up for now. this shortens my shock overall by 3" so I'm going to have to do full compression tests to mack sure I don't bottom the shocks before bump stops hit.

mounts-1.jpg


mounts-2.jpg


mounts-3.jpg


On the straightening, I'm out around .025 on 0ne leg and almost a 1/4 in on the other. My rosebud grew legs since I used it last so I haven't begun the tweakin' in yet.

I have also discovered that the factory installed perches are "way" out from each other :mad: so I'm going to scarf em off clean it up and put some new ones on before getting after the straightening to hard.

I should have put and angle finder on those before I welded all the braces in around their ends...:pissed:


Like I said learn'n experience :eeek:
 
some more progress

Here is what I have managed to get done this weekend. JBG was supposed to have gotten me my perches and I would have been done... Baaaahhh

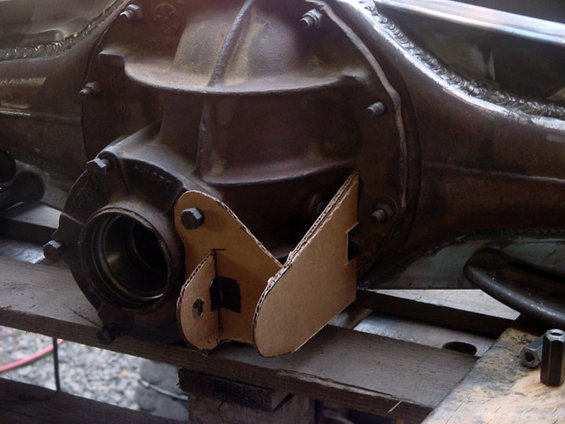
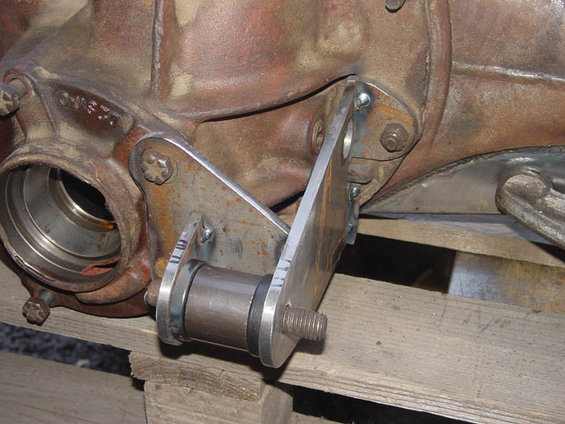
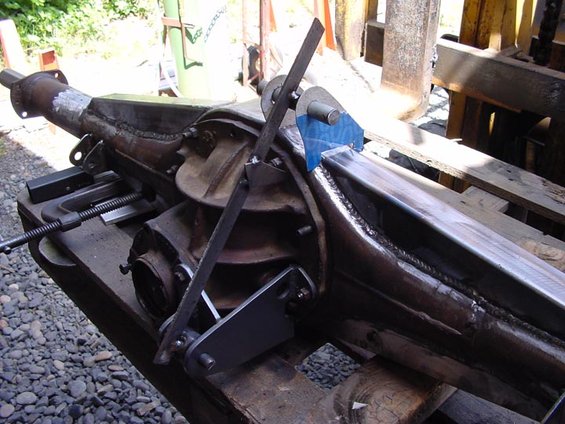
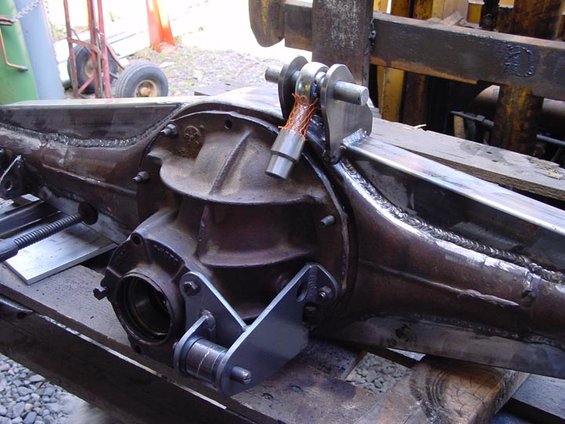
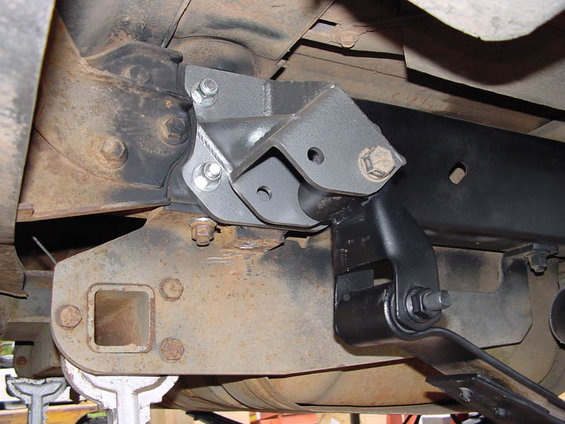
I started by mocking up the lower traction bar mount.

mock-up.jpg


Then the pieces were cut from 1/4" plate with a band saw and some grinding and tacked together

tacked-lower.jpg


After finish welding I moved to the upper and built a little jig to help keep me in line

jig-up-side-v.jpg


jig-upper.jpg


I then mocked up the upper mounts from cardboard as well..

mock-up-upper-2.jpg


mock-up-upper.jpg


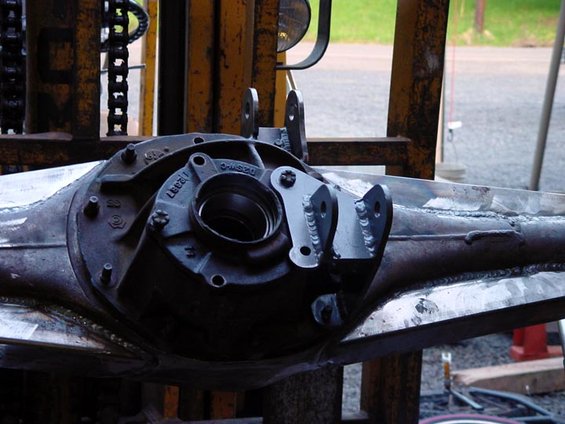
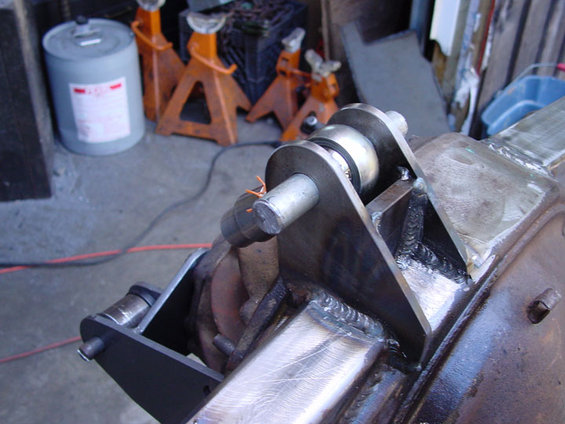
Here are some shots of the completed mounts.

upper-fin-1.jpg


up-and-low-fin.jpg


upper-fin-2.jpg


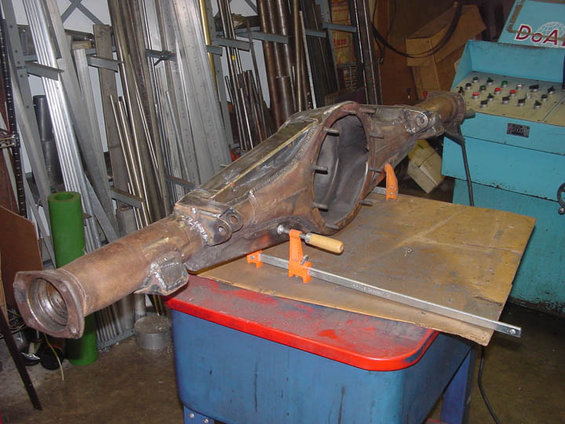
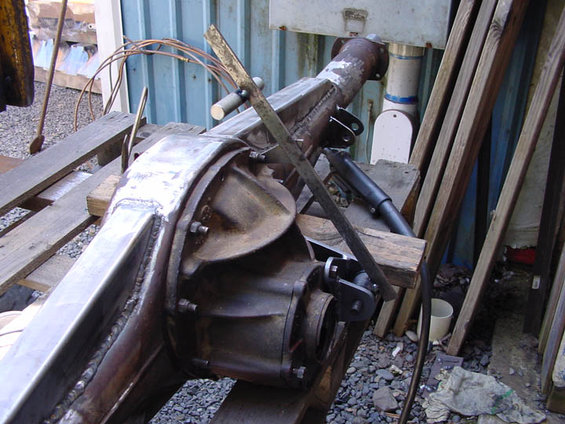
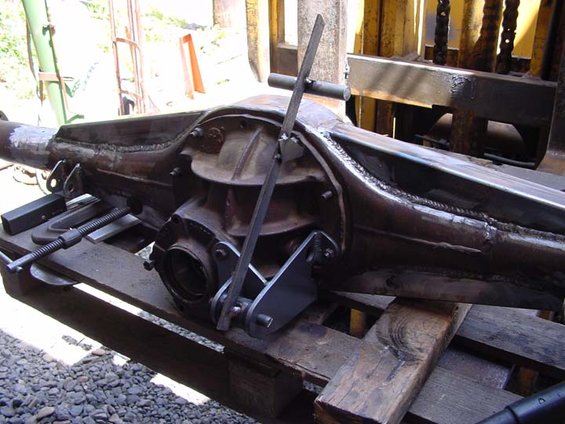
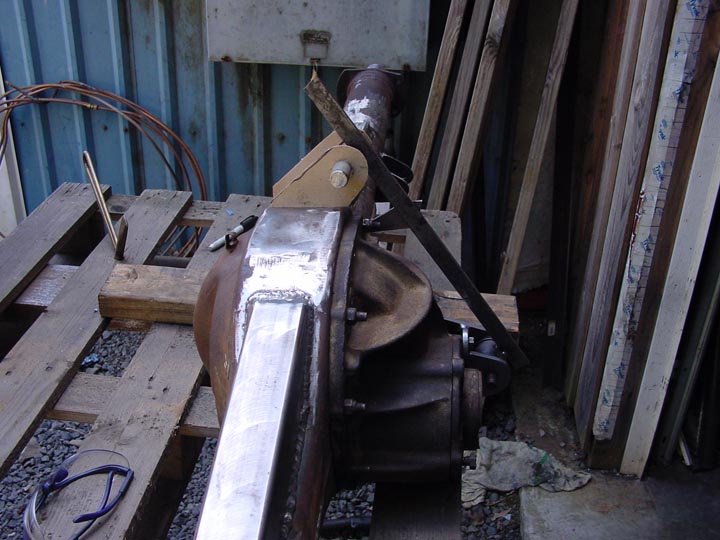
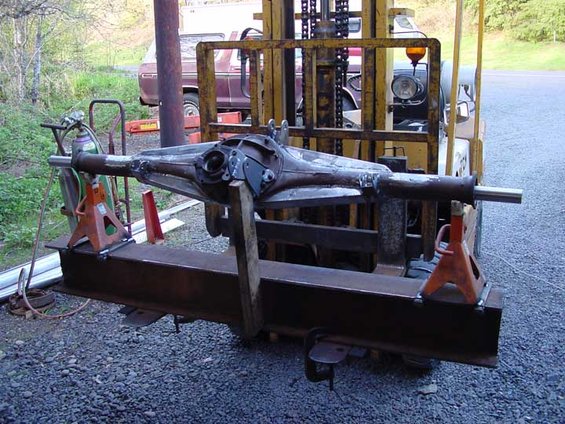
I then went on to build a straightening table like the one in the earlier link.

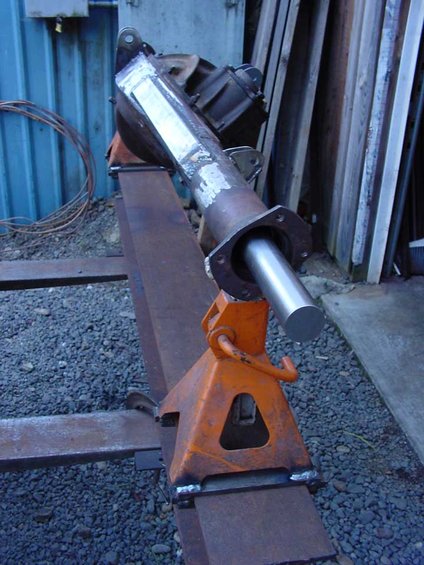
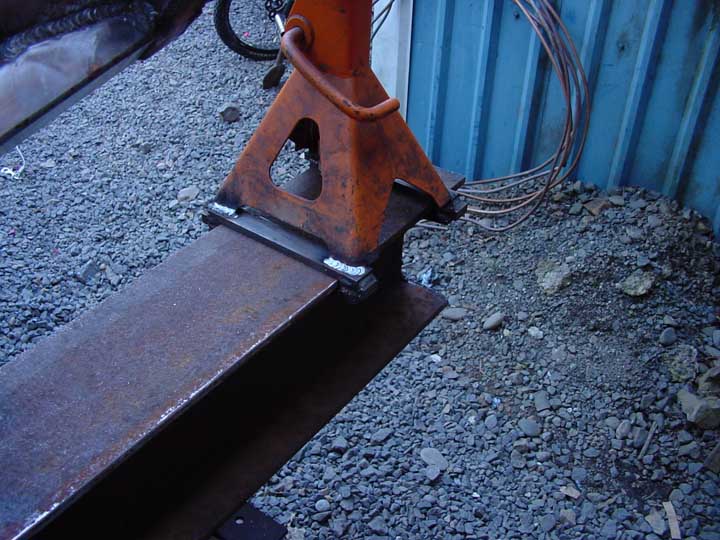
housing-table-3.jpg


housing-table-2.jpg


housing-table-1.jpg


I went ahead and worked on straightening some but I'll have to finish after getting the perches finish welded.
I was able to get within around .015 total run-out using a bottle jack some chain and some heat.

:thumbup
 
lookin falkin sik! you plan on any kind of platiing on the back of that housing? doesn't take much to dent um
 
Thanks...
Not sure if I'm going to add much more metal to this end. This rig will see some air time and high speed sand work and only occasional rocks.

Of course that'll be when I get bit :eeek:
 
Getting close to final install...

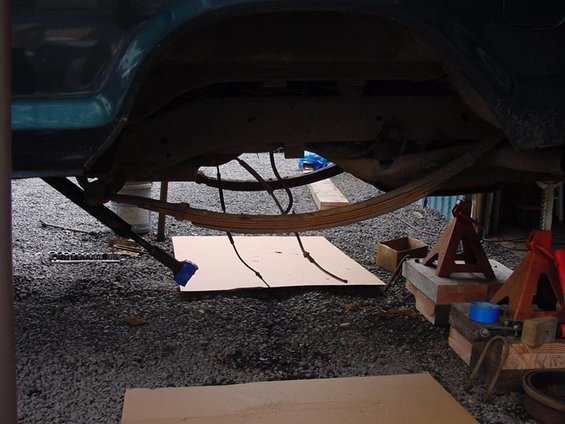
I got the perches on Today. And installed the Sky flip Brkts and new springs.

Here is the old spring drivers side This almost shows the amount of S bent into the spring..

bent-s-.jpg


Here is the new housing in place as I set up the correct pinion angle and tacked the new perches.

set-angle-1.jpg


set-angle-2.jpg


Here are a couple of shots of the new Sky shackle flip Brkts. I modified em' a little to clear the factory bumper brkts.

sky-1.jpg


sky-2.jpg


Next up will be setting up the gears and doing the final install, then the traction bar build.
 
Been workin and play'n some .....

Progress,
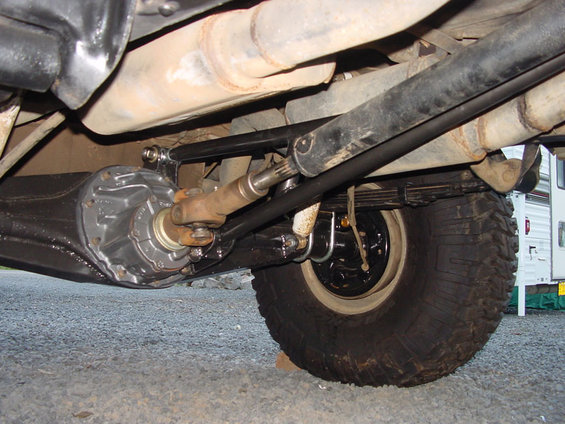
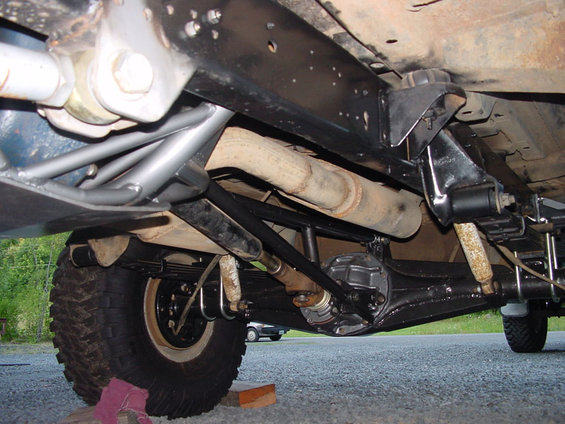
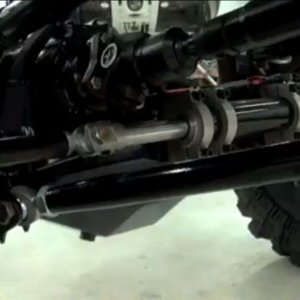
Here is the traction Bar

t-bar-1.jpg


t-bar-2.jpg


t-bar-frnt.jpg


I've changed gear sets to 4.88's just filled the pumpkins with Valvoline 75w-90 Synthetic. They still need run in.

I'm doing the T-bird calipers so that's why I 'm needing some brake lines built

here is a shot or two of the front with the new rotors and things going together.
got-brakes-rt.jpg


Got Droop??.

got-droop.jpg


I added new Warn axles and CTM's to the front as part of this go around.
 
Well just got back from Dune Fest on Sunday. It was very cool. If you have never heard or seen a 700+ HP sand car run across the dunes your missing something truly cool :D

The Bronc did good 2WD over most everything ...Most that is until while in 4wd I got throttle happy on a long pull up a dune with some bad whoops and humps in it. Got air born in the gas hard and scattered the rt front hub. I originally thought it had scattered the diff do to some bad diagnostics in the dunes.

Not such a big deal, having been able to scoot most everywhere including some big dunes in 2wd. But had more trouble later. As we were out jumping on Friday eve .. it quit and after looking into it it had sheared the roll pin in the dist gear. No big, had some in my trail kit...it was the seized oil pump that forced me back on a string.. crap. I got her back running Saturday but still have to tear down and find the culprit. chunk of crap in the pick up tube maybe?

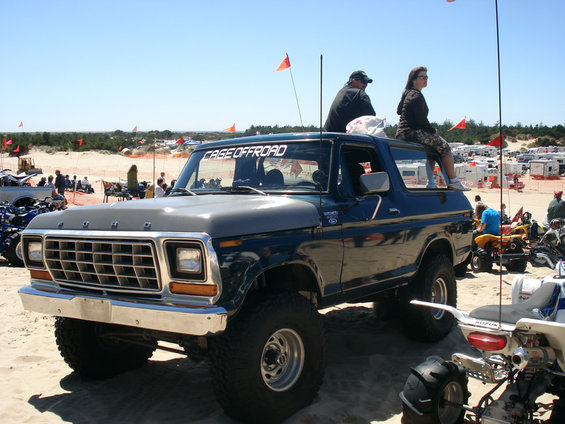
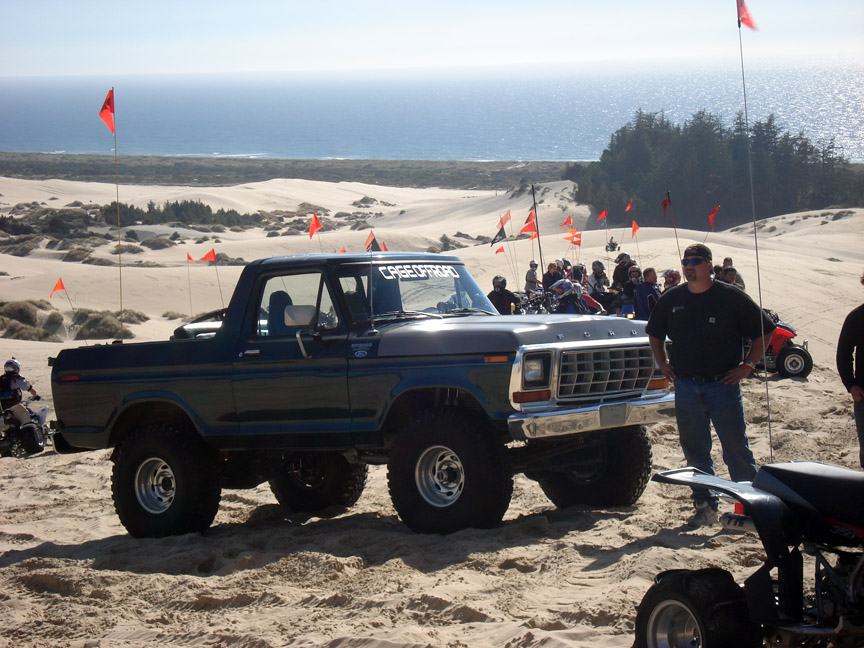
Here are a couple of pics 2 posers and the only crappy "still" we have of me jumping.

jump.jpg


drags.jpg


parked-1.jpg


Here are some more
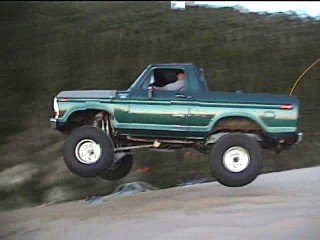
"Still" lifted from super 8 video
and a link to the clip :redneck:


try2_0002.jpg


http://www.supermotors.net/getfile/551172/fullsize/try2.wmv


First pass was a half speed run the second I hit it a little harder....there was still lots more to be had but the oil pump problem developed on this run :mad:
 

Latest posts

Back
Top