• Help Support Hardline Crawlers :

Buggy Repair at CCOR

CCOR

706-559-9609
Joined
May 29, 2009
Messages
555
Reaction score
0
Location
Athens, GA
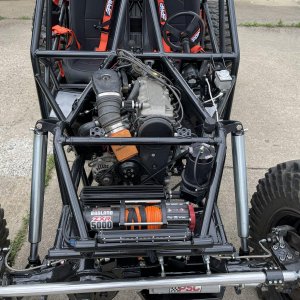
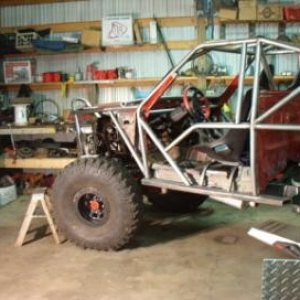
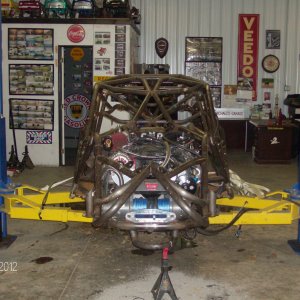
We get a lot of buggies in the shop that just need to be fixed or modified. Whether its the electrical system, suspension, steering, or tube work we fix it all. The most recent buggy to come in the shop was setup pretty well but needed some repairs and refinement. It's probably been pictured on the site here before.
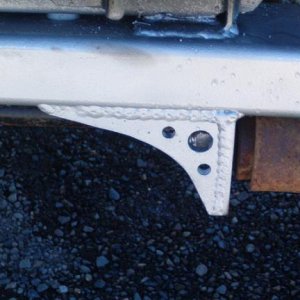
The front upper link mounts were welded directly the cast chevy 60 front and broke loose.
564033_430544323712210_1244469675_n.jpg

1468810_430544363712206_308761031_n.jpg

1461760_430544377045538_706958770_n.jpg

1457640_430544227045553_1109792707_n.jpg

The radiator fans were mounted directly to the radiator and the radiator hard mounted to the chassis. This causes some flex and the fans were hitting the radiator.
http://www.pirate4x4.com/forum/attachments/motor-tranny-t-case-performance/1110930d1384868518-griffin-radiators-coolers-nofanshroud.jpg
We decided the best option was to mount the fans off of the radiator with a custom fan shroud and why not through some series power at it with a set of twin 10" SPAL fans!
1110898d1384868518-griffin-radiators-coolers-fanshroud1.jpg

1110914d1384868518-griffin-radiators-coolers-fanshroud3.jpg

1110922d1384868518-griffin-radiators-coolers-fansrhoudinstalled.jpg

Next was the plastic lines for the brake system. I'm not here to argue the legitimacy of this setup, but its not what we use.
1424551_430566220376687_1223041412_n.jpg

1475884_430566237043352_24220864_n.jpg

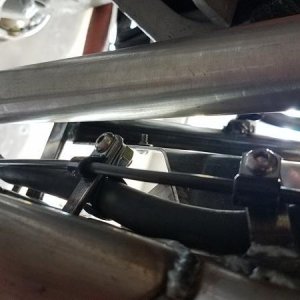
Once all the old line was cut out we started running hardline to the masters and down the frame. We will then use stainless steel braided lines at all the flexible areas
1459849_430566290376680_1026543153_n.jpg

1464669_430566273710015_1246158396_n.jpg

Next is the complete lack of a skid plate. More pics to come later

We have not finished yet but I thought I'd show some pics of the process to date.
Thanks,
Bobby
CCOR
706-207-4140
 
I like upgrade/repair/rebuild threads. Gives a better idea of stuff to avoid and what worked/didn't work on a rig that's been around the block
 
[size=10pt][size=10pt][size=10pt][size=10pt]Well we pulled the axle out from under the buggy today so we could get the torch to work!
1483250_431537020279607_1860422859_n.jpg

Here's another shot from under the link mount
1450346_431537046946271_164616630_n.jpg


Torch Time
1452377_431537066946269_2034958833_n.jpg

971561_431537106946265_313356514_n.jpg


Once Matt started torching the bracket and some BFH action the weld started to split open here too.
1463190_431537176946258_2109504319_n.jpg


This is what was left
1456139_431537193612923_745184261_n.jpg

996055_431537213612921_1375877820_n.jpg

[/size][/size][/size][/size]
 
[size=10pt][size=10pt][size=10pt][size=10pt]In these next pics you can see that the housing isn't damaged but rather the previous welds didn't take at all and merely cracked and broke loose once we torched the rest off1
1466092_431539836945992_928043455_n.jpg

559684_431540233612619_805241633_n.jpg

1471319_431539916945984_1796367281_n.jpg


More torch action
1456638_431540493612593_199359673_n.jpg


The next step is to cut the rest of the material off, grind smooth, recheck everything, then place the new truss, link mounts, and coil over tabs
Thanks for watching!
Bobby
CCOR
706-207-4140
[/size][/size][/size][/size]
 
Artec Industries Chevy Dana 60 Truss
1480655_431868920246417_571519027_n.jpg

1471766_431868953579747_93398511_n.jpg

Lotta grinding as you can tell
971475_431868993579743_1658517537_n.jpg

Slightly cut the axle tube mount on the end from the previous link mounts
1459899_431869023579740_1755229841_n.jpg

1480725_431869080246401_1558468896_n.jpg
 
Here she is all welded up! It is important to move around when welding on an axle and to take your time.
The Artec Truss fit very well and made the job much easier!
Next up is the skid plate and brake lines
946050_432126396887336_164619420_n.jpg

1476295_432126410220668_1140225339_n.jpg

1477919_432126433553999_1591842799_n.jpg

1393071_432126453553997_158569195_n.jpg

1465164_432126476887328_369697156_n.jpg

1426264_432126523553990_1992211798_n.jpg

1471196_432126543553988_666455199_n.jpg

1452407_432126570220652_646562751_n.jpg

1471125_432126793553963_1839864347_n.jpg


Thanks,
Bobby
Sales Manager
CCOR
706-207-4140
 
Won't the Ackerman be off with the steering on the back side of those knuckles?
 
Maybe but we've done this before and for how were using this buggy it works. If this was a desert koh car we may reconsider. I've personally run this same setup myself and it sure is nice to not have to worry about even hitting your steering let alone bending it.
Thanks,
Bobby
Sales Manager
CCOR
706-207-4140
 
SFAZR2Dave said:
Do you have any better pics of the buggy?
We have a professional photographer who will snap some pictures I'm sure On Friday at our Cruise In
We're also mounting some other cool goodies that will come in handy that night!

Thanks,
Bobby
Sales Manager
CCOR
706-207-4140
 
Just cause the steering is on the back doesn't mean the Ackerman is wrong. You could have it right or wrong on the front or back. I can't tell from the pics what kind of Ackerman it has. I personally don't set mine up with Ackerman.

I like the steering.
 
I wheeled with that buggy the day he discovered the cracks up front, thing works pretty damn good.


Sent from my iPad using Tapatalk
 

Latest posts

Back
Top