InDaShop
Dont Tread On Me
My attention to detail and need for a good "Cherry Picker" got crossed up recently.
To begin I have to go back a couple years. Someone offered my dad a "FREE" Engine Hoist, he has a good one, but since he's a sucker for "FREE" he drags it home. It's a real pile! The roller bearings are out of every caster, so they won't spin unless you smack them with a hammer to get them to line up. The jack will only lift to horizontal and I had gone to wrapping the base with a rag because it leaked so much oil. But again it was "FREE". Dad more or less pawned it on to me, since I didnt own my own. My plan was to restore it but time flew and it got pressed into service more times than I'd like to count since it sucked so BAD.
Well in August last year it met its full demise at Bonneville. I drug it home and it sat outside until a few weeks ago, rusting and languishing.
Here is the monster rebuild and attention to detail upgrade of a Pile-O'Junk AC-Delco hoist from Oriellys.
New they are $299
http://www.oreillyauto.com/site/c/detail/ACD9/34132.oap
So I figured even if I spent a bit more than $300 redoing mine the way I want it, I'd be better off than buying a new one.
So first up. I bought a new Replacement jack from Oriellys $105.
http://www.oreillyauto.com/site/c/detail/ACD9/34133.oap
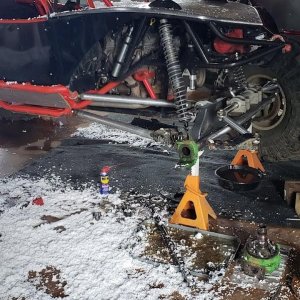
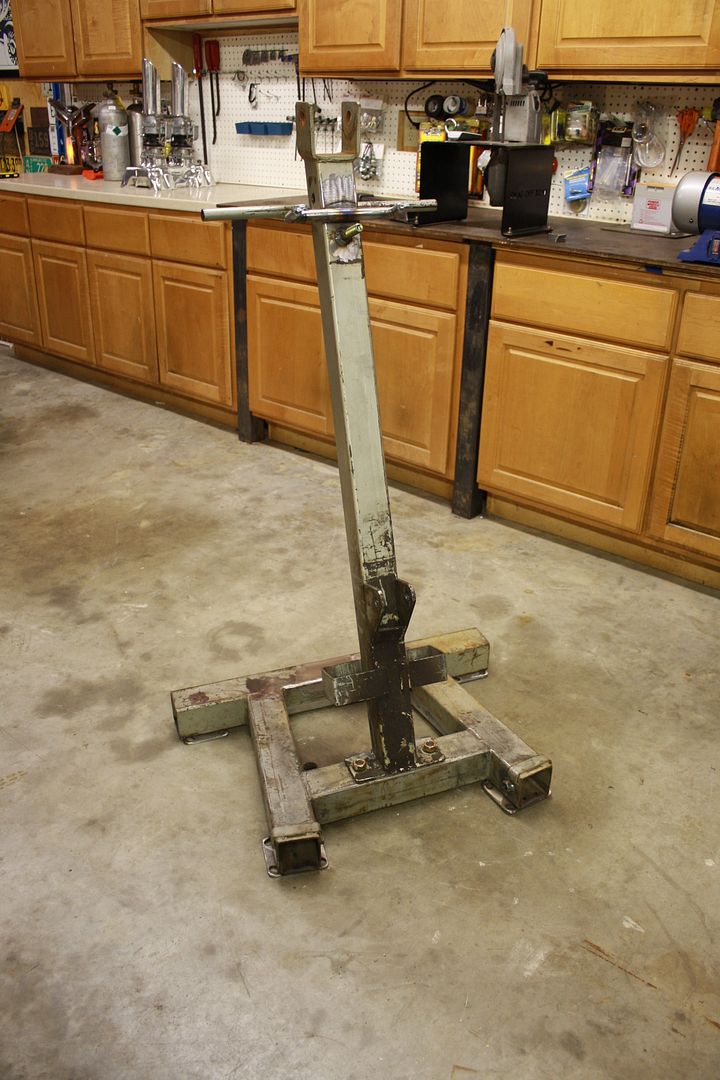
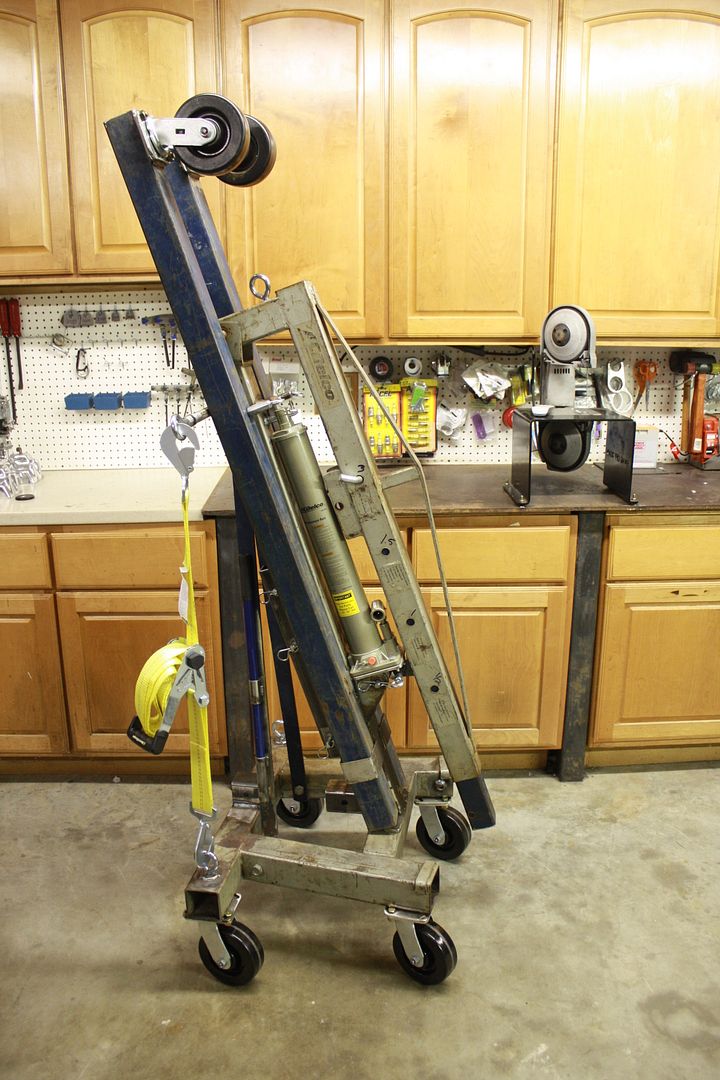
Here it is slightly after being torn down and modifications have begun. Note the dirt & oil around the jack mount and then down?
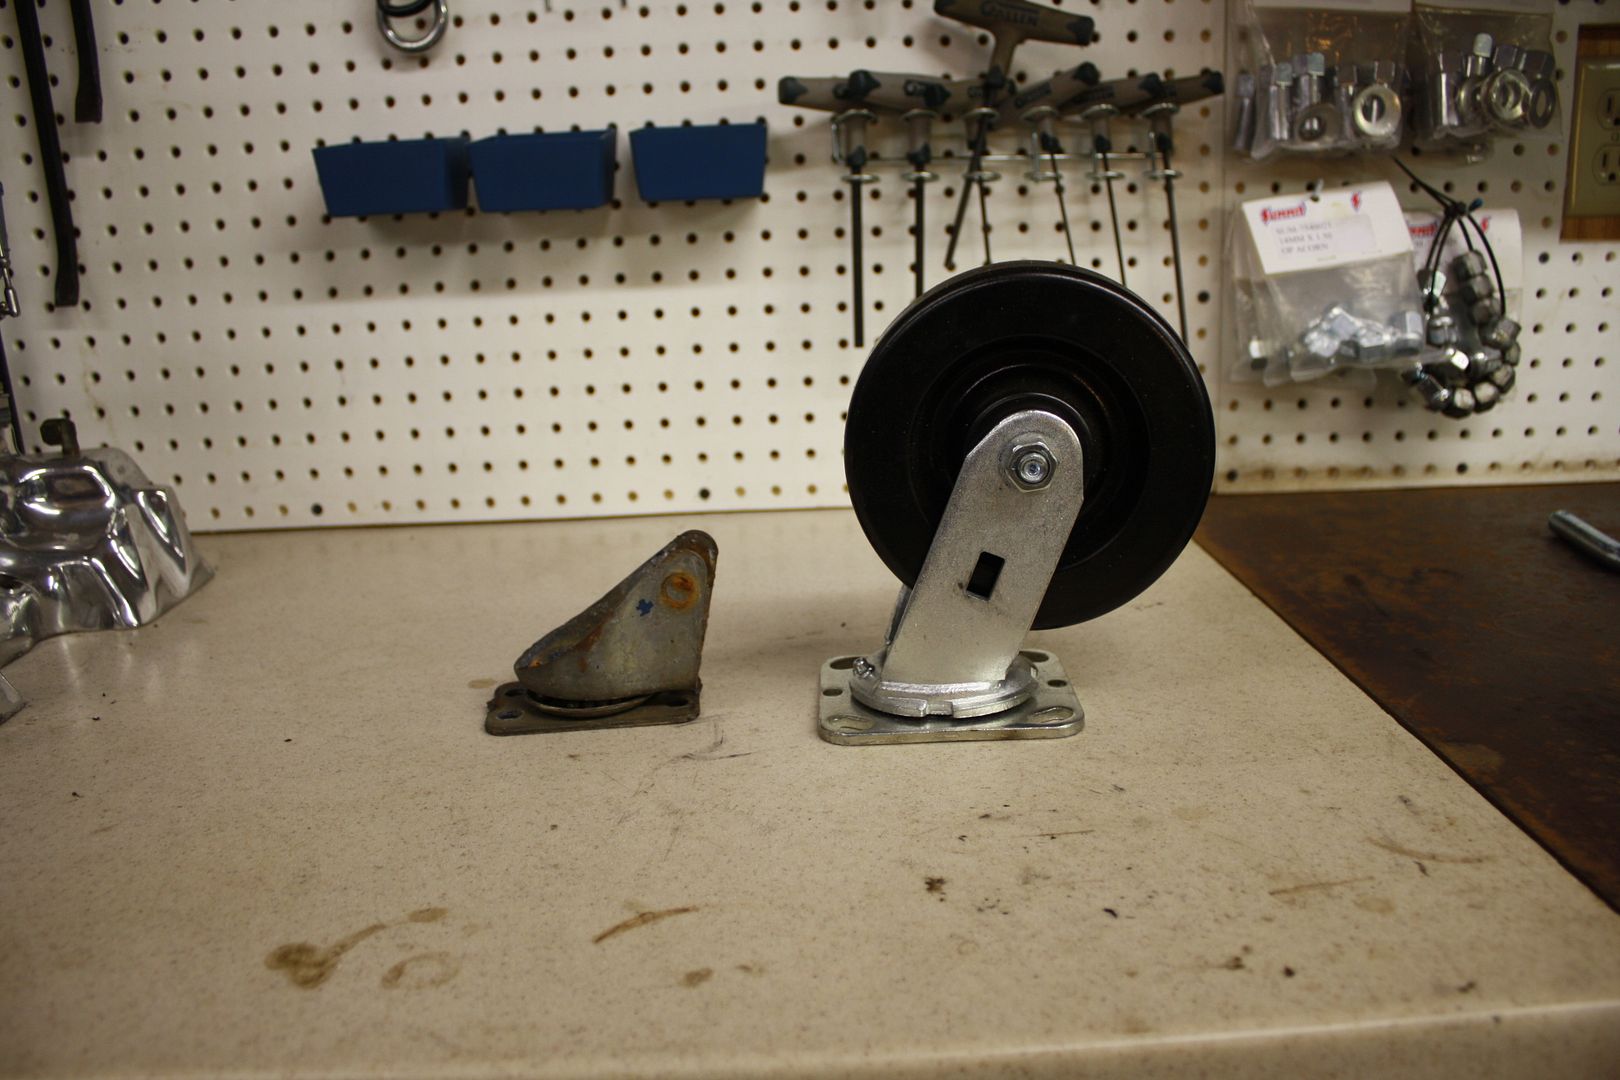
Next up casters, and an upgrade.
Ballbearing 6" bad mamajamma's, $72. These roll like silk even on uneven pavement or as I need on Salt and not sink in. Downside its much taller now so going under low vehicles it no beuno. I may build a new set of low rider legs for it though, we'll see.
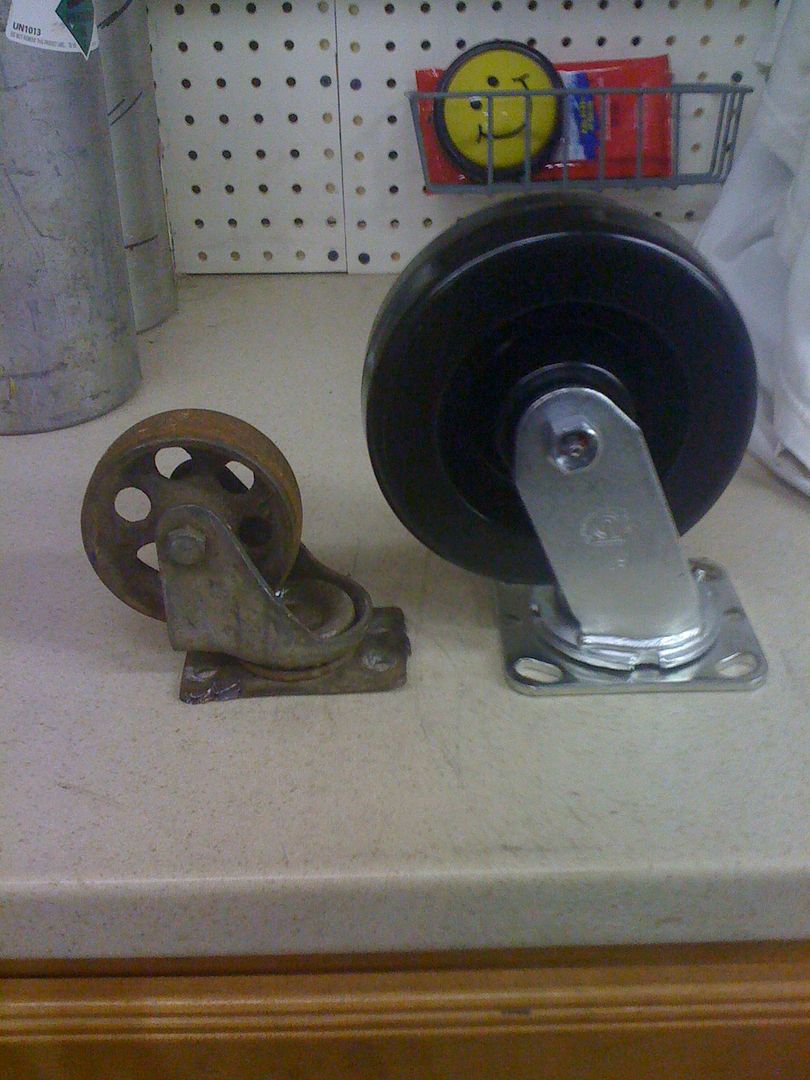
I did break down the old casters and steal the old wheels, they are nice and worth saving.
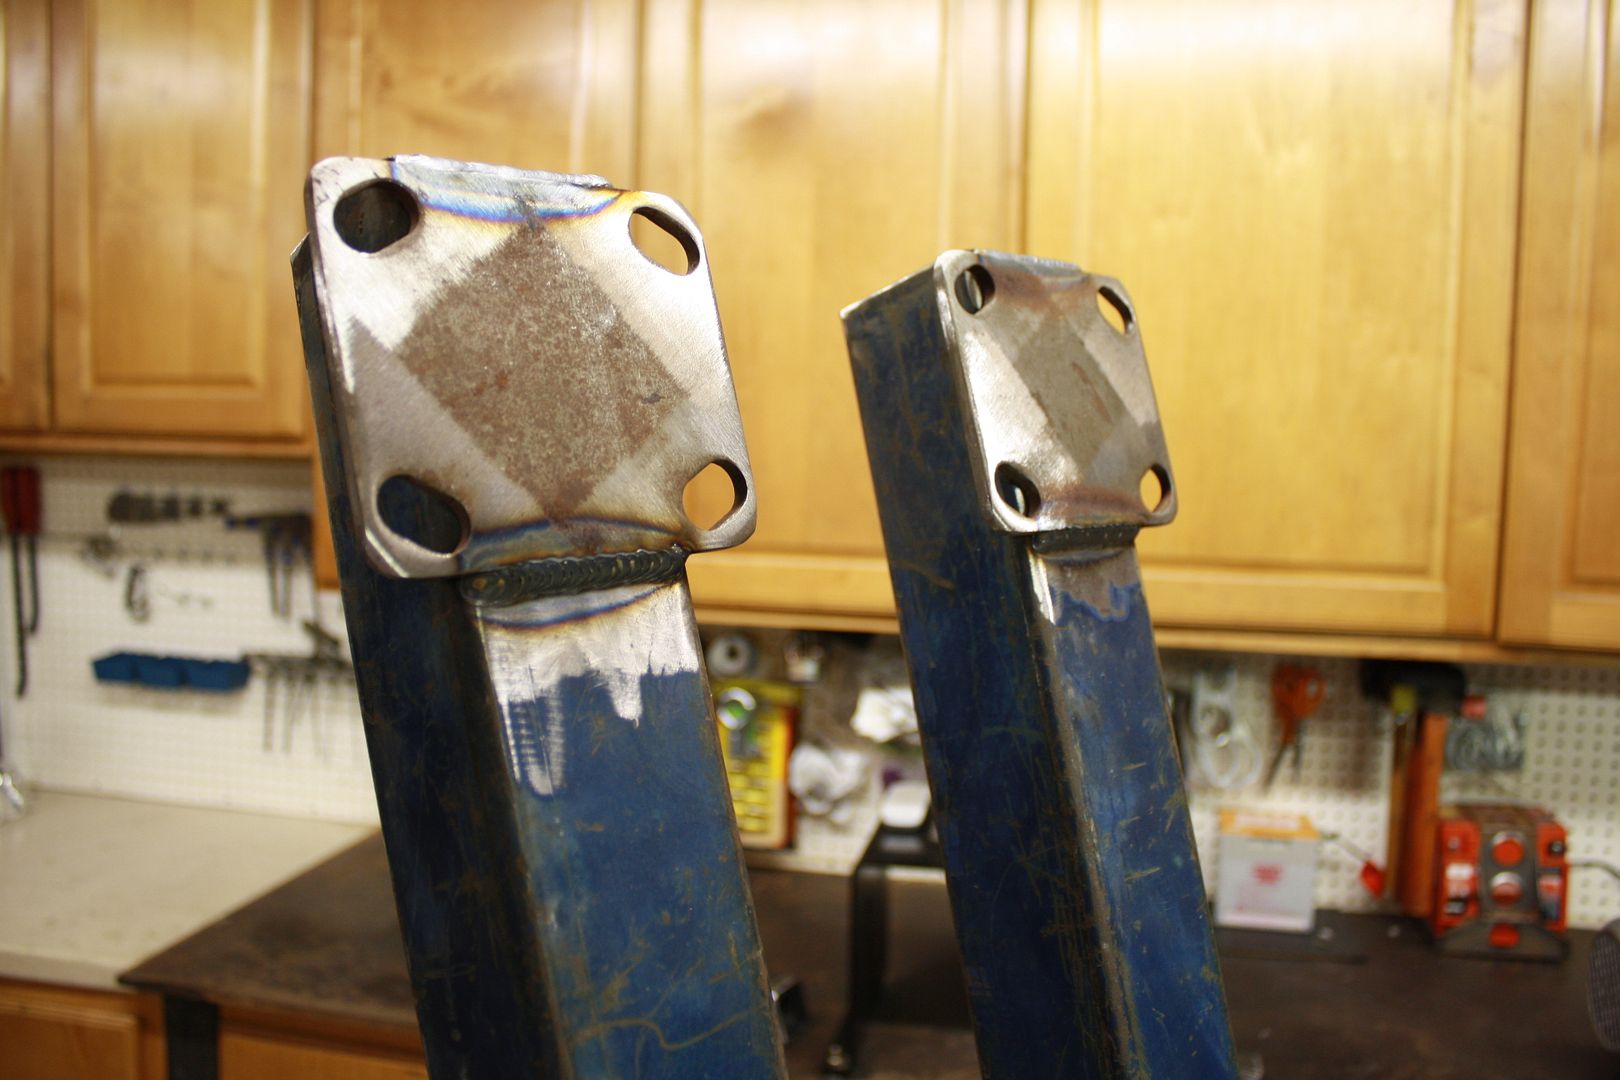
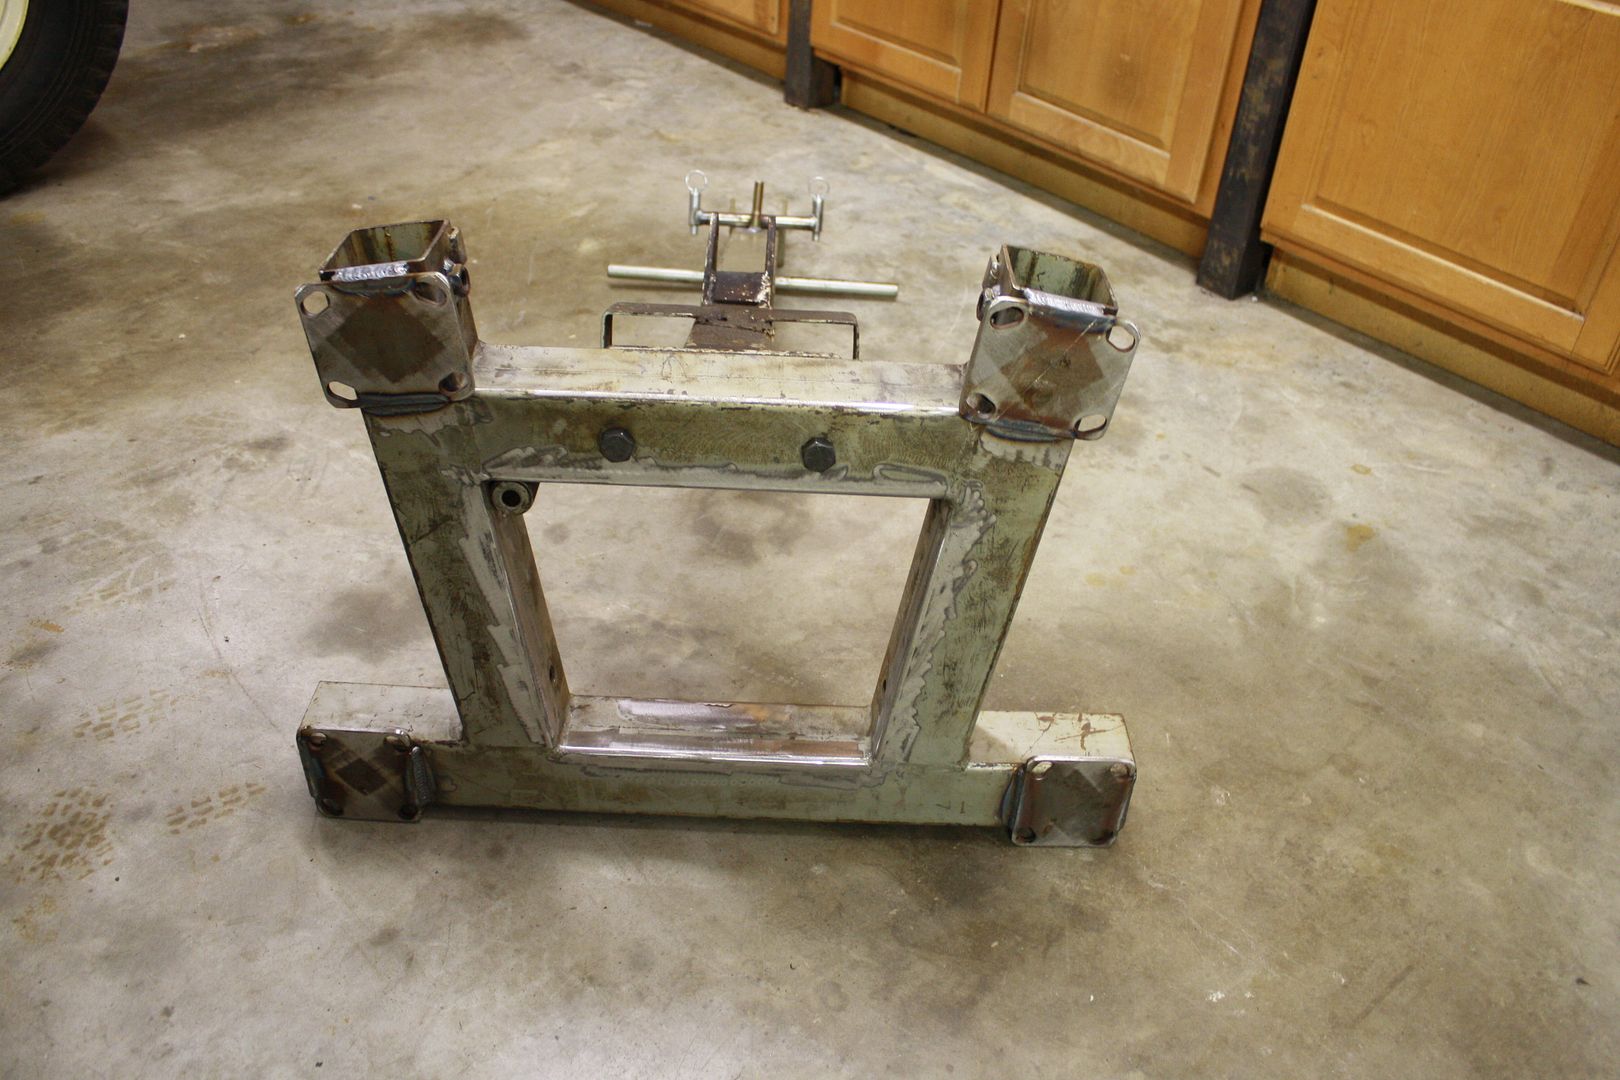
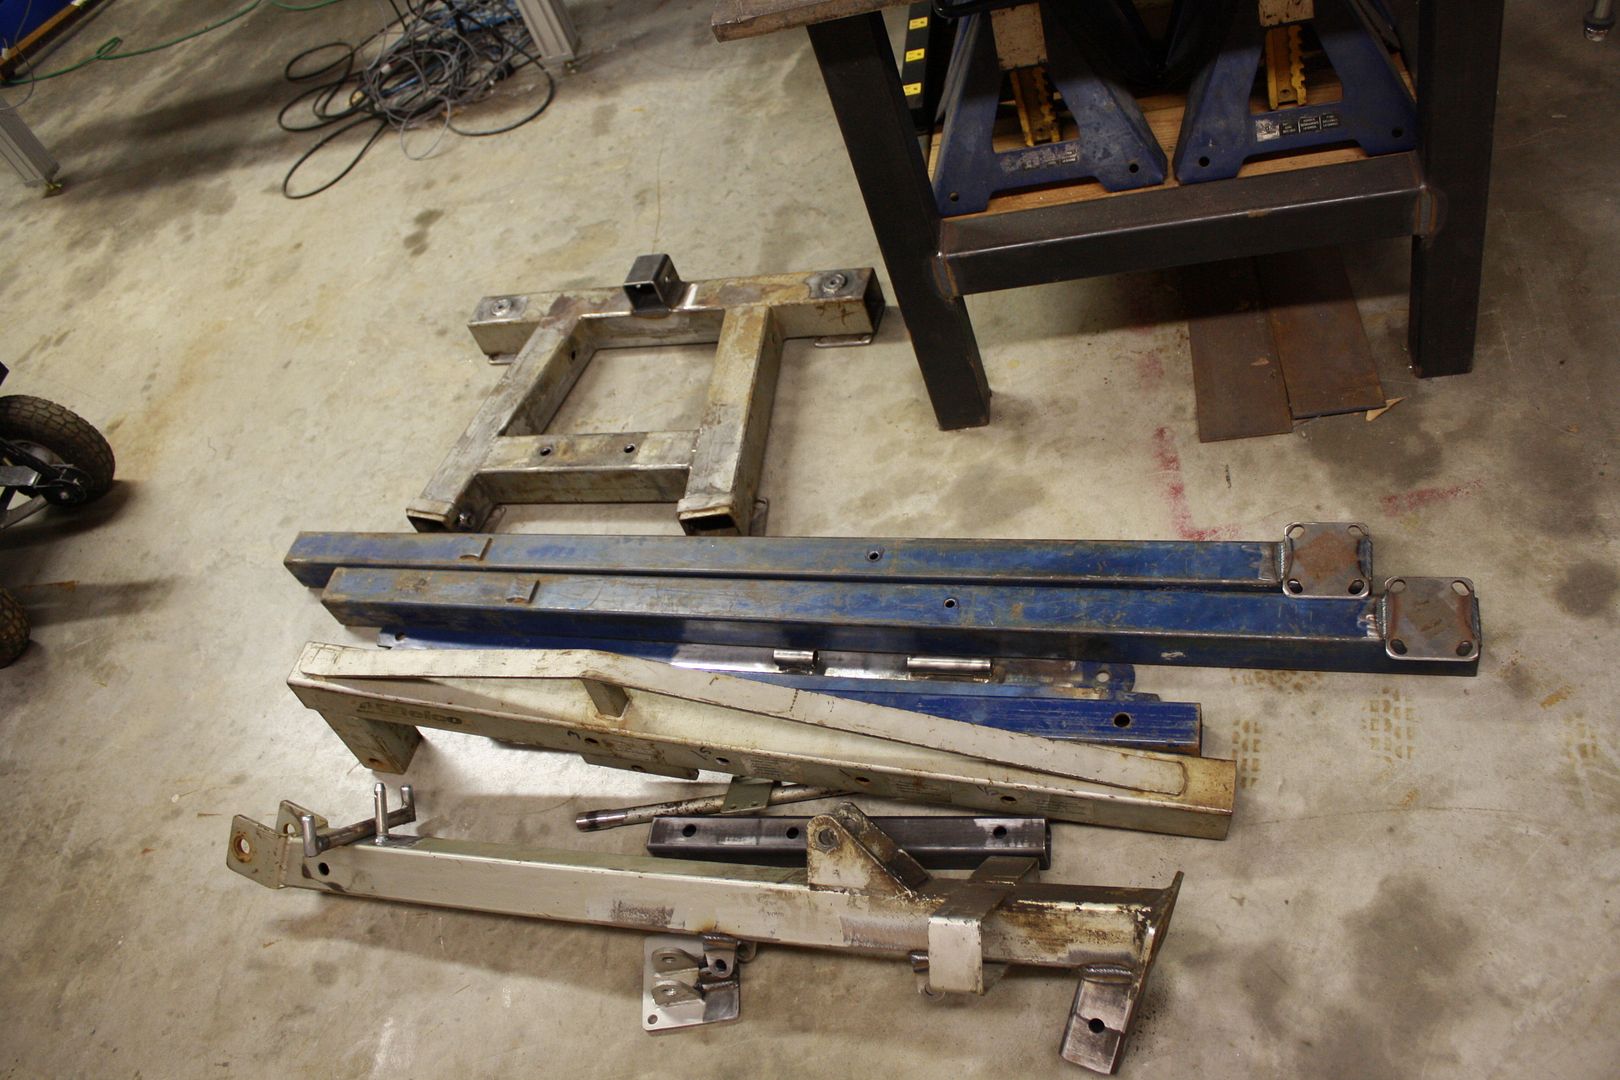
Now with the wheel upgrade the mounts on the chassis were totally undersized. Bring on the new burned ones.
One thing this Hoist gets used for is to lift the nose of our SaltCar for loading and unloading off the trailer. Kind of a mini-towtruck boom. It has a 2" receiver and you'd hook and jack up to lift the car and could pull it out of the trailer with the truck. Well the old one was welded in place and made for a BITCH when packing the trailer and strapping it to the wall. (as a matter of fact it wiped out one of our Moon wheel covers last year, luckily Moon was pitted right next to us and we traded tool use for a new one) So the new version receiver is removable and stash able.
Burned in
Now what to do with the 2" tube when not in use??? Bring on some tabs!
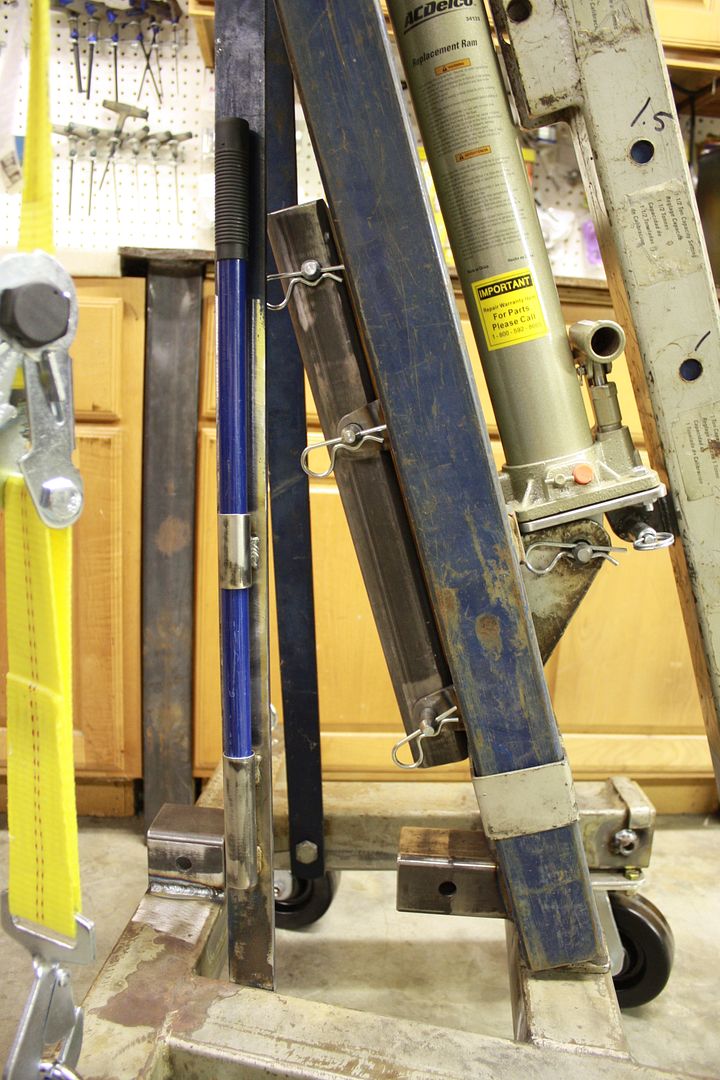
As I mentioned this thing travels in my race trailer and occasionally attached to the receiver on the front or back of my truck. The Damn legs have always gotten tossed somewhere. Well no more. I pinned them.
Small spring loaded pins.
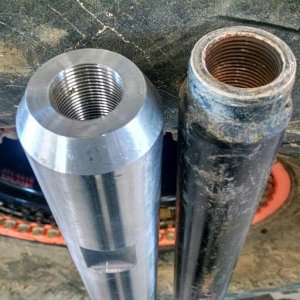
Which brings me to the jack itself when the unit isn't in use. The jack would just flop around. So I initially welded a 5/8 stud and you could use a bolt to hold it in place. I rethought that and cut a 5/8" receiver pin so you just pull the pin vs. needing a wrench.
Threaded before the 86'ing
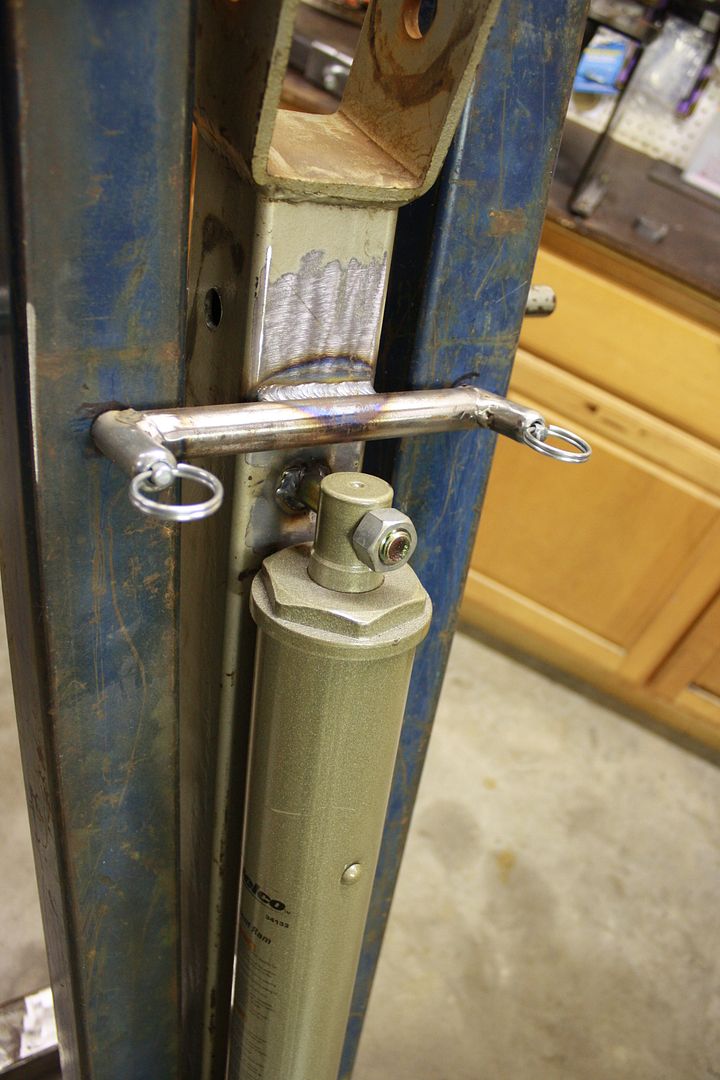
Pinned as it is now
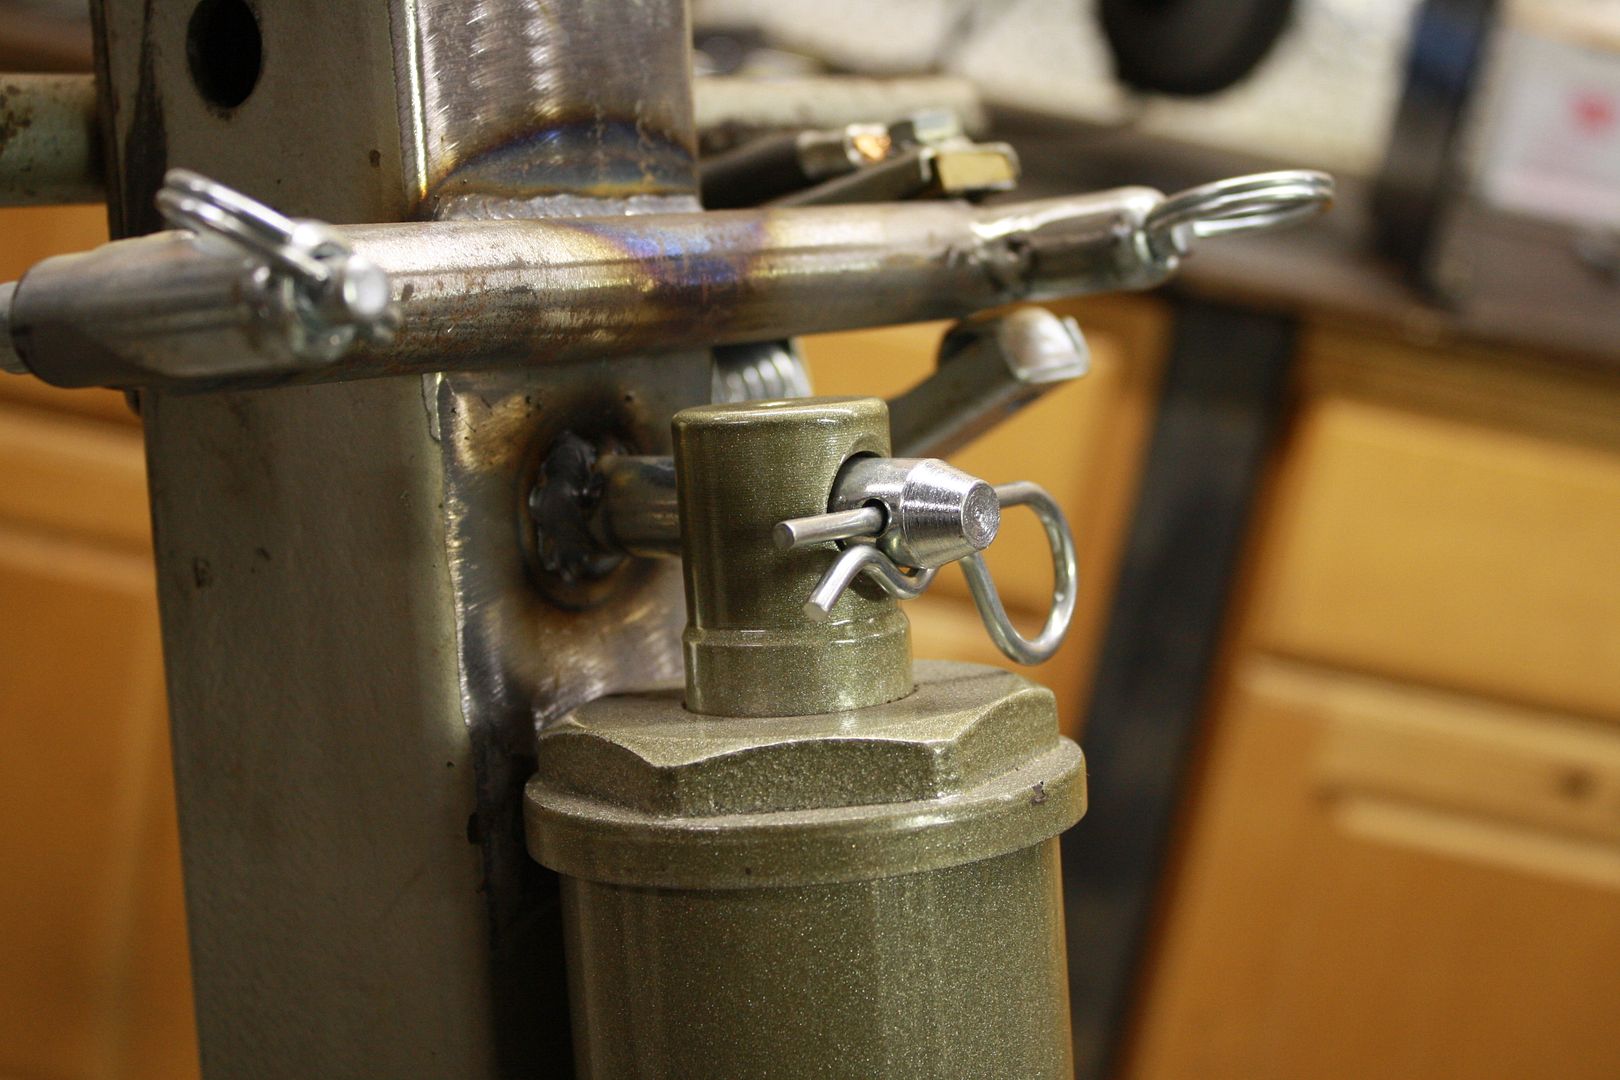
Now the next thing that swings around is the boom. Set it up to be Spring loaded pinned off the jack mount base.
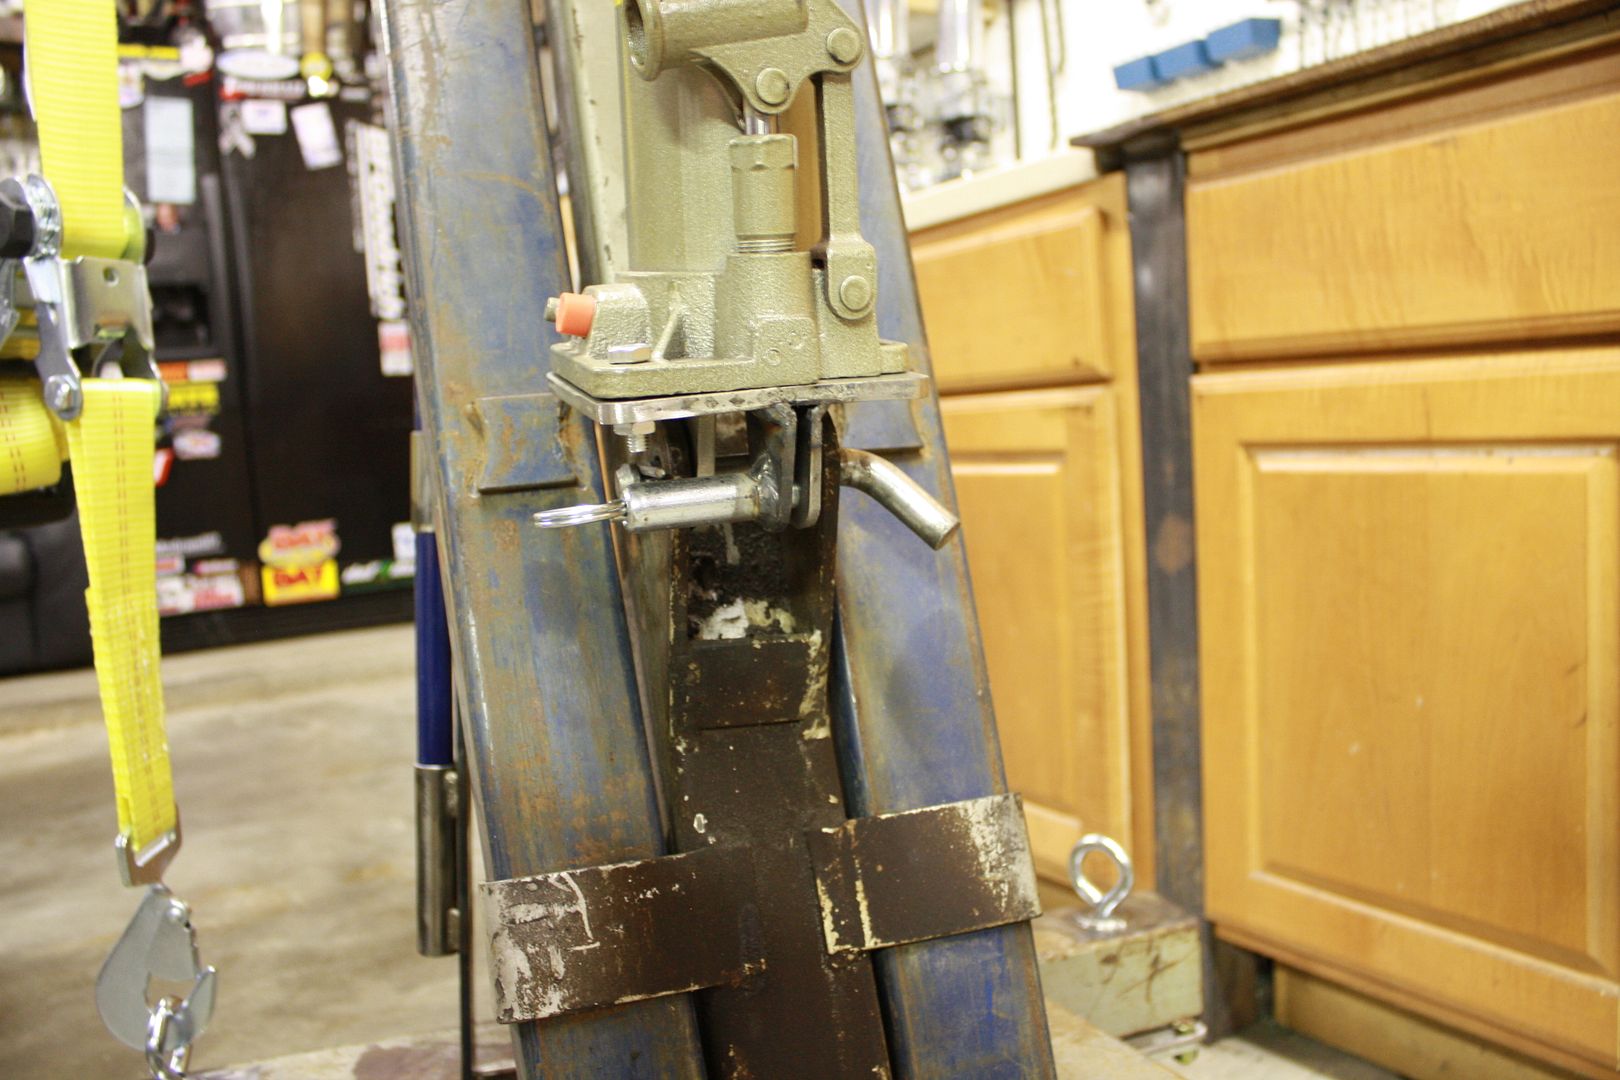
Next up where to mount the jack handle. Before it had a piece of bailing wire so you could hang it off the handle. Some 1" tubing and whamo!
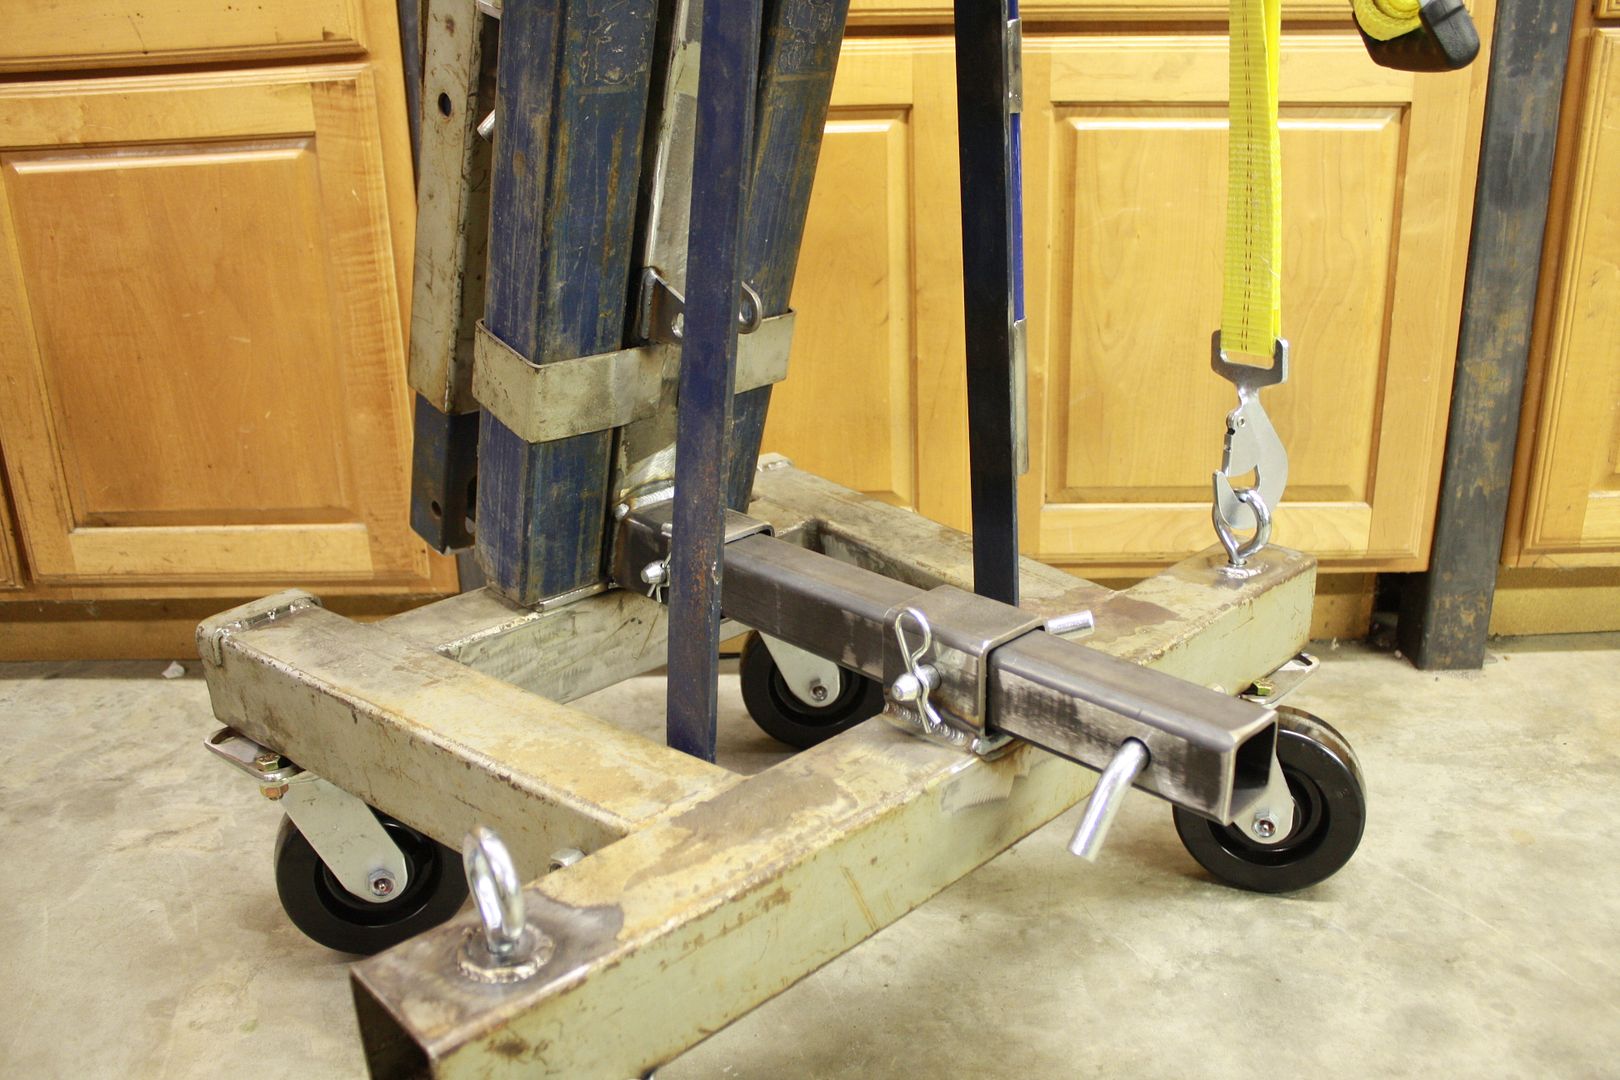
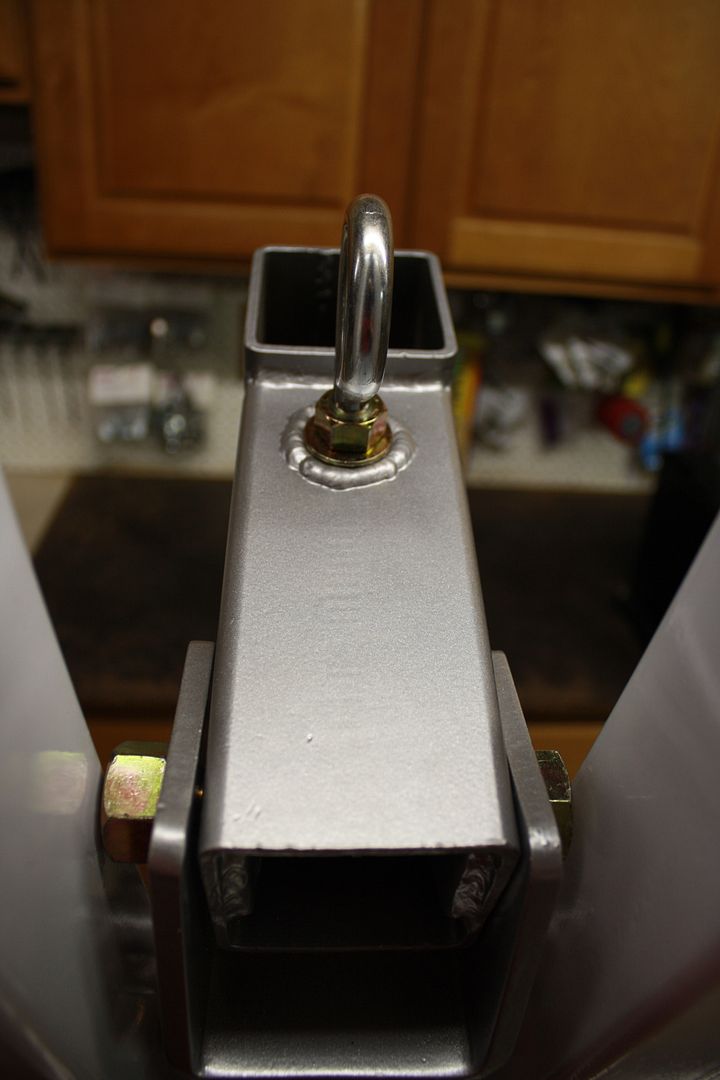
And lastly this thing really lacked tie downs or any good way to secure it in the trailer. Bring on the "Eyelets"

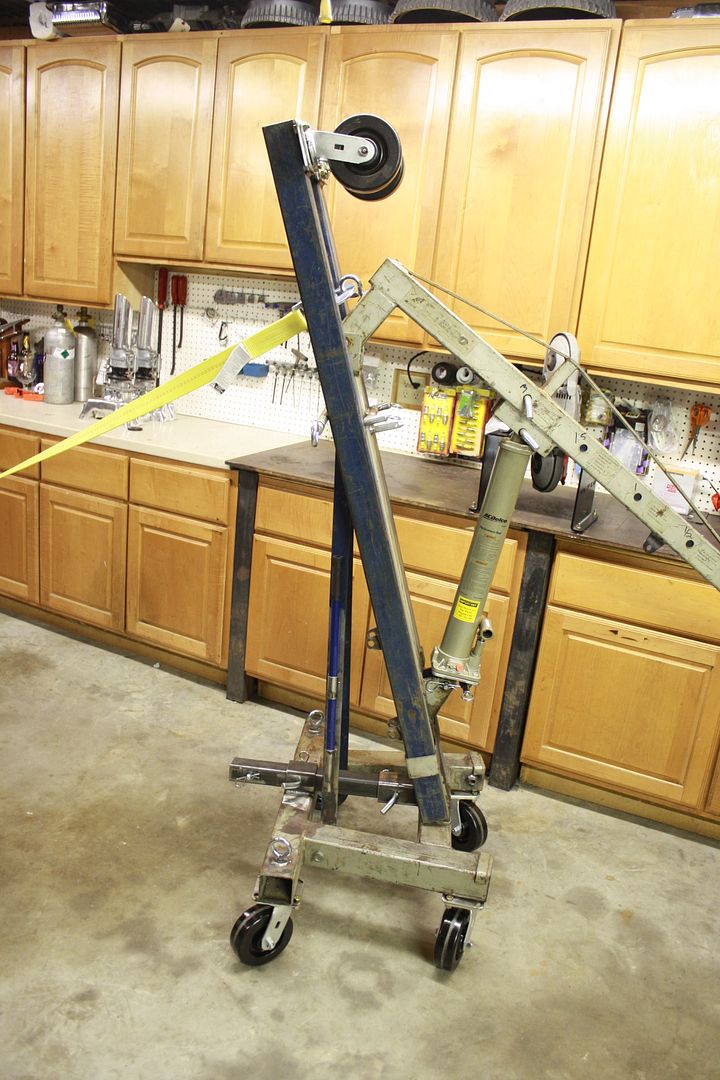
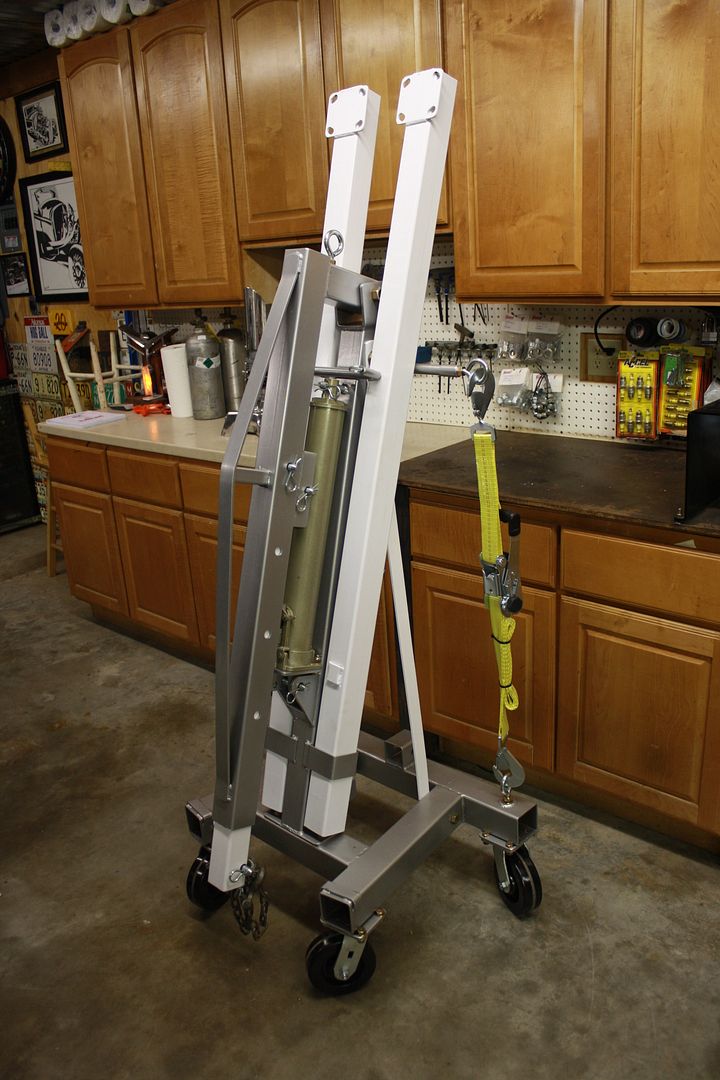
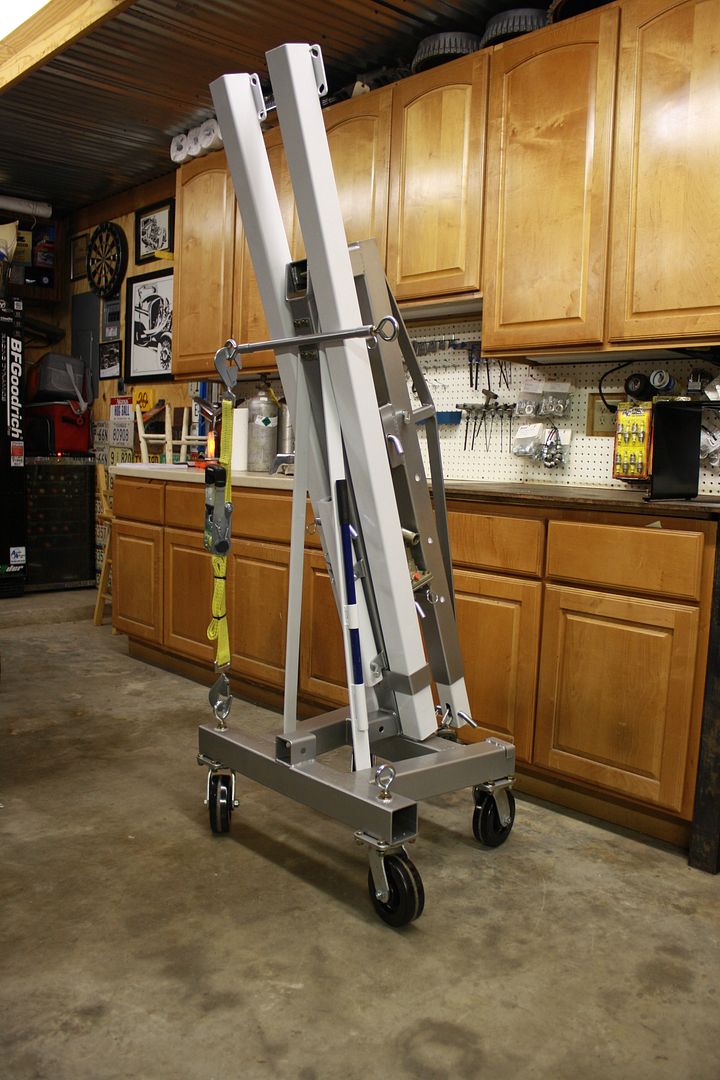
And here as some fully assembled pics before I tore it down to go to paint and powder coat.
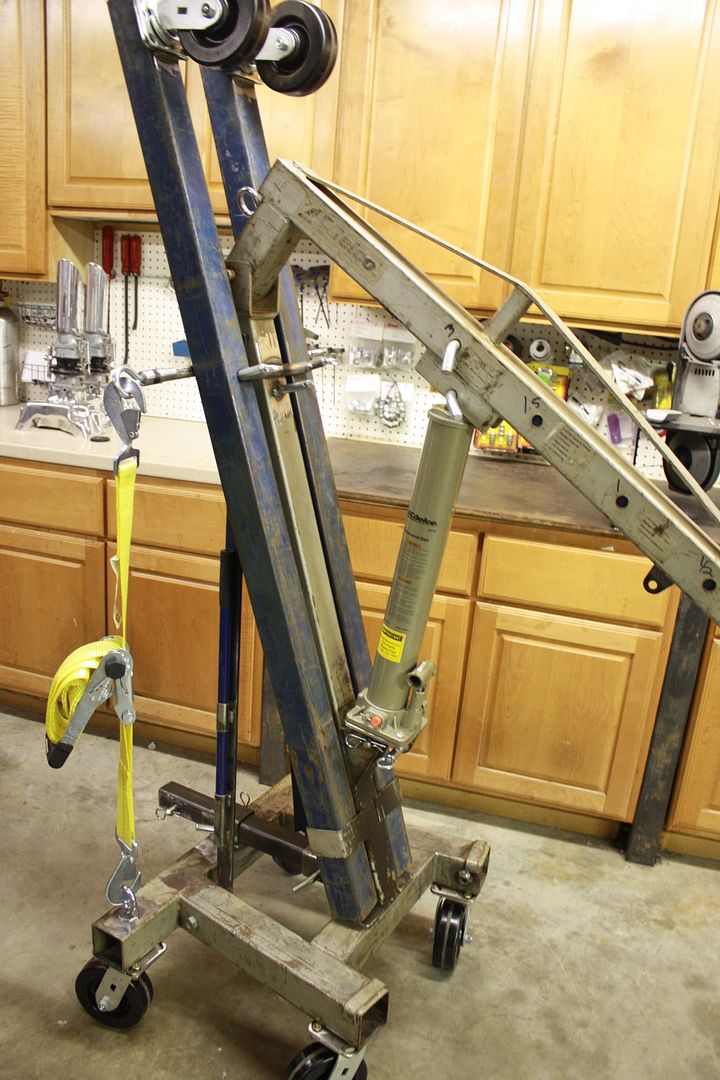
And in case you were wondering about the ratchet strap. It goes down and hooks to the gooseneck chain catches in the bed of my truck to counter the lifting force when its hanging off the receiver.
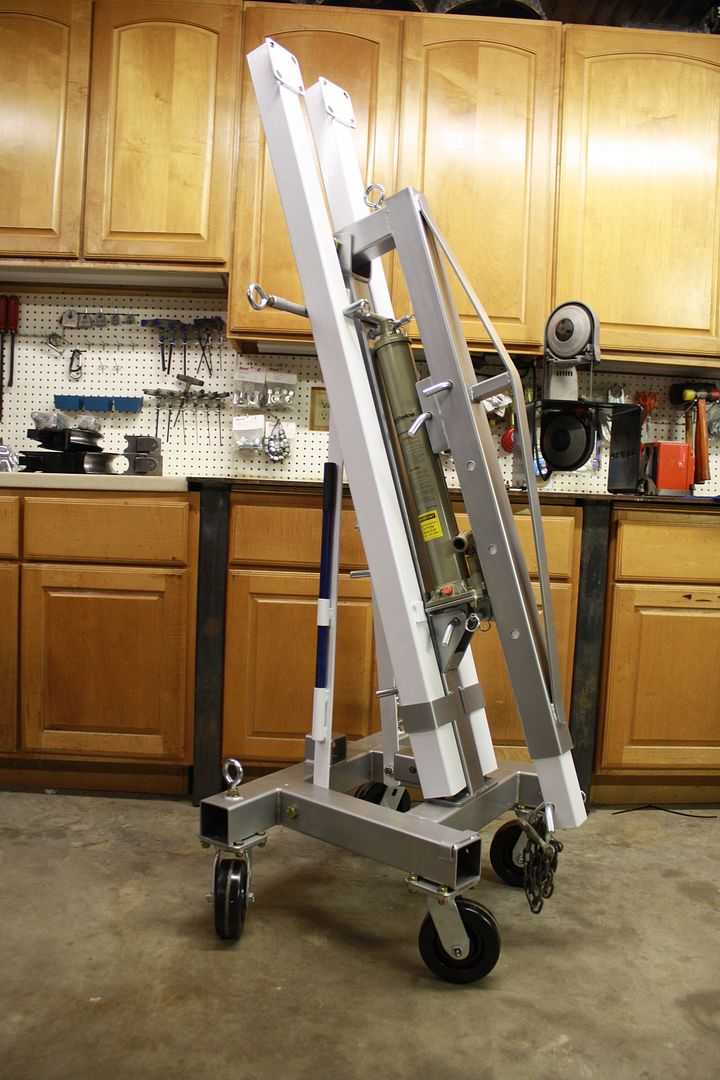
And here is how it looks right now as I'm taking it over to my buddy Robert Leady at FURL Coatings (**** You Robert Leady) sometime this week. Any suggestions on colors? I'm planning on Powder coated main body, and then just single stage base for the legs, sliding boom, two vertical braces and the receiver tube. Red looks too generic like a Craftsman, I thought about Green as it would match my SnapOn box. But around my truck and the salt car it would look like XMAS with the Red & Green clash. Yellow looks cheap to me like Harbor Freight, same with Orange. I was kind of thinking Silver with White legs and stuff. Then get it pinstriped and labeled in Black and Red.
My next pics will be of it full assembled after getting coated. So a lot of work and I didnt even increase its carrying capacity laughing1
To begin I have to go back a couple years. Someone offered my dad a "FREE" Engine Hoist, he has a good one, but since he's a sucker for "FREE" he drags it home. It's a real pile! The roller bearings are out of every caster, so they won't spin unless you smack them with a hammer to get them to line up. The jack will only lift to horizontal and I had gone to wrapping the base with a rag because it leaked so much oil. But again it was "FREE". Dad more or less pawned it on to me, since I didnt own my own. My plan was to restore it but time flew and it got pressed into service more times than I'd like to count since it sucked so BAD.
Well in August last year it met its full demise at Bonneville. I drug it home and it sat outside until a few weeks ago, rusting and languishing.
Here is the monster rebuild and attention to detail upgrade of a Pile-O'Junk AC-Delco hoist from Oriellys.
New they are $299
http://www.oreillyauto.com/site/c/detail/ACD9/34132.oap
So I figured even if I spent a bit more than $300 redoing mine the way I want it, I'd be better off than buying a new one.
So first up. I bought a new Replacement jack from Oriellys $105.
http://www.oreillyauto.com/site/c/detail/ACD9/34133.oap
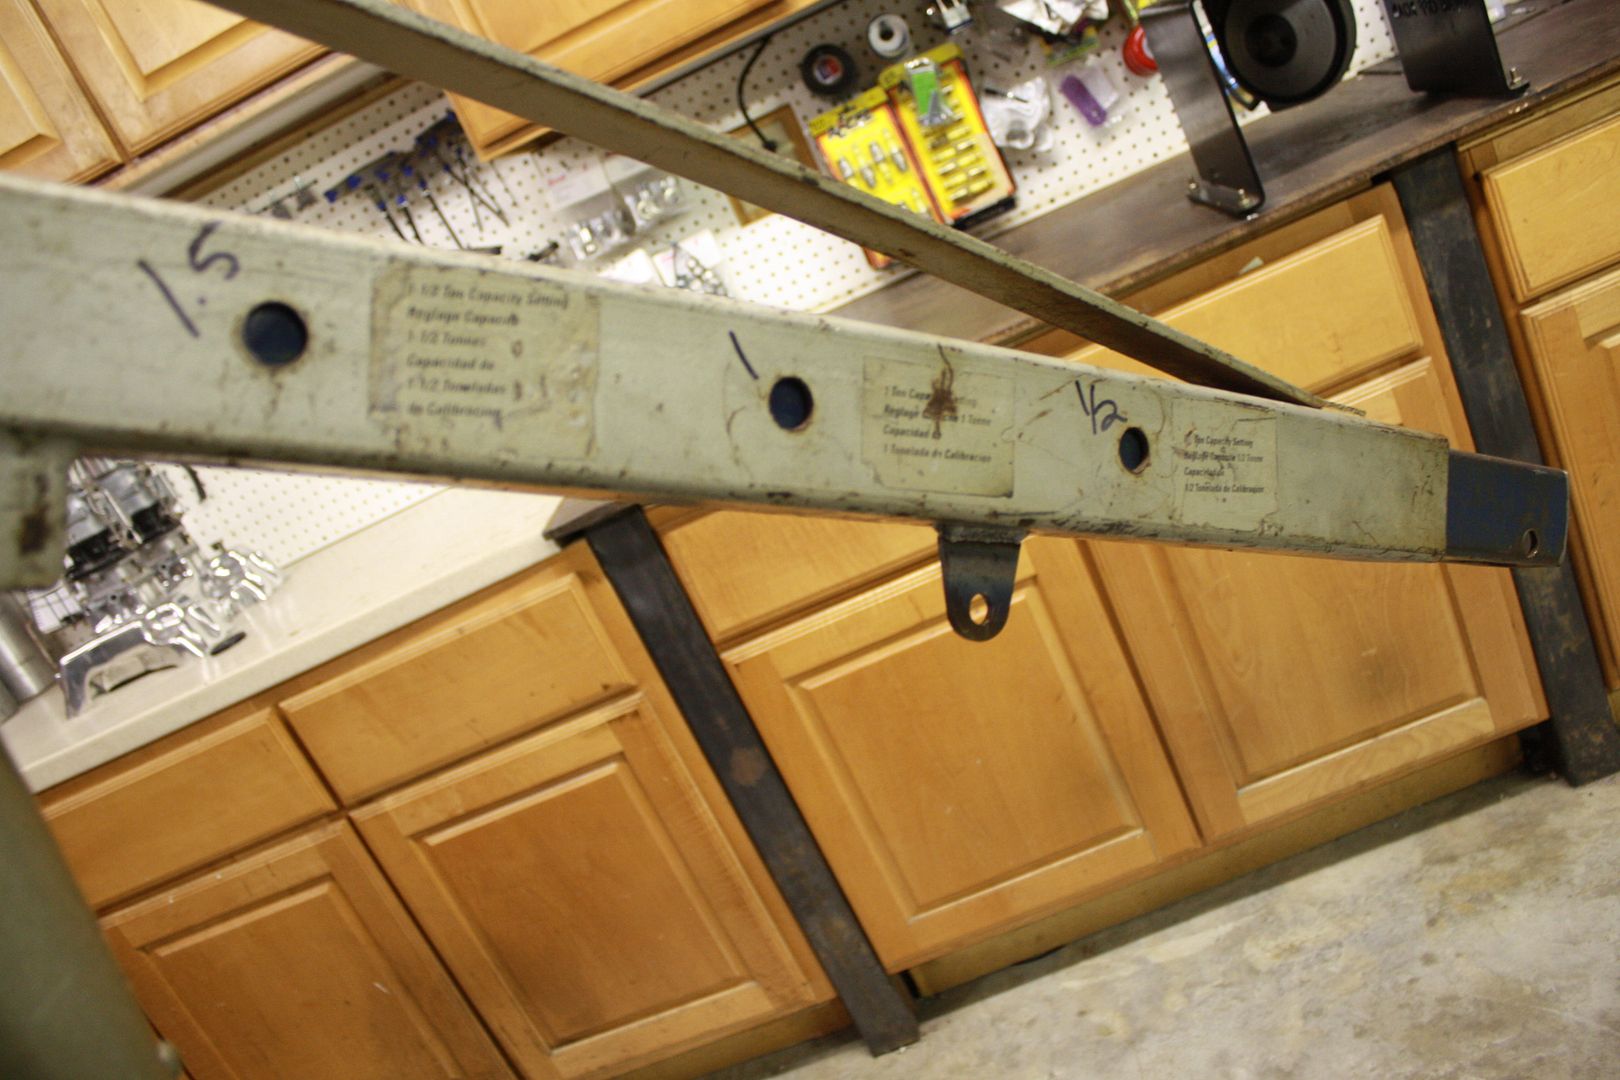
Here it is slightly after being torn down and modifications have begun. Note the dirt & oil around the jack mount and then down?
Next up casters, and an upgrade.
Ballbearing 6" bad mamajamma's, $72. These roll like silk even on uneven pavement or as I need on Salt and not sink in. Downside its much taller now so going under low vehicles it no beuno. I may build a new set of low rider legs for it though, we'll see.
I did break down the old casters and steal the old wheels, they are nice and worth saving.
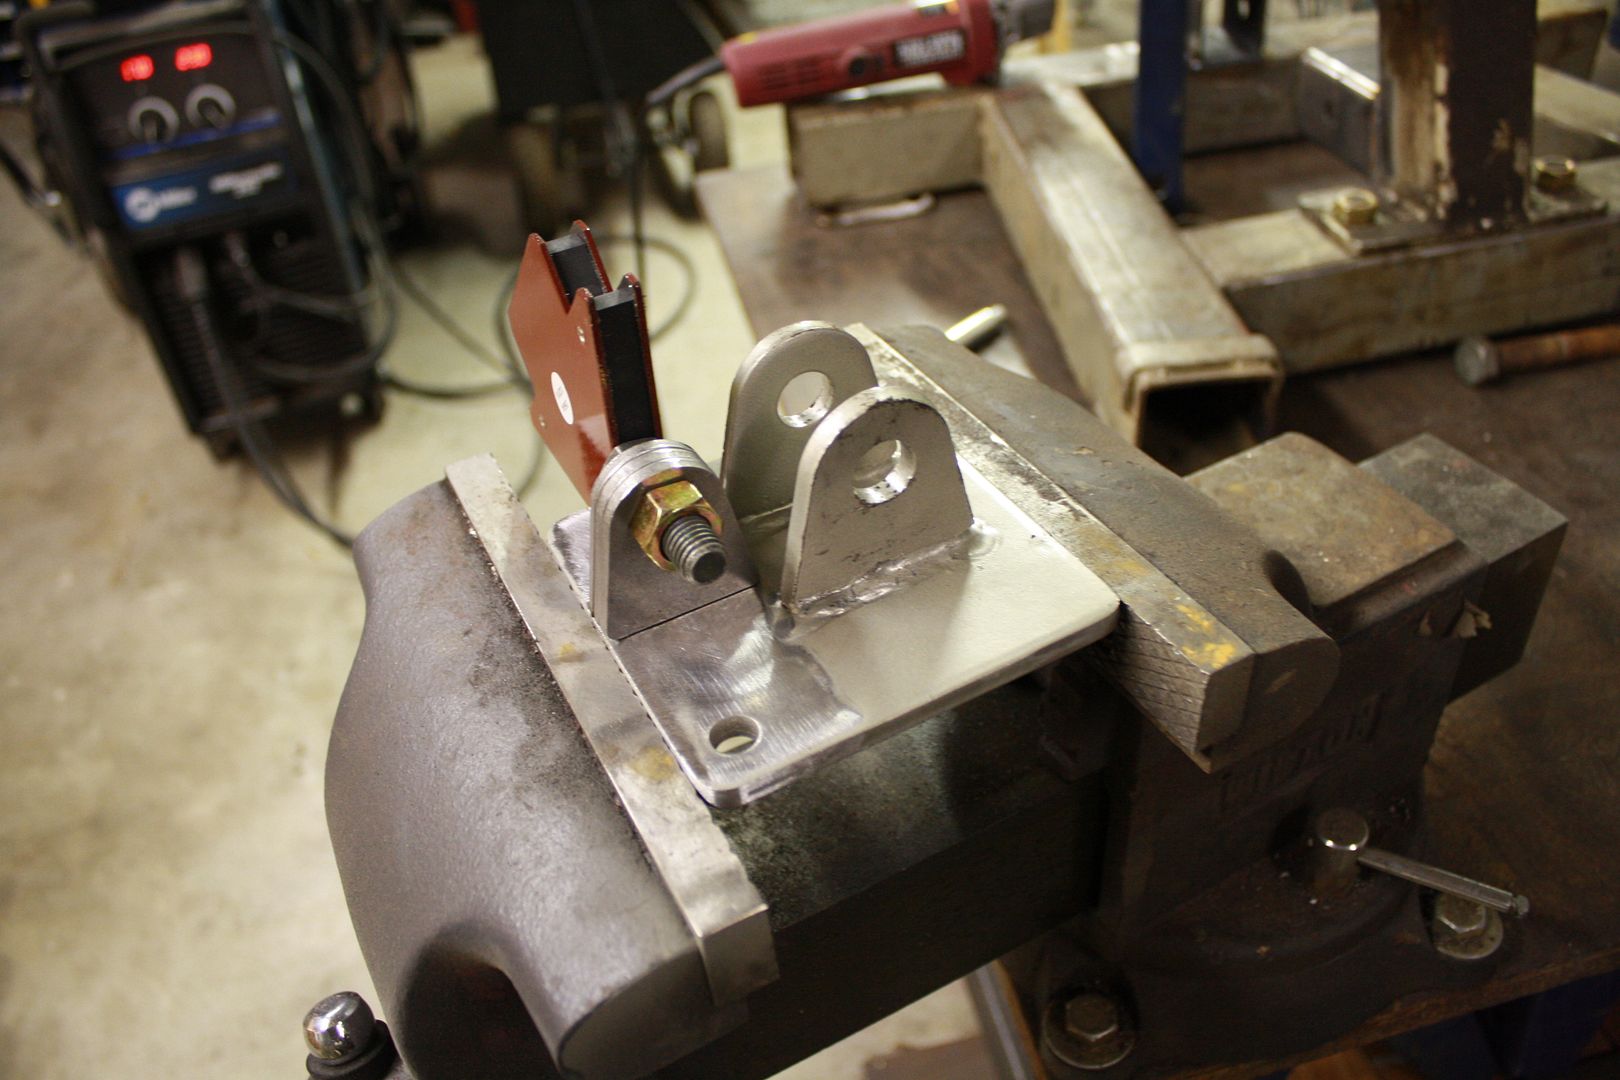
Now with the wheel upgrade the mounts on the chassis were totally undersized. Bring on the new burned ones.
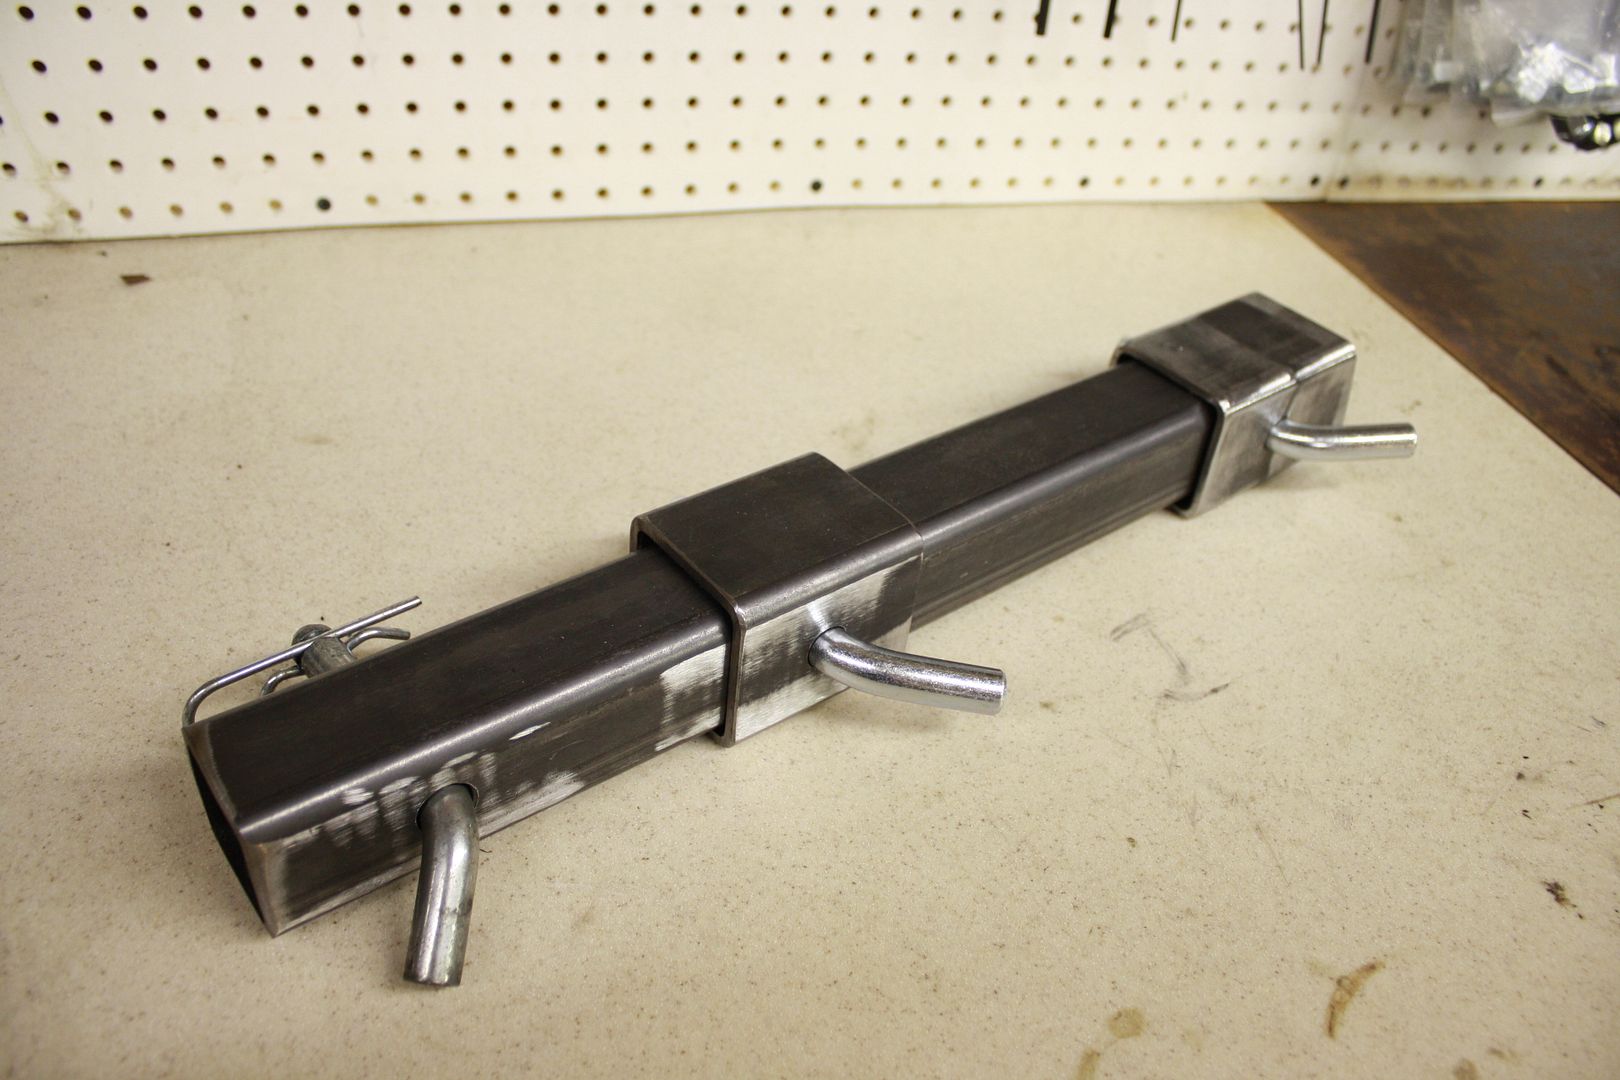
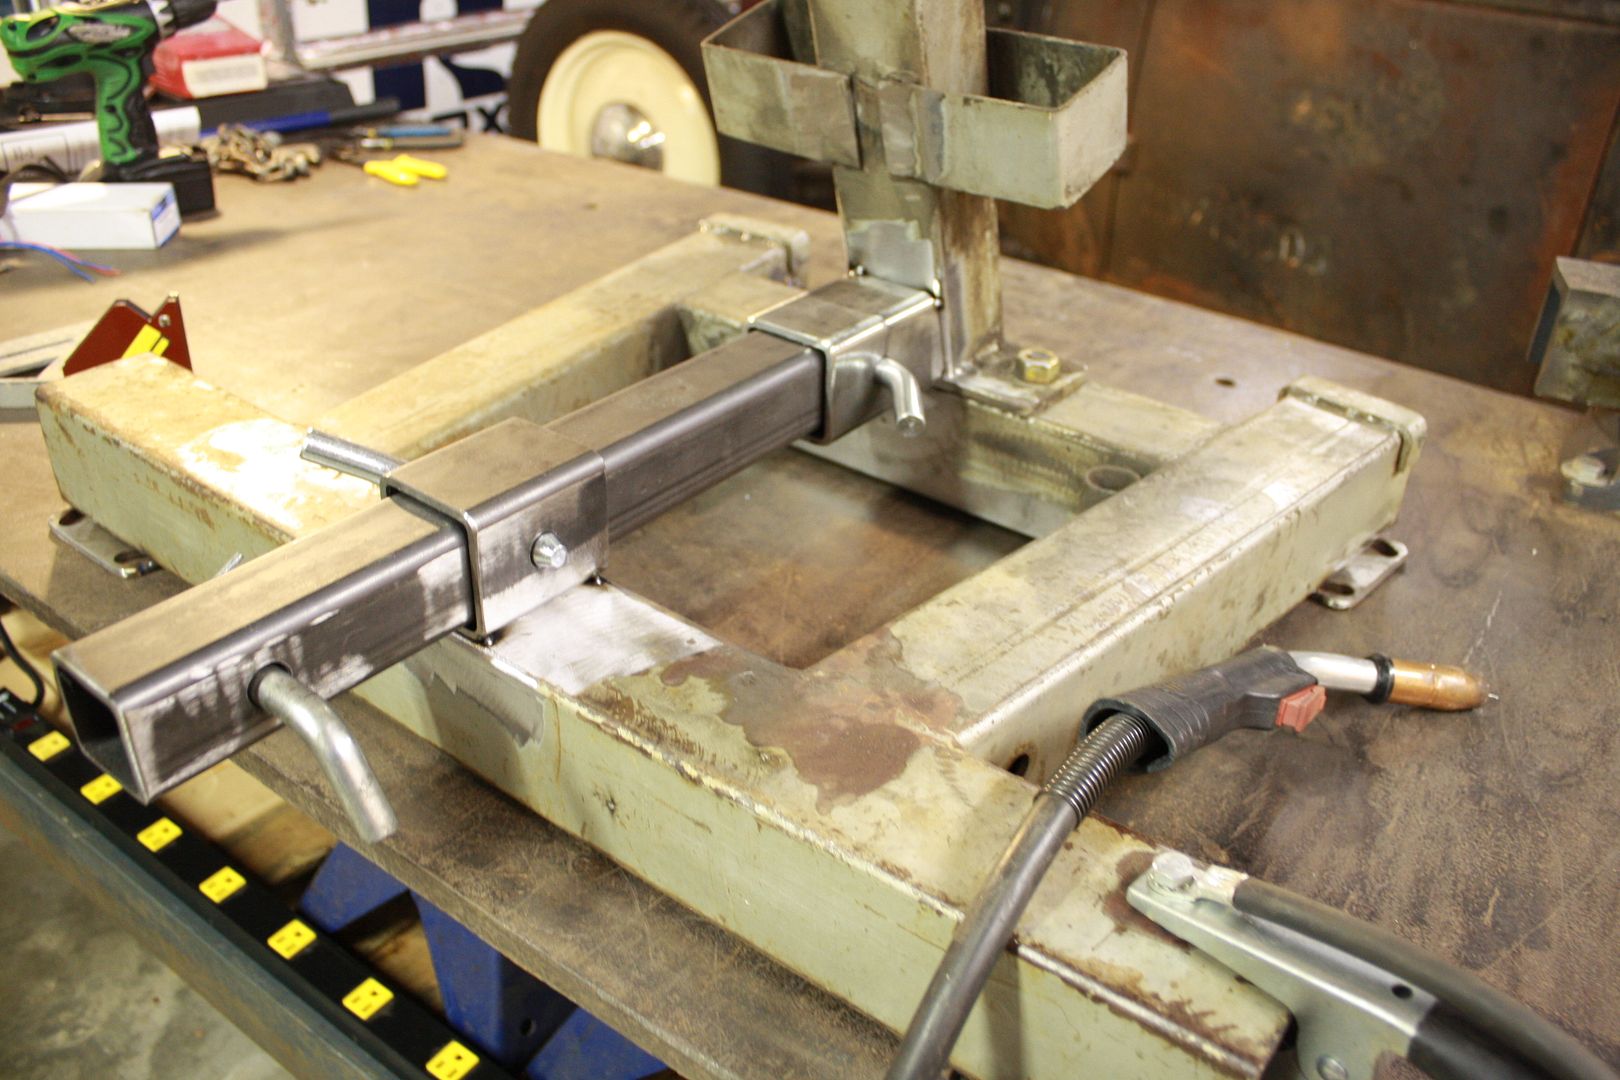
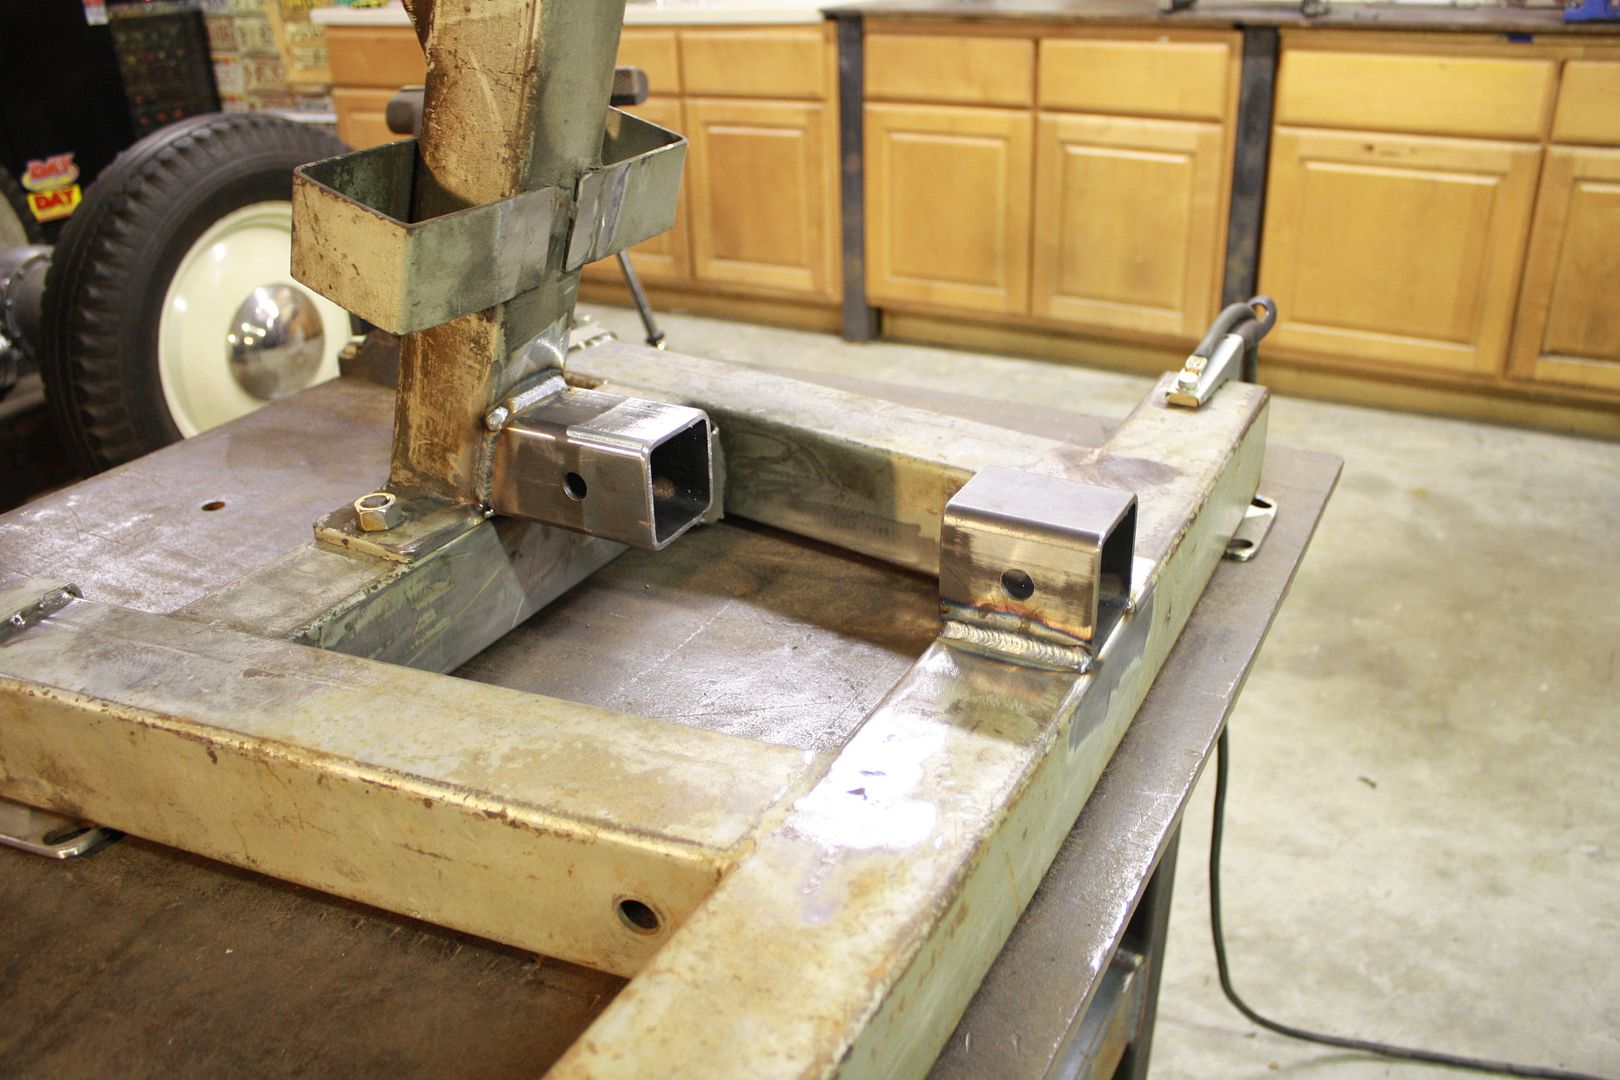
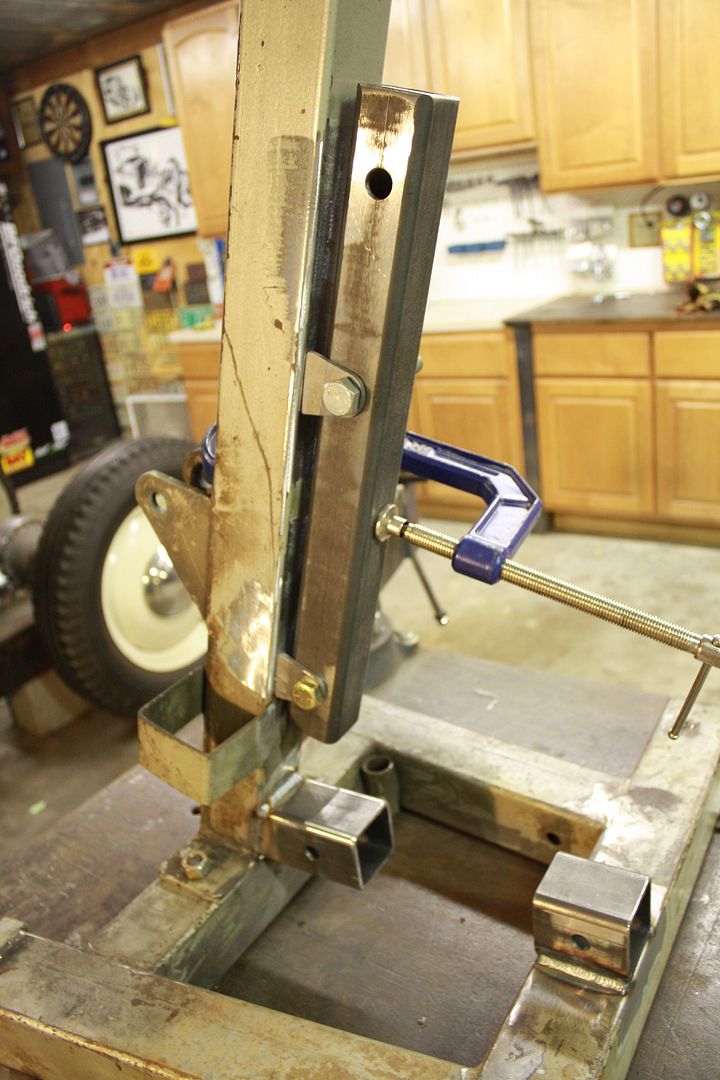
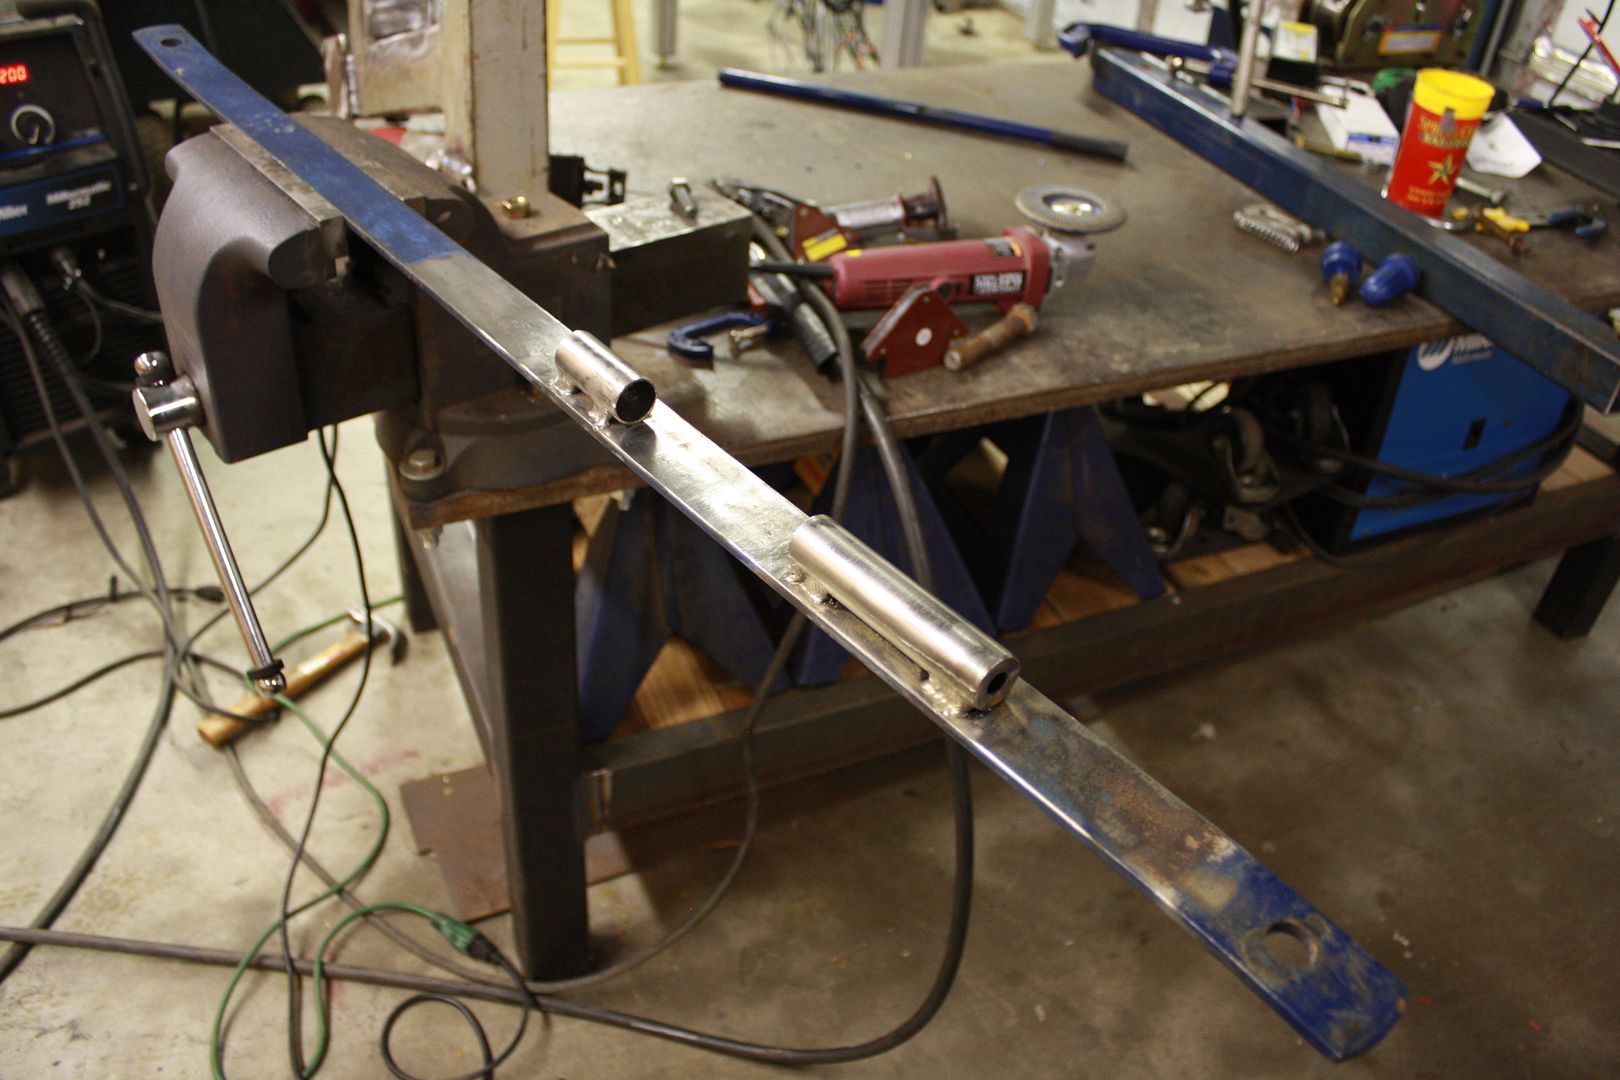
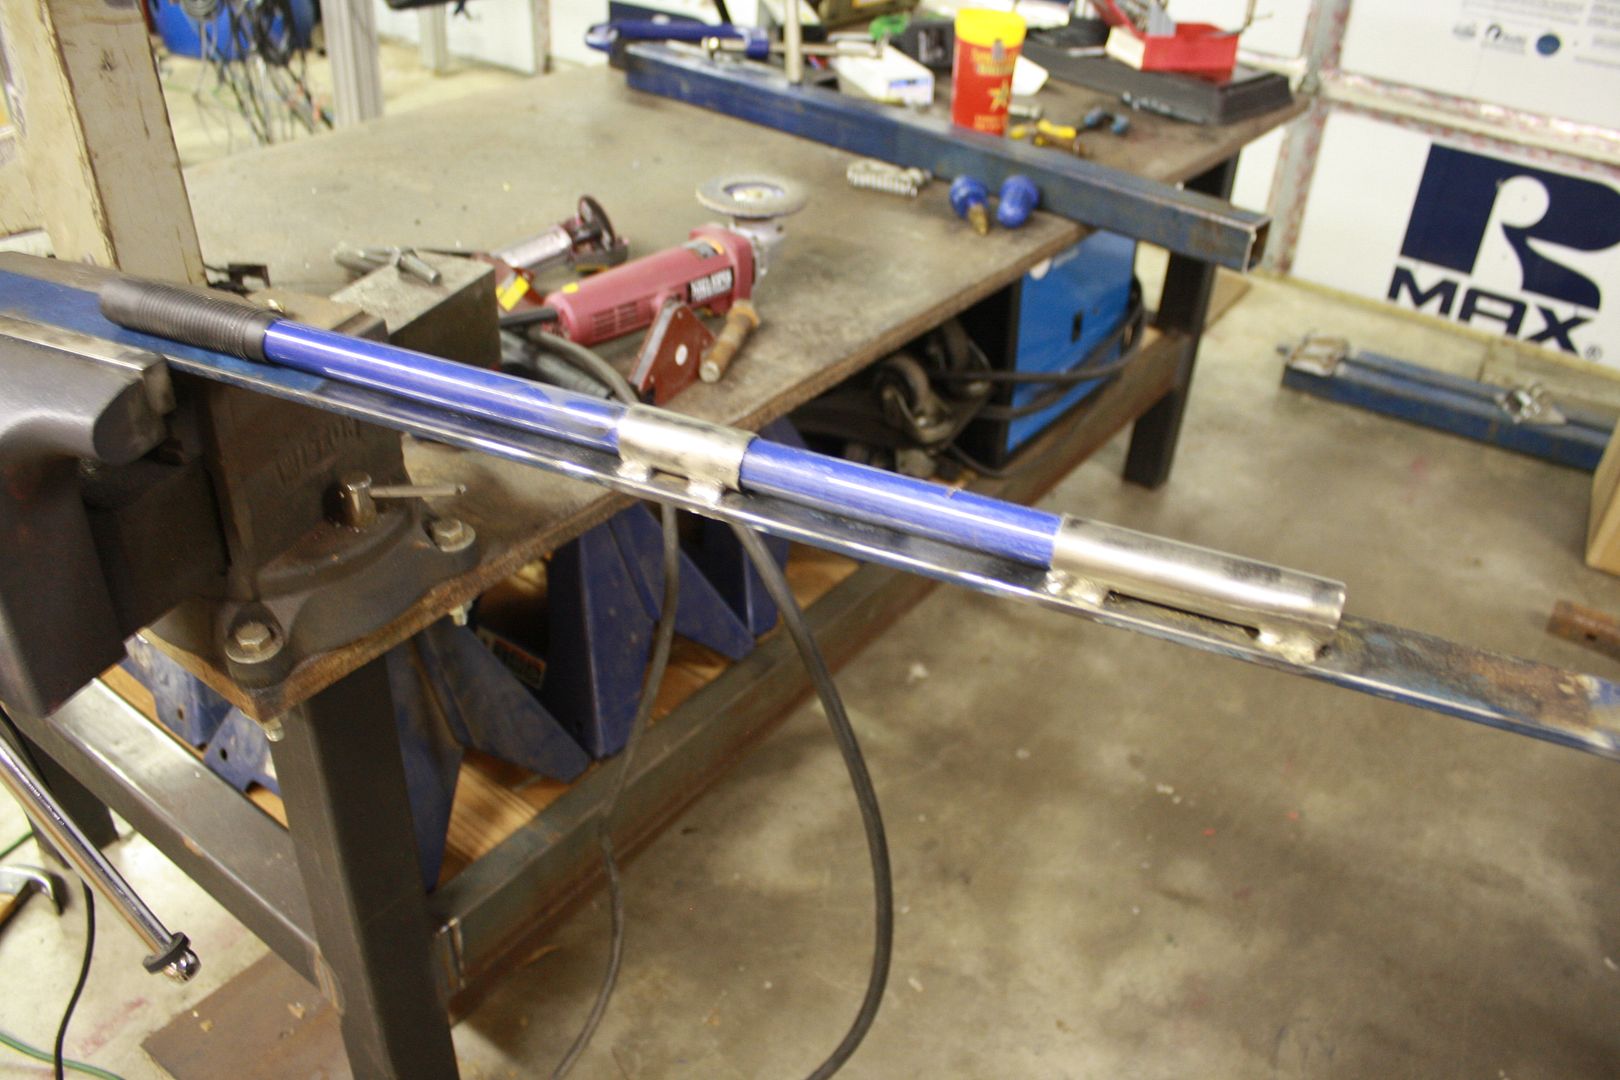
One thing this Hoist gets used for is to lift the nose of our SaltCar for loading and unloading off the trailer. Kind of a mini-towtruck boom. It has a 2" receiver and you'd hook and jack up to lift the car and could pull it out of the trailer with the truck. Well the old one was welded in place and made for a BITCH when packing the trailer and strapping it to the wall. (as a matter of fact it wiped out one of our Moon wheel covers last year, luckily Moon was pitted right next to us and we traded tool use for a new one) So the new version receiver is removable and stash able.
Burned in
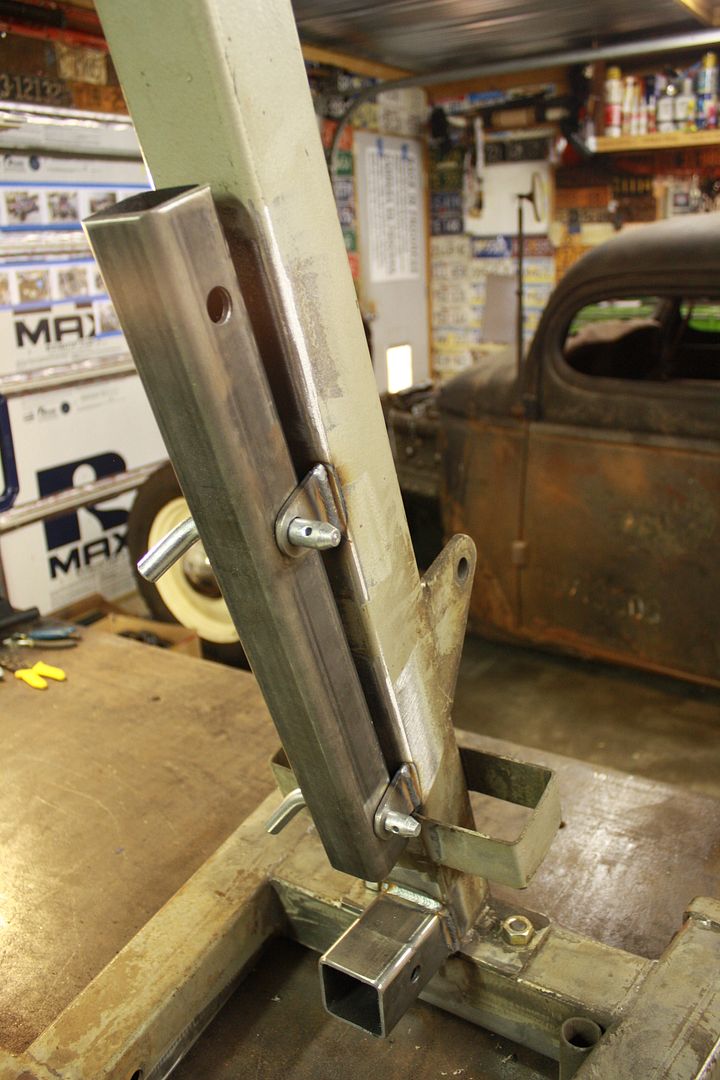
Now what to do with the 2" tube when not in use??? Bring on some tabs!
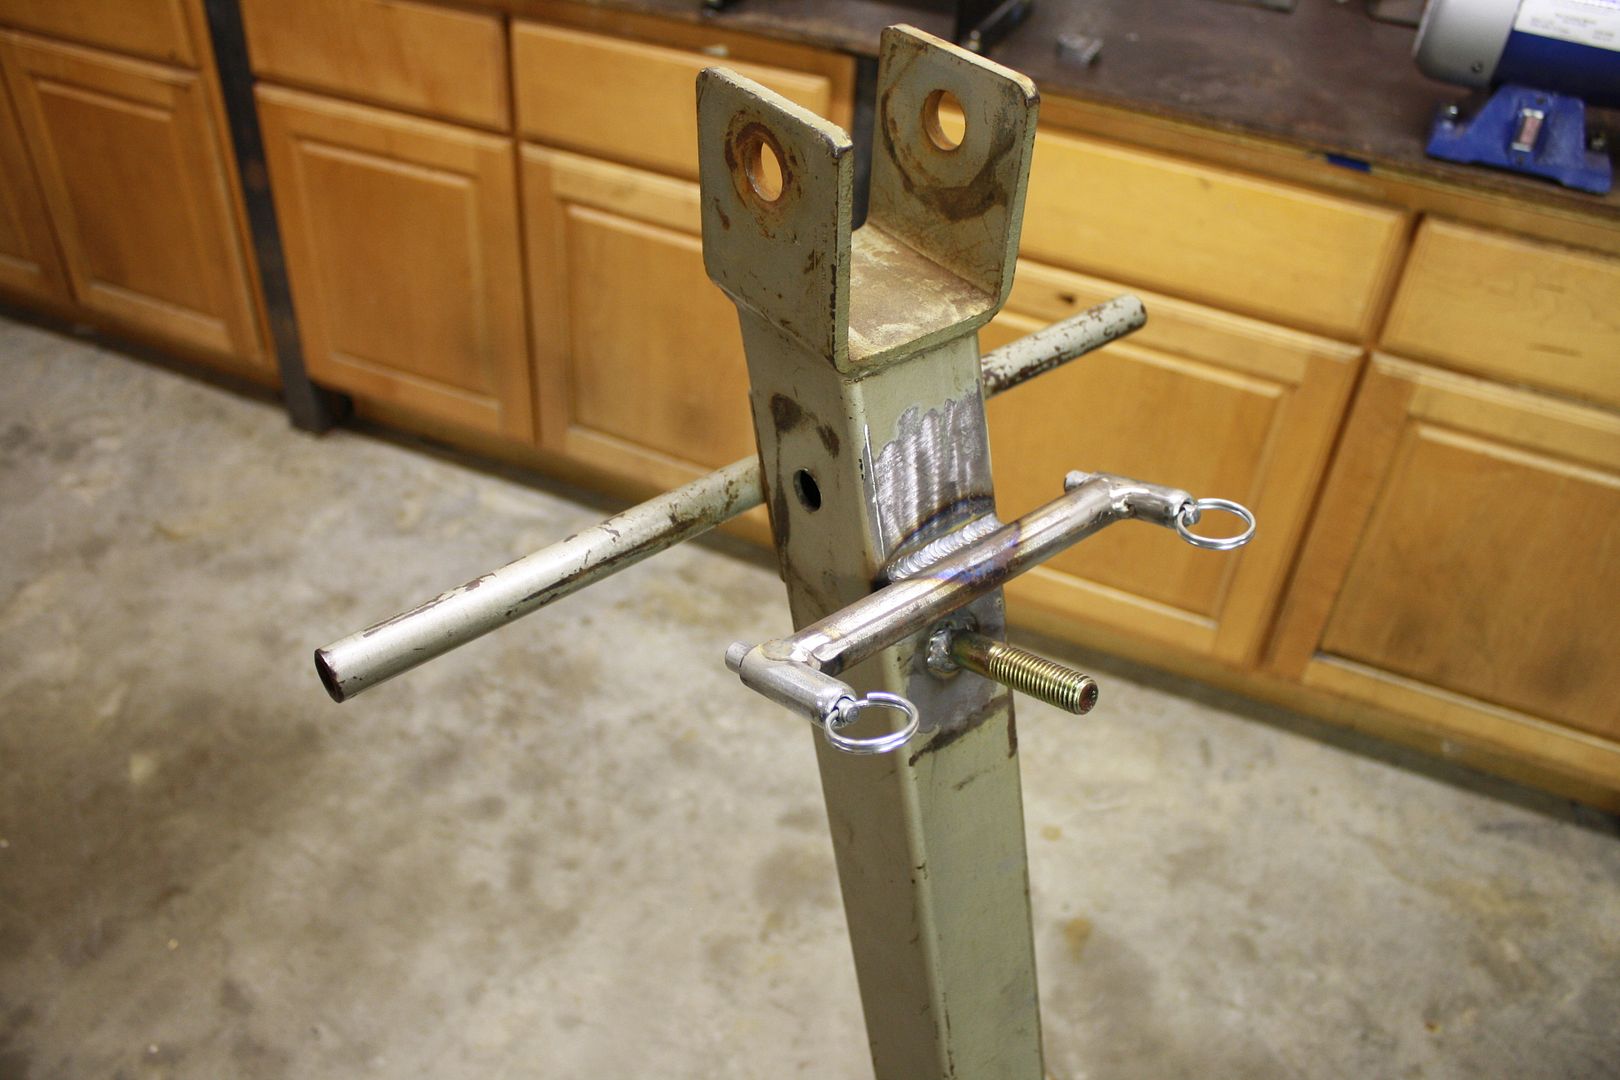
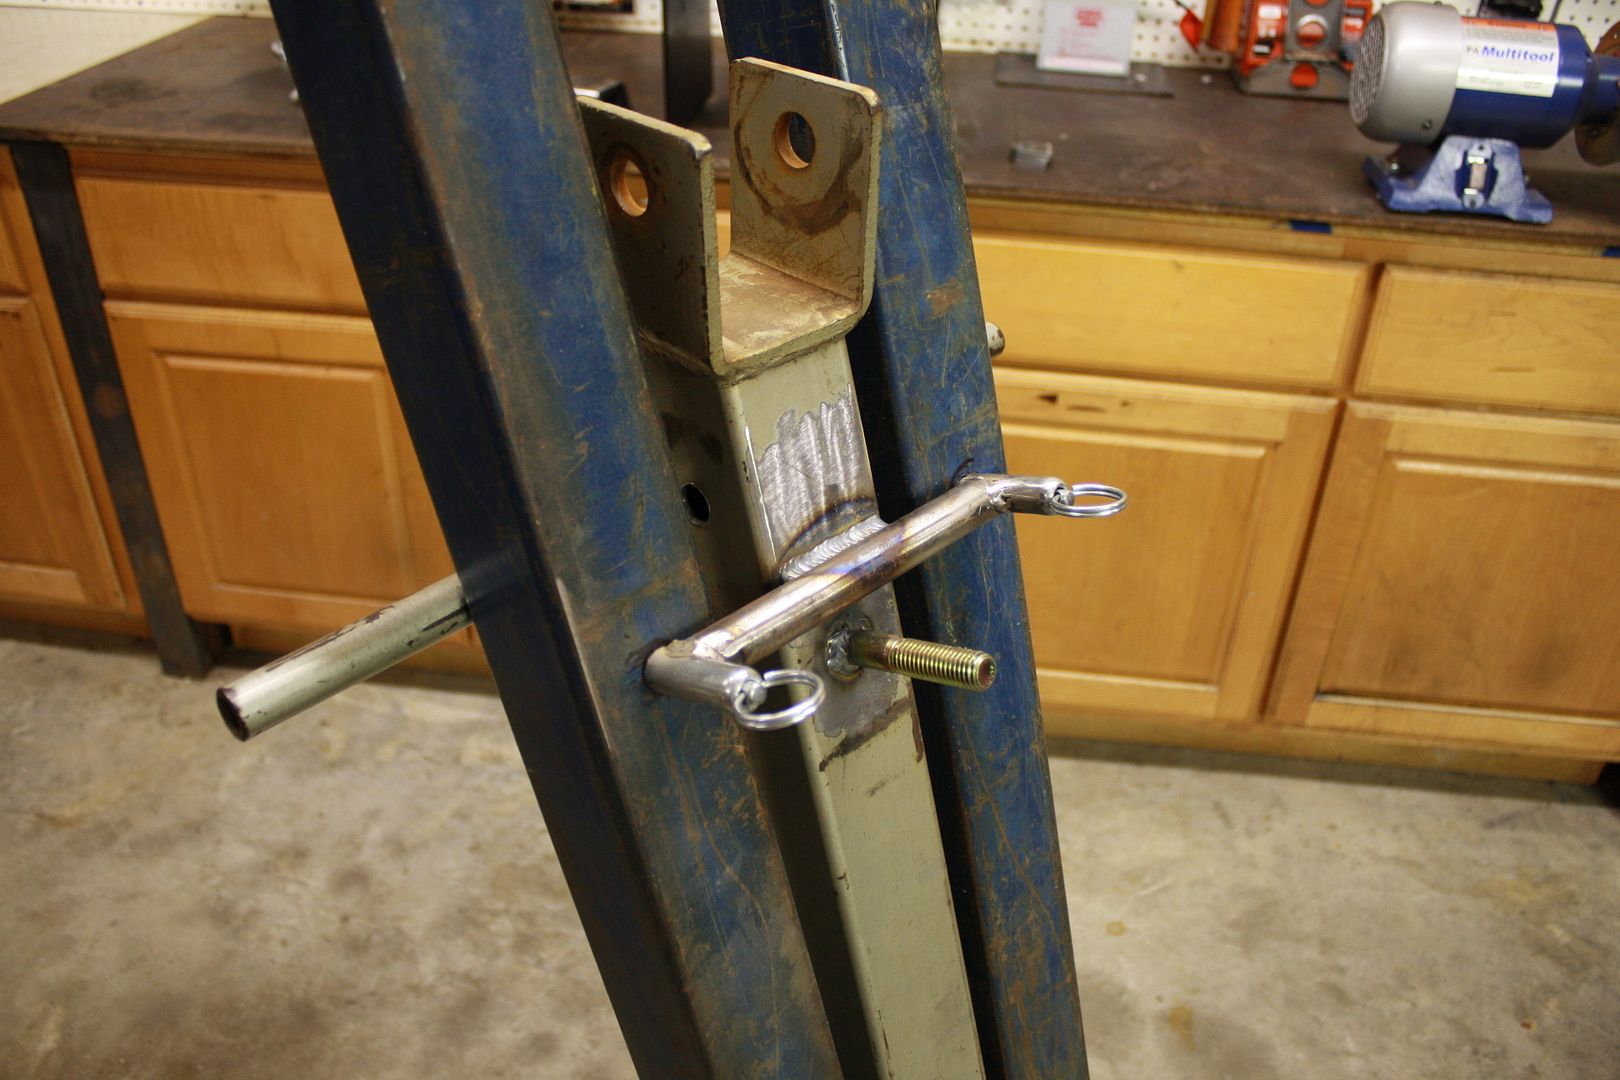
As I mentioned this thing travels in my race trailer and occasionally attached to the receiver on the front or back of my truck. The Damn legs have always gotten tossed somewhere. Well no more. I pinned them.
Small spring loaded pins.
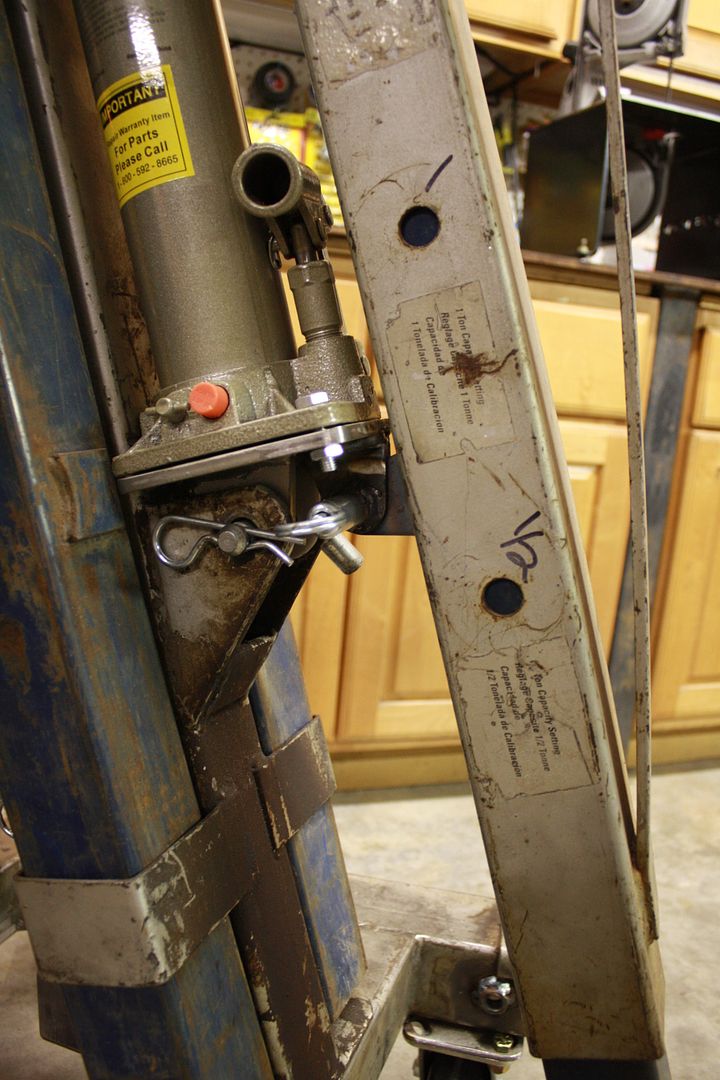
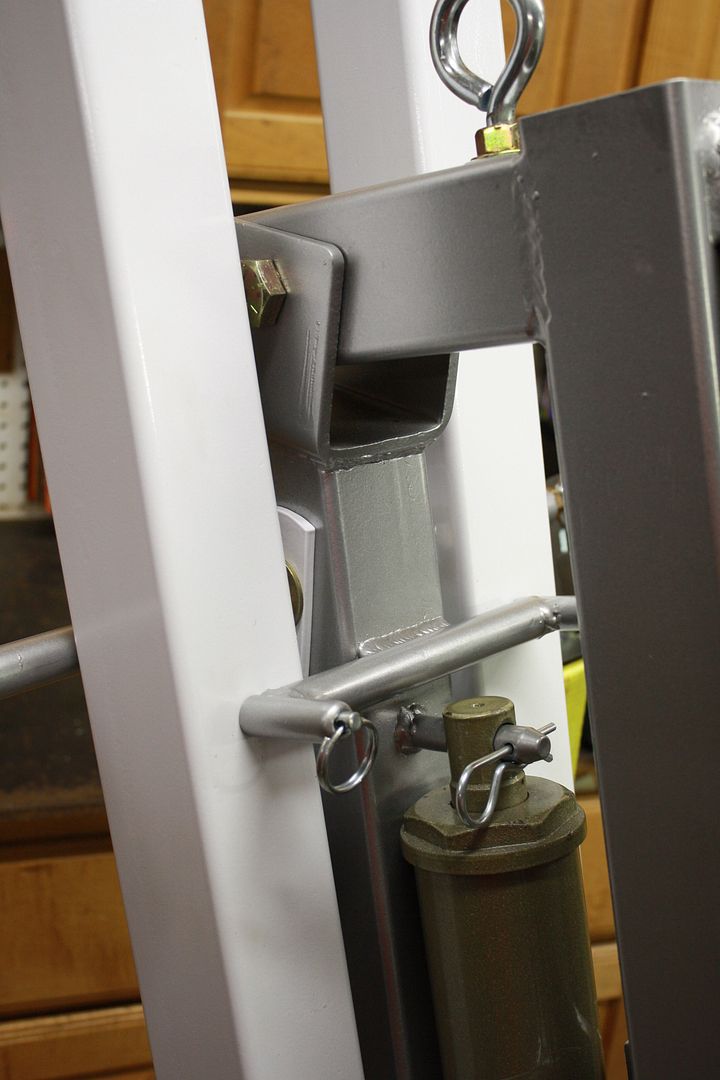
Which brings me to the jack itself when the unit isn't in use. The jack would just flop around. So I initially welded a 5/8 stud and you could use a bolt to hold it in place. I rethought that and cut a 5/8" receiver pin so you just pull the pin vs. needing a wrench.
Threaded before the 86'ing
Pinned as it is now
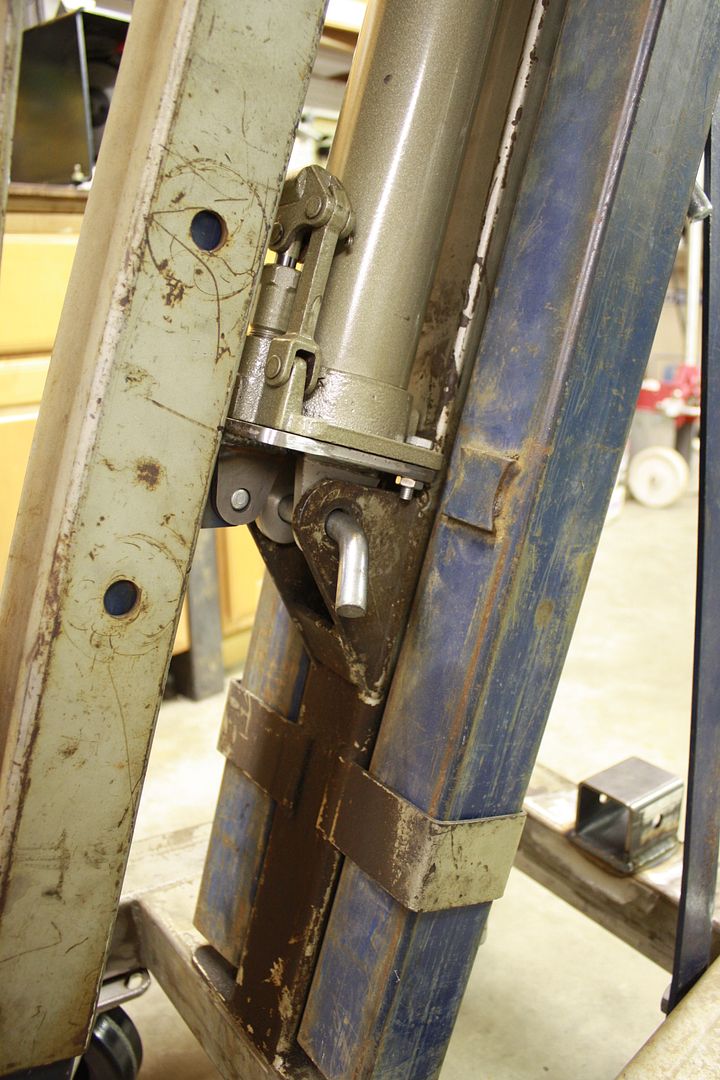
Now the next thing that swings around is the boom. Set it up to be Spring loaded pinned off the jack mount base.
Next up where to mount the jack handle. Before it had a piece of bailing wire so you could hang it off the handle. Some 1" tubing and whamo!
And lastly this thing really lacked tie downs or any good way to secure it in the trailer. Bring on the "Eyelets"
And here as some fully assembled pics before I tore it down to go to paint and powder coat.
And in case you were wondering about the ratchet strap. It goes down and hooks to the gooseneck chain catches in the bed of my truck to counter the lifting force when its hanging off the receiver.
And here is how it looks right now as I'm taking it over to my buddy Robert Leady at FURL Coatings (**** You Robert Leady) sometime this week. Any suggestions on colors? I'm planning on Powder coated main body, and then just single stage base for the legs, sliding boom, two vertical braces and the receiver tube. Red looks too generic like a Craftsman, I thought about Green as it would match my SnapOn box. But around my truck and the salt car it would look like XMAS with the Red & Green clash. Yellow looks cheap to me like Harbor Freight, same with Orange. I was kind of thinking Silver with White legs and stuff. Then get it pinstriped and labeled in Black and Red.
My next pics will be of it full assembled after getting coated. So a lot of work and I didnt even increase its carrying capacity laughing1
 atleast it will all be pinned together when you are tryin to move it....
 Way to go overboard on this build! Now if you would put your "talent" into building a racer it would take years to finish.
 :****:

![IMG_6358[1].JPG](http://attachments.www.hardlinecrawlers.com/xfmg/thumbnail/12/12438-04854db3721ebcacfb8148b3f3351727.jpg?1625929688)