• Help Support Hardline Crawlers :

K.O.R.E. Build -Troy's TJ

Ken_00

Well-Known Member
Joined
Jun 26, 2007
Messages
118
Reaction score
0
Location
Tulsa, Ok
Well...we don't have an official project name for this build yet...but we're open to suggestions!! 8)


We've had this build going on in the shop for a lil while now and thought we'd share some pics of our work & upcoming products.


So anyways...bring on the pics!

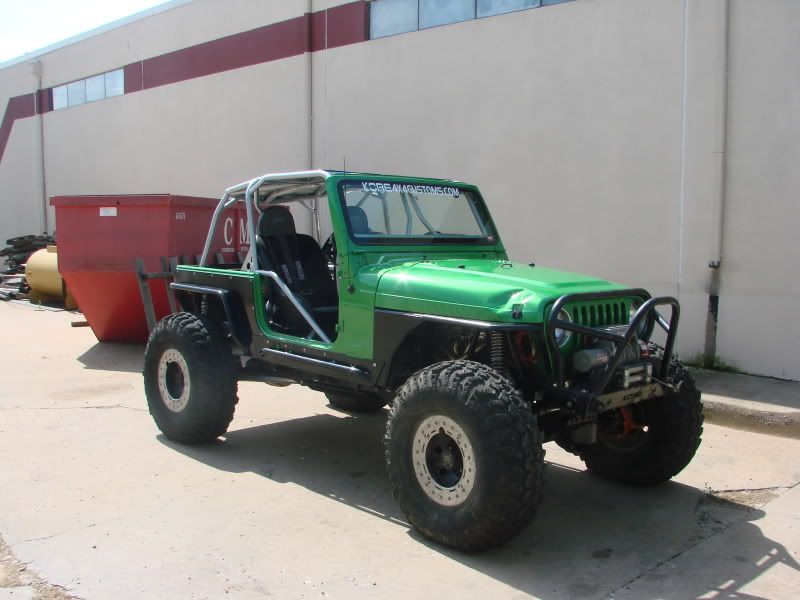
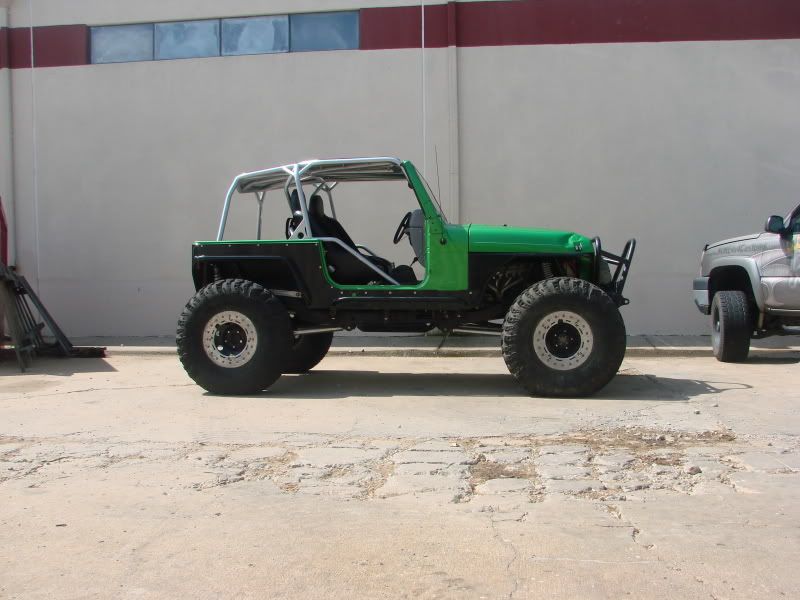
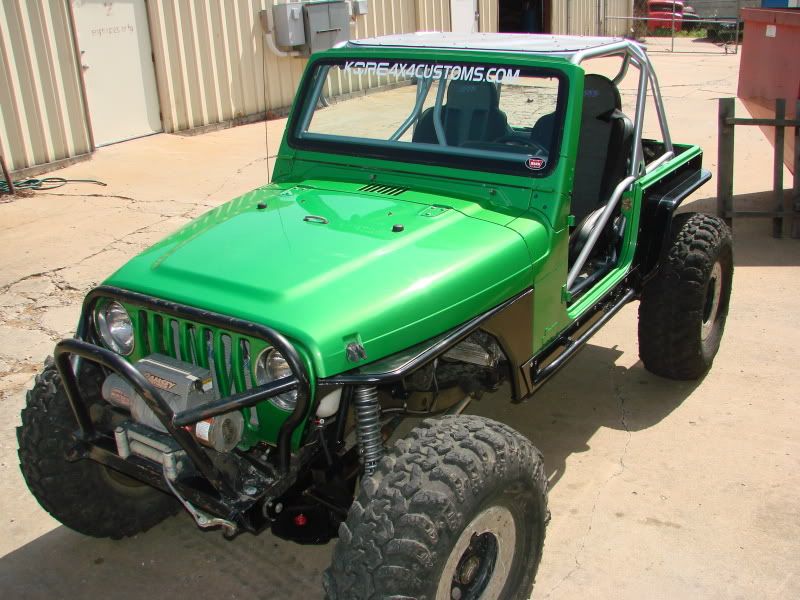
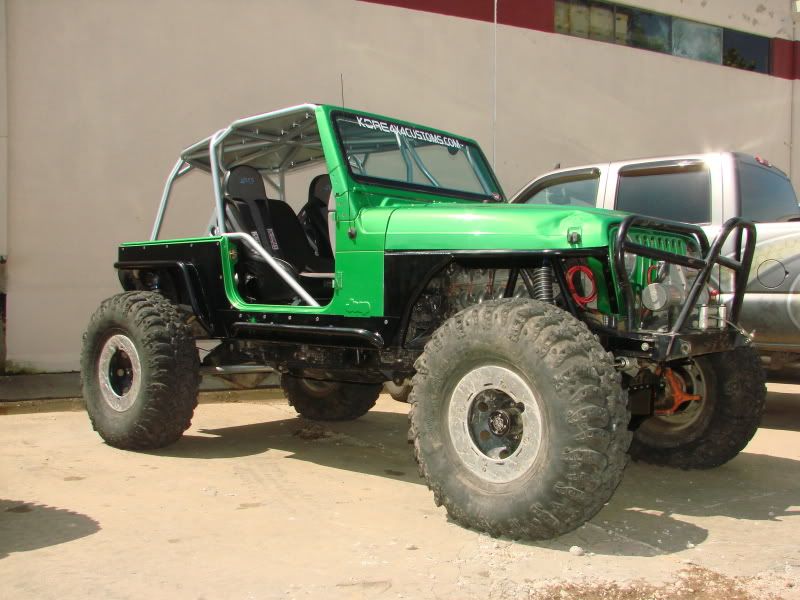
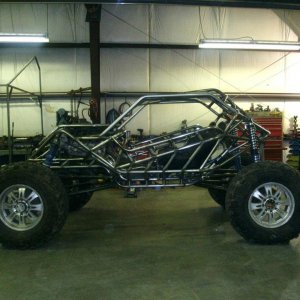
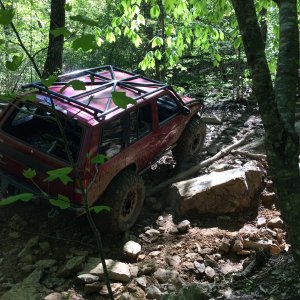
We started with this:

A '97 Jeep Wrangler with an I-6, Auto, 4" Skyjacker lift, HP 30, & 8.8 Rear Axle.

DSC01780.jpg


Troy drove down from Illinois with the Jeep & a pile of parts on the trailer.

Some of those parts included:
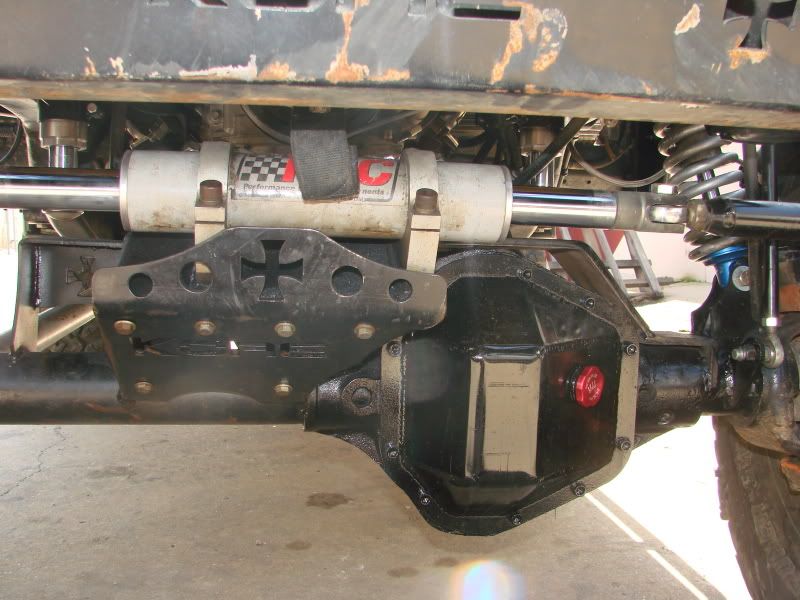
- HP 60 front with Detroit & 4.88's
- HP 60 Rear with Detroit & 4.88's
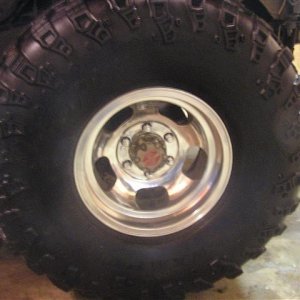
- 39" Irocs
- 17" Trailready Beadlocks


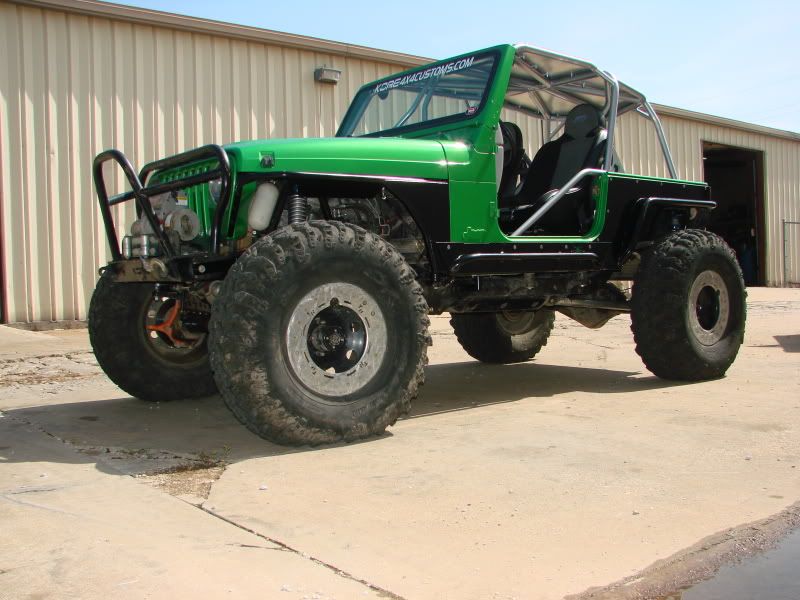
Plans for the build Include the following:

- 105"-108" Wheelbase

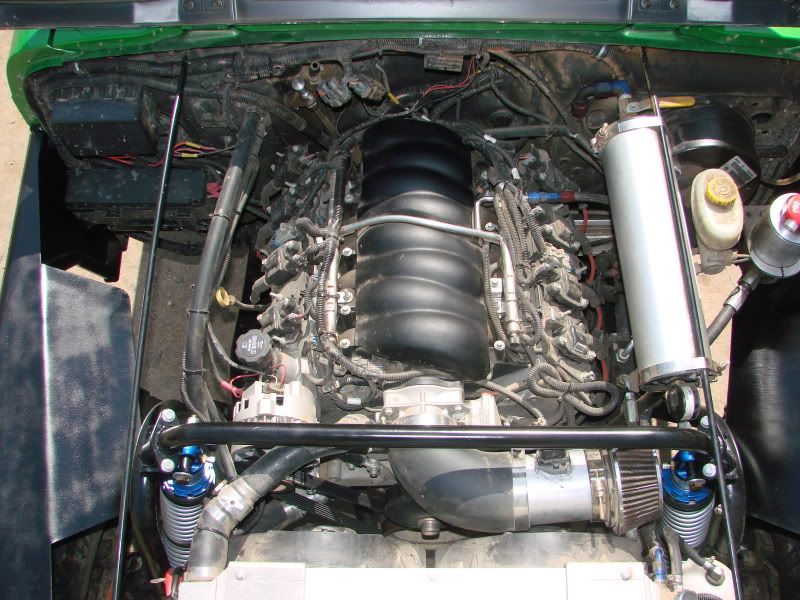
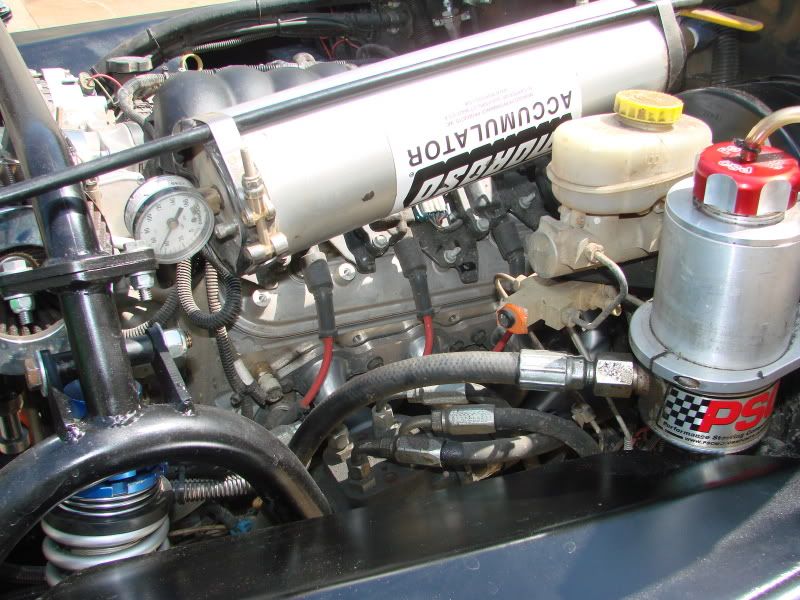
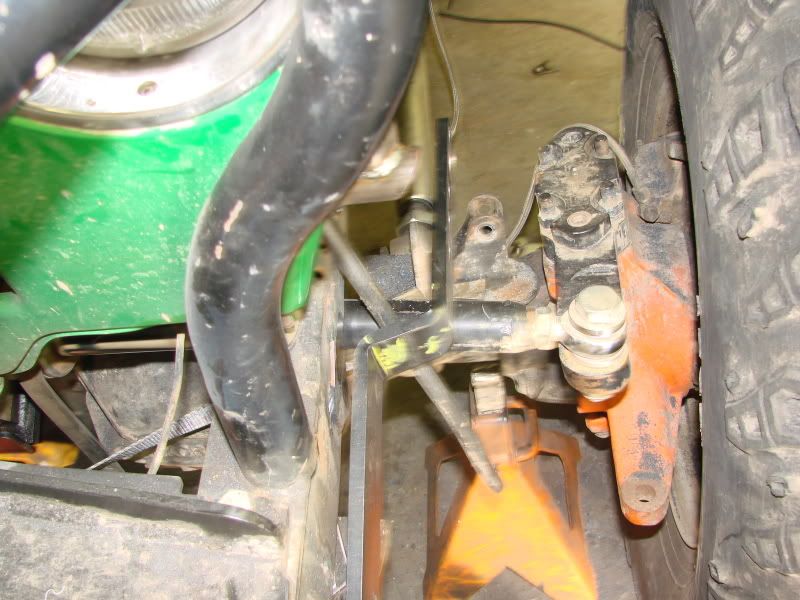
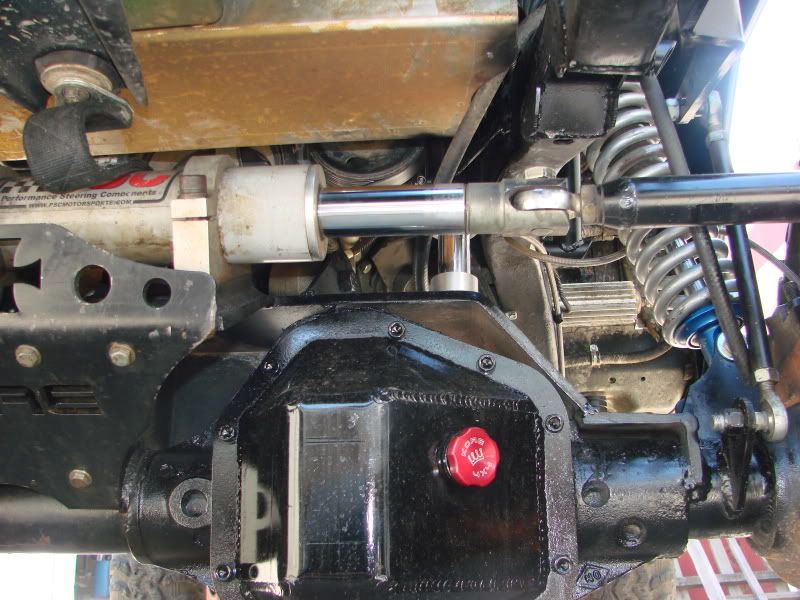
- PSC Full Hydraulic Steering

- Custom 4 Links front & rear

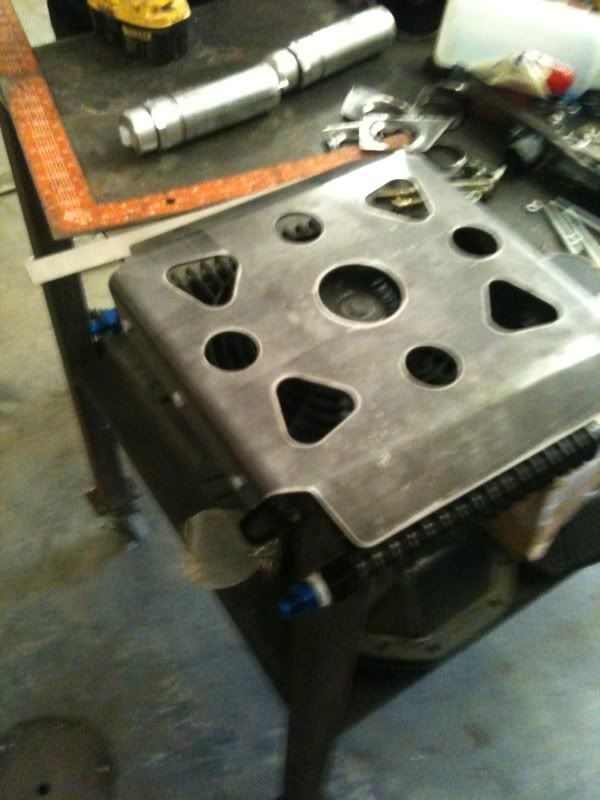
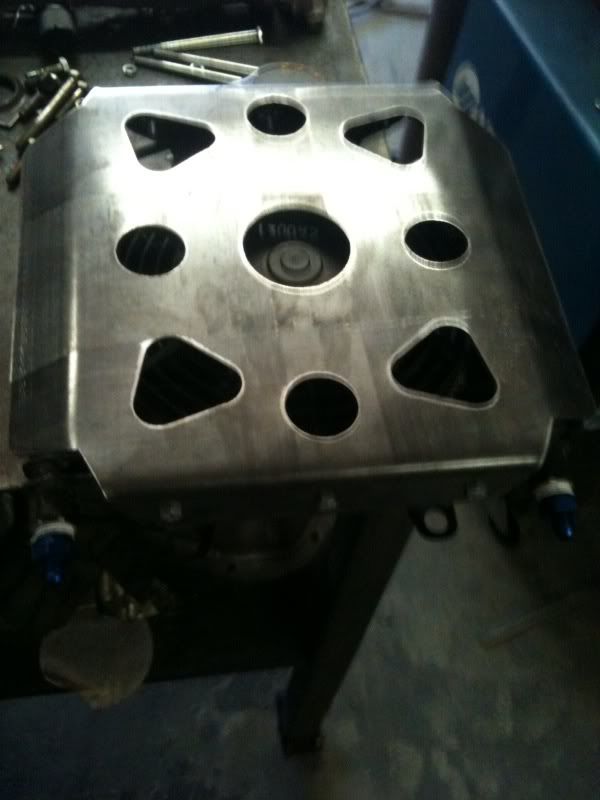
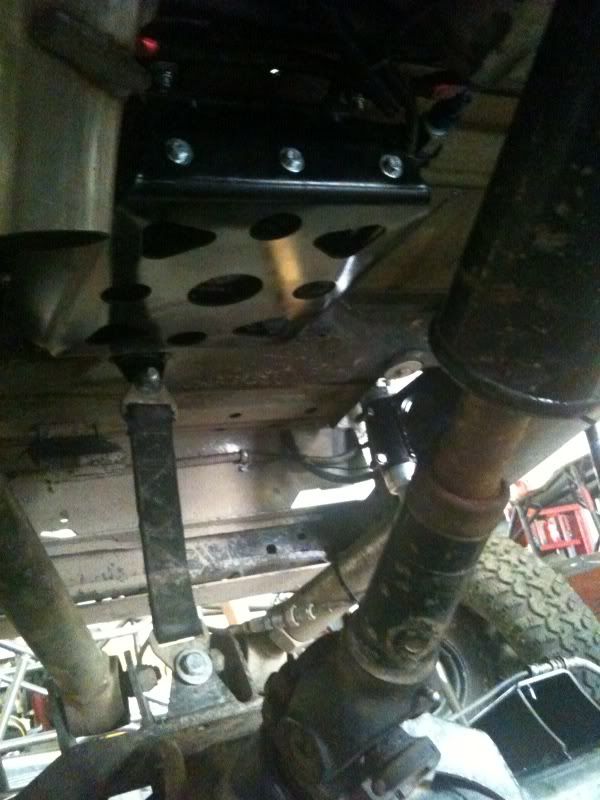
- KORE Flat Belly Skid Plate

- Atlas II 3.8

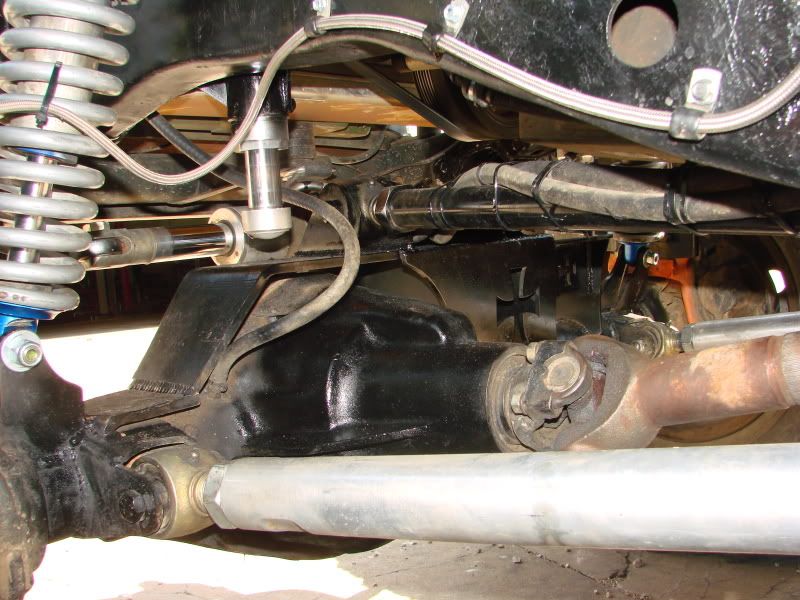
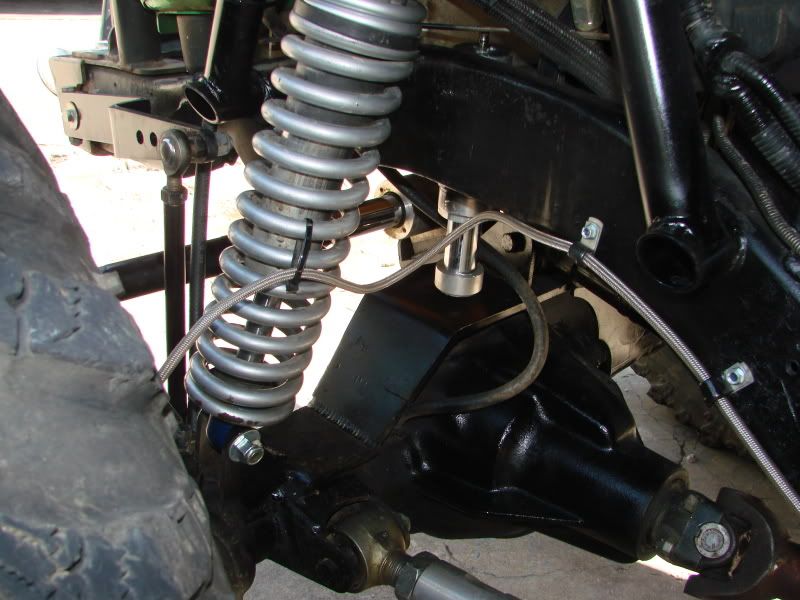
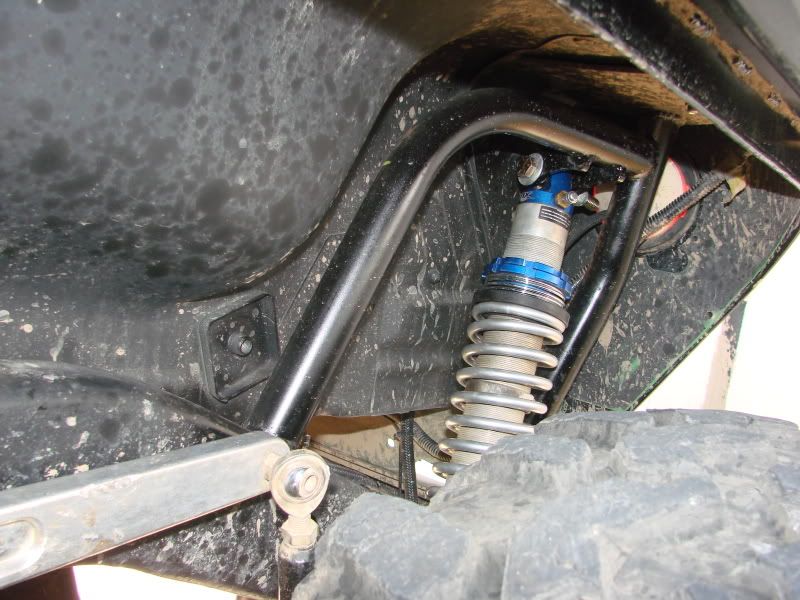
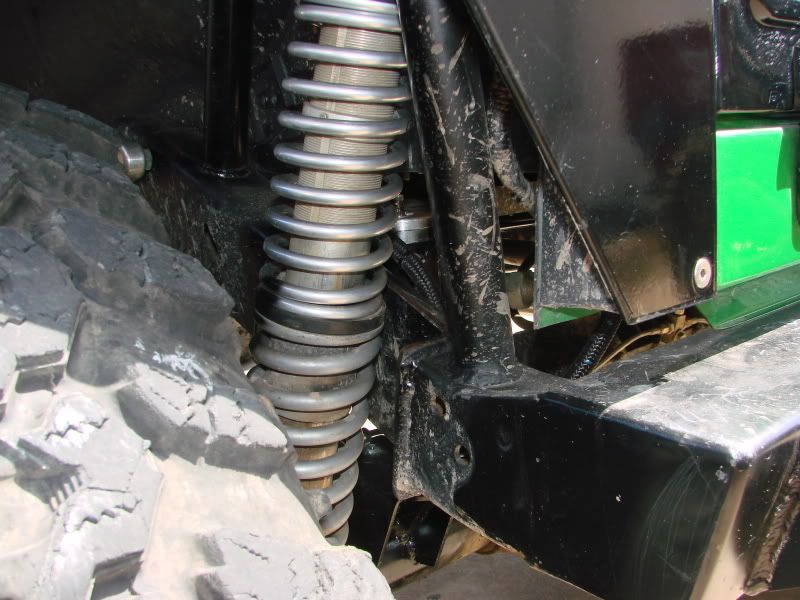
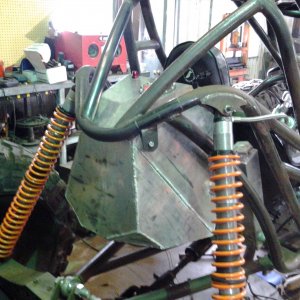
- Coilovers all Around

- Fuel Cell

- KORE 7075 Aluminum Control Arms

- New KORE bracketry for front & rear axles including trusses

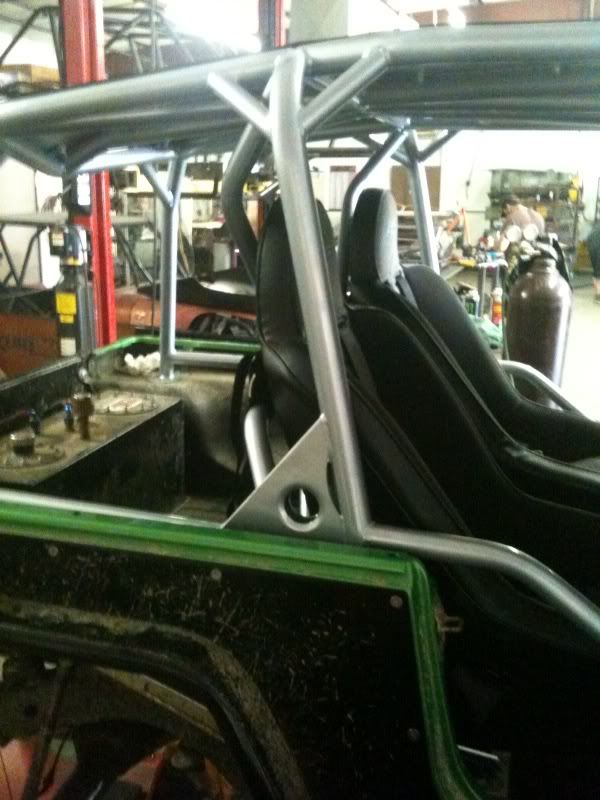
- Frame Tie-Ins for existing Cage

- Swaybars Front & Rear
 
Rear Axle Cleaned up...Removed old junk Truss & brackets

Ready for New Stuff!

DSC01857.jpg


Axles mocked up at appropriate wheelbase

DSC01959.jpg


Closer Look At the Rear.

We're using a set of Blank Corner Guards so that we can cut the wheelwell opening exactly where we want it for a clean look

DSC01960.jpg


A few more buildup pics....

Rear 4 Link Setup

Used a set of our new Frame Brackets to make that side super easy to install

DSC02036.jpg


Rear 60 Truss Installed
DSC02102.jpg


We had to 'C' Notch the frame to get the Coilovers to tuck in nicely

DSC02105.jpg


I'll have more pics soon of the finished rear 4 link. As well as brake line routing, sway bar mounts, & fuel cell install.

It's turning out pretty clean, if I do say so myself... :afro:


-Kenneth
 
Just finished up the rear bumper that I thought turned out pretty cool.

CNC cut from 3/16" plate & then formed on our press brake.

Two 5/8" thick D-Ring mounts are welded to the bumper. These get passed through the face of the bumper and are welded to a plate that is roughly 3"x8" that will spread the load along the bumper.
Obviously the D-Ring tabs are welded to the face of the bumper too.


DSC02336.jpg


Will be finishing up a matching front bumper with grill hoop/stinger tomorrow. As well as pulling everything out for final weld/paint & then hopefully reassemlby tomorrow night (Long Day Tomorrow!)


Gotta run. I'll get more pictures up soon.


We should be taking this thing Tuesday to the exhaust shop.


-Kenneth
 
Ok....I'm going to fill in the gaps! LOL

We got this rig done & took the Owner to Clayton for a shakedown run. Other than just a bleeding issue with the full Hydro steering, it works flawlessly!


Here's the rest of the buildup pics...Enjoy

Closeup showing what we had to cover up with the rear corner guards...

DSC01853.jpg


DSC01965.jpg


Our new Hi-Clearance Skid Plate getting mocked up

DSC02034.jpg


TIG Welded the Sway Bar Links


DSC02111.jpg


Fuel Cell Setup

DSC02037.jpg


Rear Truss Area all cleaned up

DSC02329.jpg
 
Some More Front Truss Pics

DSC02276-1.jpg


DSC02280-1.jpg


DSC02305.jpg


DSC02306.jpg


DSC02307.jpg


Custom Bracket we made to hold the orbital

DSC02328.jpg


Front Coilover Mount

DSC02327.jpg


Another View of the Rear Bumper

DSC02335.jpg


DSC02337.jpg


The matching front bumper we fab'd up

DSC02358.jpg


DSC02359.jpg


DSC02360.jpg


DSC02362.jpg
 
Couple of Flex Pics before Paint/Powdercoat


DSC02355.jpg


DSC02356.jpg


DSC02357.jpg


DSC02351.jpg


Now some with Paint/Powdercoat

DSC02363-2.jpg


DSC02364.jpg


DSC02365.jpg


DSC02372.jpg


DSC02379.jpg


It sits a little tall, but we've got some shorter top coils coming so it can be dropped down about 2-3"

DSC_0380.jpg
 
Couple More.....

DSC_0341.jpg


DSC_0348.jpg


DSC_0379.jpg


DSC_0359.jpg


The Wheeling Pics from Clayton, Ok.....

We didn't snap a ton of pictures while wheeling. We were in a group of just 3 rigs, so we covered a lot of ground fast & kind of forgot to get pics!

Got too excited wheeling....We don't get out of the shop much! LOL


DSC_0003.jpg


DSC_0423.jpg


DSC_0424.jpg


DSC_0437.jpg
 
Beyer said:
Jeep looks good. Any shakedown issues?
Did you take your jeep?

Thanks.....
The full hydro still had a little air in the system Friday. Saturday morning we topped the fluid off & it was fine. Other than that, just had to adjust the t-case linkage one last time, & tighten bolts Friday night.

Negative on my Jeep. That thing may be up for sale soon...got some ideas running around in my head. LOL
 
UPDATES!!

Here we go....

He has wheeled this thing quite a bit over the last couple of years & it's been put through the paces...Lol

CLAYTON1-1-10026.jpg


CLAYTON1-1-10027.jpg


CLAYTON1-1-10029.jpg


CLAYTON1-1-10028.jpg


After this roll happened, he decided it was time to change things up quite a bit so....

- A '10 LS3 was installed along with a Built TH350 then mated to the already in place Atlas T-Case


DSC04620.jpg


DSC04618.jpg


DSC04623.jpg
 
After that roll....Troy replaced the Body & then brought it to us for the rest.


We lowered the suspension down drastically & added FOA Air bumps to all 4 corners.

photo.jpg


DSC04649.jpg


DSC04648.jpg


DSC04647.jpg


DSC04646.jpg


You can see here how it was a tight fit to get everything packaged in there

DSC04568.jpg


We had to bend the Swaybar Arms for clearance around the new front Coilover Hoops

DSC04569.jpg
 
When Troy installed the LS3, he had a transmission cooler installed but it was installed inside the tub in the rear cargo area.

He wanted us to move it to a different location so he could gain that storage space back.

We decided to stuff it under the tub. We had to strategically place it where it would clear the upper control arms at full compression.

Also, because it would now be under the Jeep & potentially in harms way....We designed & built a removable, protective shroud for it.

photo6.jpg


photo5.jpg


Here it's mounted under the tub.

photo8.jpg
 
Here's a couple overall shots of the Jeep completed

DSC04580.jpg


Sitting Low on 40's

DSC04578.jpg


We also added some of our TJ Tube Fenders to the Jeep while it was here.

DSC04596.jpg


DSC04580.jpg


DSC04603.jpg


Front Diff got some Heavy Duty Protection from one of our KORE Diff Covers. Also in this picture you'll notice our Frame Notch Kit that we installed. We designed these a while ago to allow to lower the suspension of the Jeep & still keep the steering up out of the rocks. (Call for more details...We haven't added this product to our website yet)

DSC04606.jpg


PSC Double Ended Ram mounted on our Truss System
DSC04607.jpg


DSC04616.jpg
 
Damn that thing looks top heavy with all those bolts you held the roof on with

Fastenall backordered now? :flipoff1:

DSC04664.jpg
 
Back
Top