• Help Support Hardline Crawlers :

My boring DD build

Totalled

That Ford Guy
Joined
Apr 1, 2006
Messages
4,477
Reaction score
0
Location
Cold can of Oly
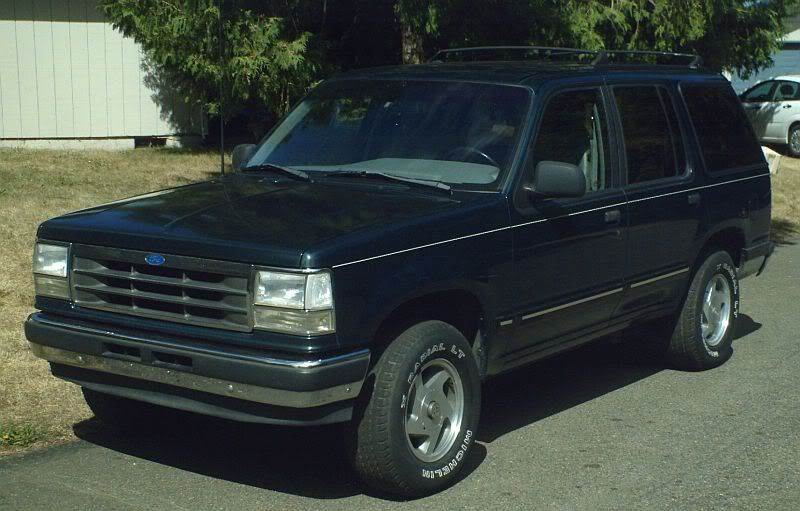
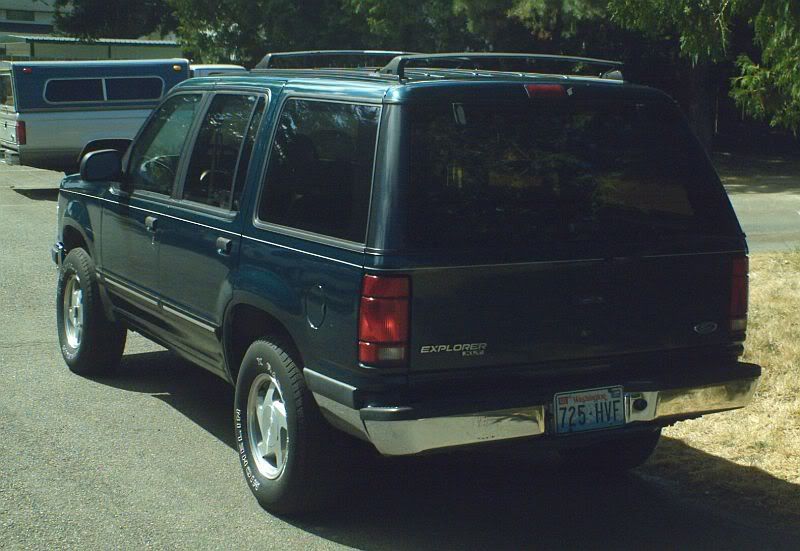
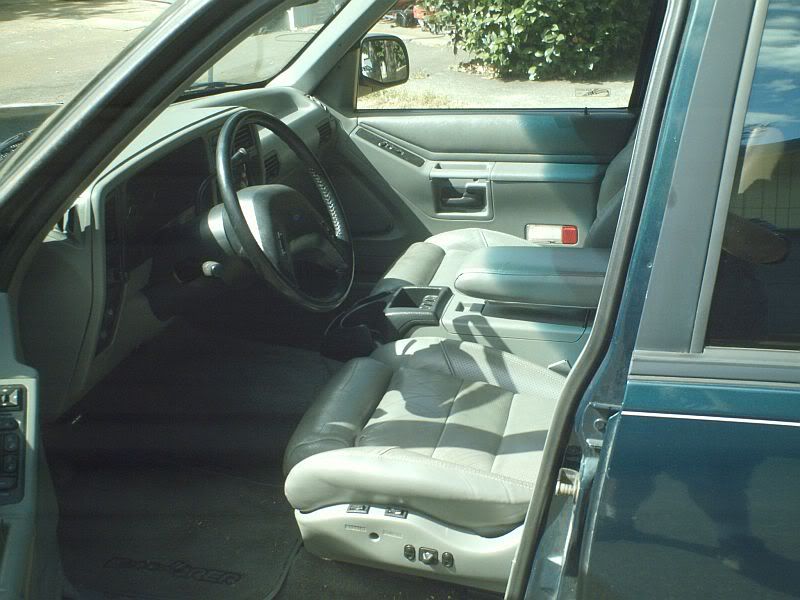
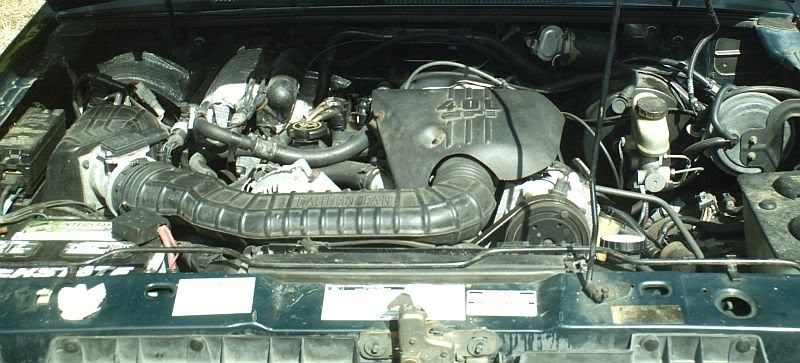
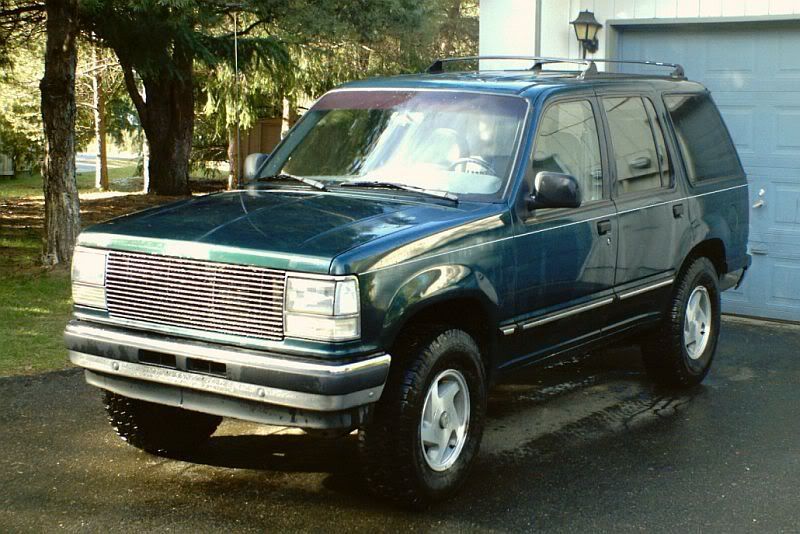
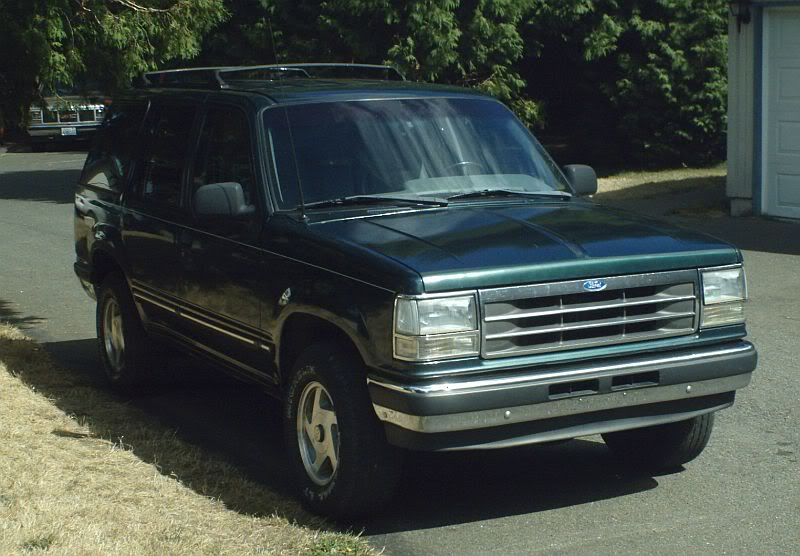
This is a stone stock 1992 Explorer XLT 4 door that I just picked up the last year. It has a Bad A4LD so I payed far less than it's worth. It has a grey leather interior, and every option other than the sunroof and JBL audio system. Auto hubs, electric shift t-case. 3.73 L/S. The A/C even blows cold. I got a set of manual hubs to put on it, but the auto still work (for now) It's going to be my new daily driver and possible tow rig for my BII when I finish swaping a C5 into it.

splodoor1.jpg


splodoor2.jpg


splodoor3.jpg


splodoor4.jpg


splodoor5.jpg
 
Then I did some cosmetic things while waiting for garage space to open up...

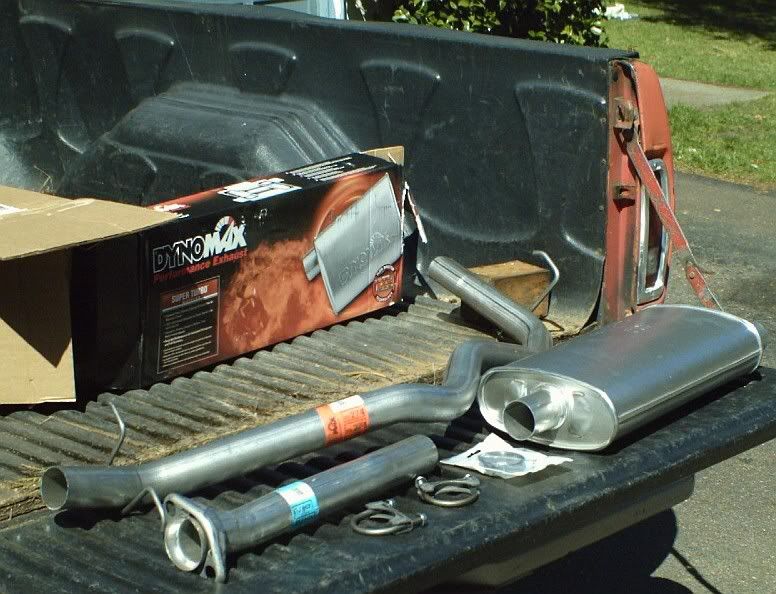
Billet grill, 31x10.50 TXRs.. vent visors.. ordered a dynomax cat back for it to replace the rotted stock exhaust.

SUNP0186.jpg


-------------------------------------------------------------------------

April 7th:

Computer says noooooooooo.

Put the scanner on the sploder. Only 2 codes.

629 - Torque converter
converter clutch solenoid
clutch solenoid circuit failure.

566 - 3-4 shift solenoid
solenoid circuit failure.

yeah. no ****. :rolleyes: :looser:

Smoked A4LD anyone? :redneck:

No CEL either... so I'm gonna just run the stock automatic computer with the C5...

Trans fluid hits the ground Monday.
 
I like the grill :awesomework: you need to add one of those bulldog hood things
 
April 9th - AM:

Oh... my.. fuggin... God...

So I got bored at 11pm and decided to go out and tear into this thing...

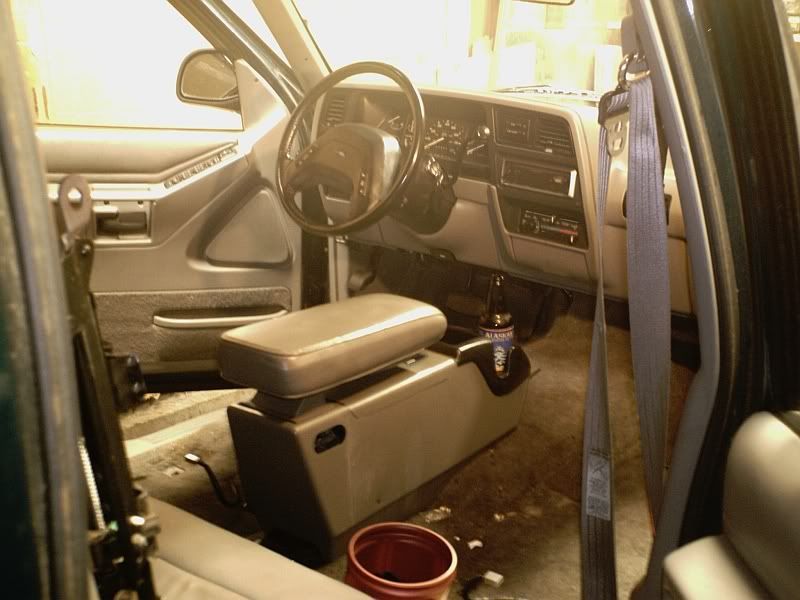
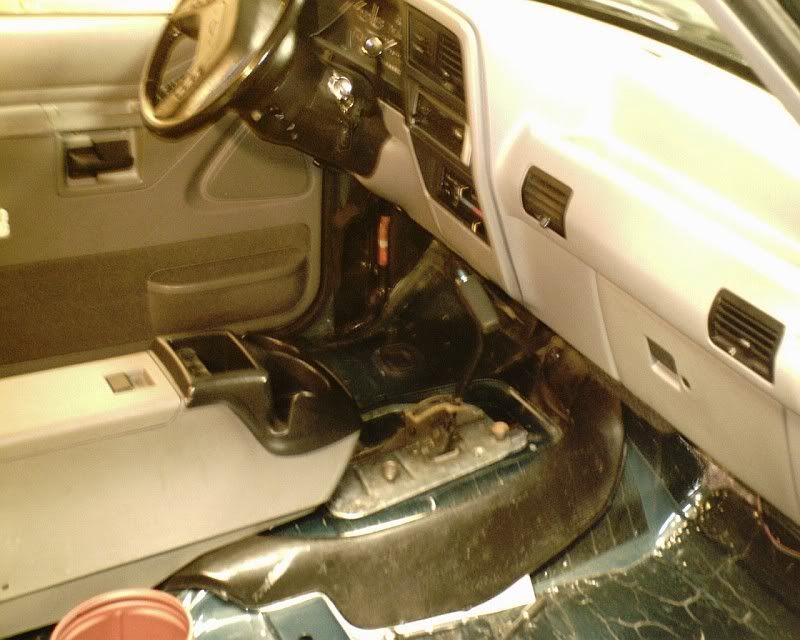
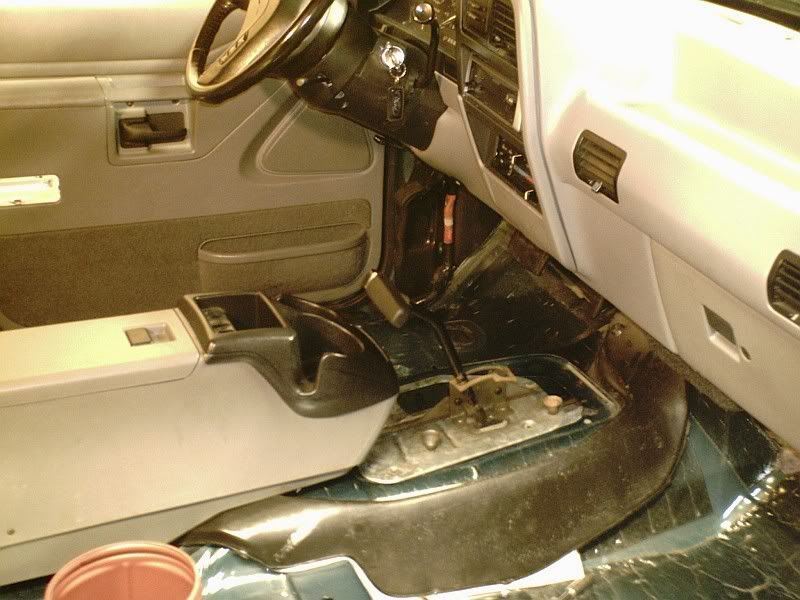
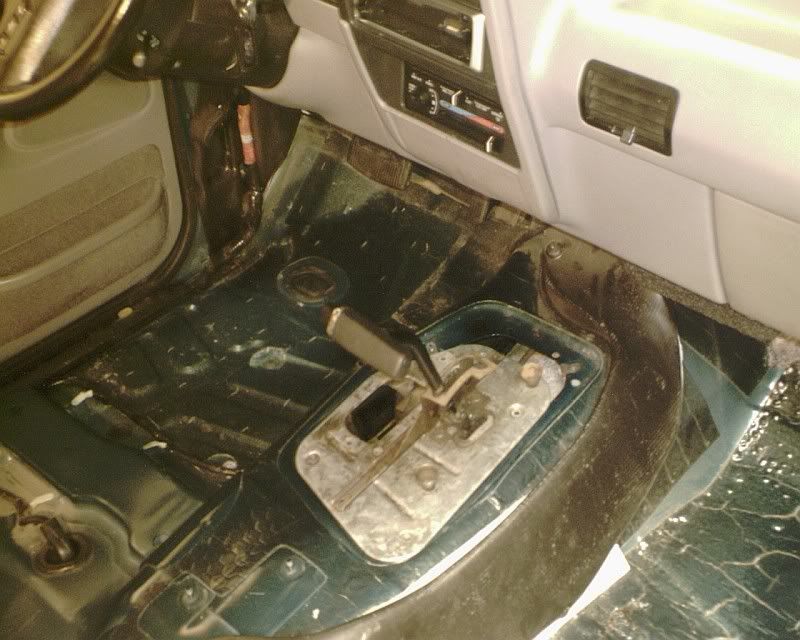
I decided to pull the seats and console so I could take the tunnel cover off and size things up...

SUNP0068.jpg


Guess what I found....?


The vacuum line to the vacuum modulator was MIA and rotted off of the hard line coming from the engine on both ends.... So I check out the new looking vacuum hose that I thought should be running to it...

It was hooked to the end of the transmission vent tube. :wtf:

Then I looked around underneath... remembering those shift solenoid codes and realizing a real genius had worked on this trans... :no: :rolleyes:


Guess what else I found....?


The plug for the shift solenoids was unplugged shoved up between the body and the shifter cables... :eek: :wtf: :rolleyes: :no:


I plugged it in and ran the vacuum hose to the vacuum modulator...


I'm gonna take it for a drive in the morning and see if it shifts let alone slips... Hopefully it wasn't run too long like that to completely burn the trans up... :rolleyes: :no:

So we'll see if the A4Ld gets a reprieve and I get time to rebuild the C5 so it's fresh when it goes in.

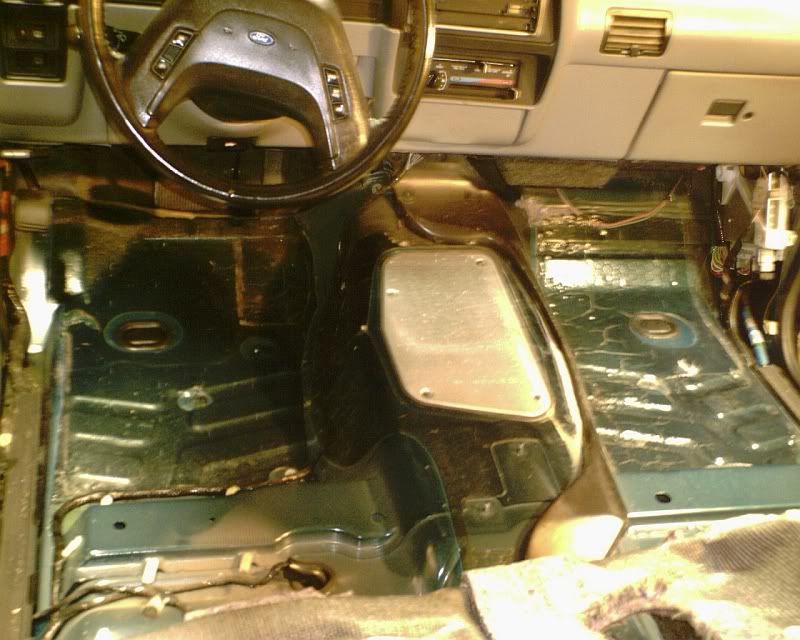
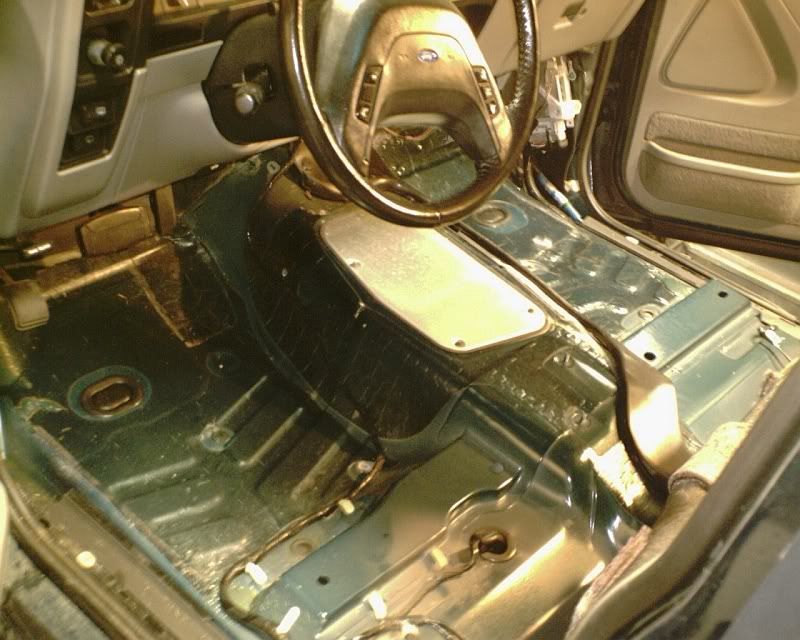
So, here's some floor pan shots to make you east coasters jealous. :devil: :D

SUNP0072-1.jpg


SUNP0073-1.jpg


--------------------------------------------------------------------------

April 9th - PM

yeah... no.

It shifted into all the gears after lots of coaxing... but it's slipping. Not reliable enough to drive. Out it comes.

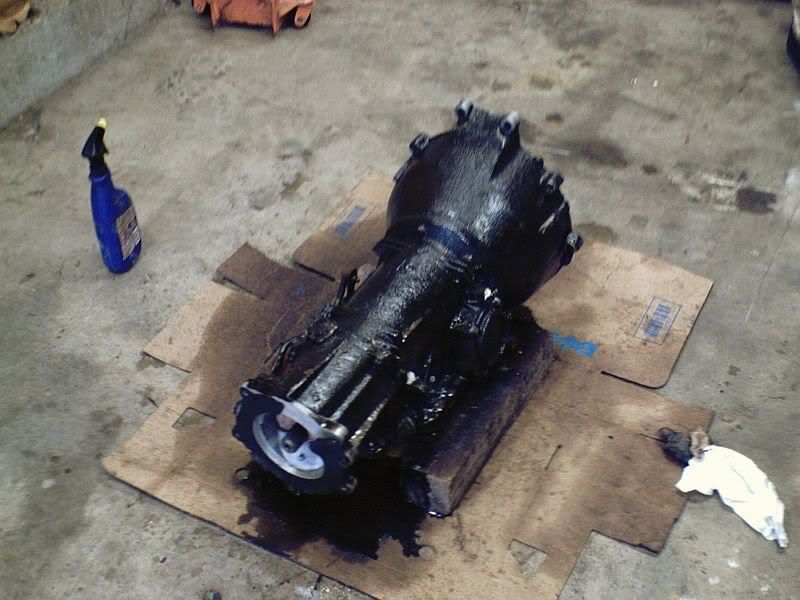
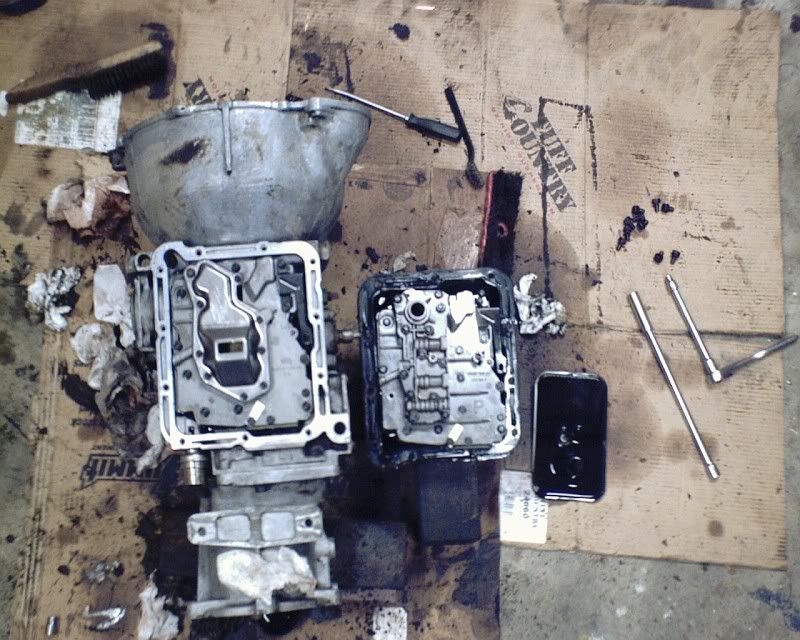
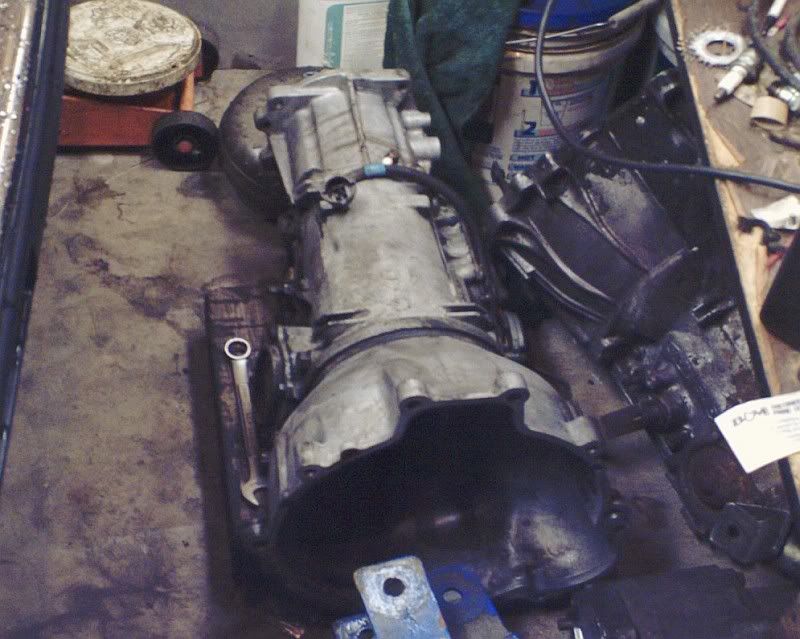
Here's what I started with:

SUNP0074.jpg


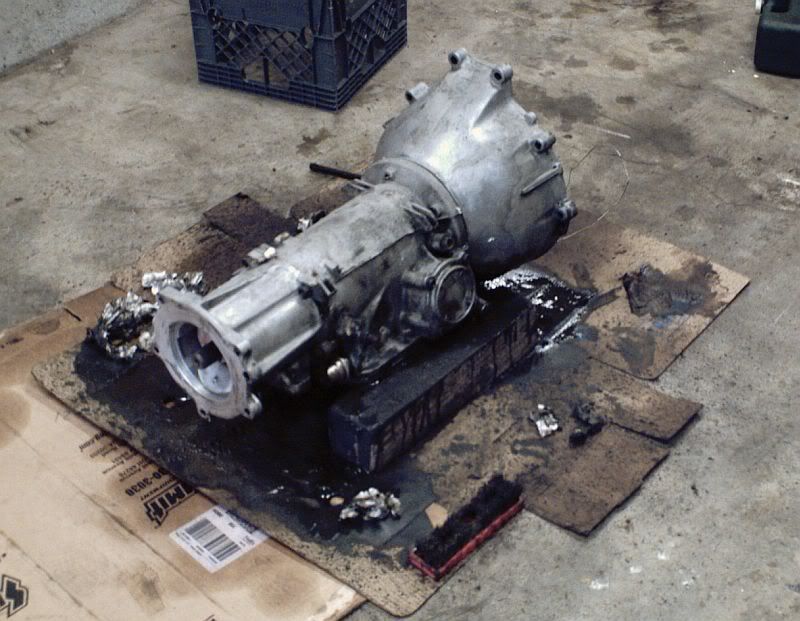
Here's what a couple of hours with purple power and a tooth brush get ya:

SUNP0075.jpg


Why? Cause I hate wrestling with greasy ass trannies.. and if it doesn't work and I need to rebuild it.. it saves a step. Plus the rest of the sploder is pretty clean... so it will match. :D

--------------------------------------------------------------------------

Later that same evening...:

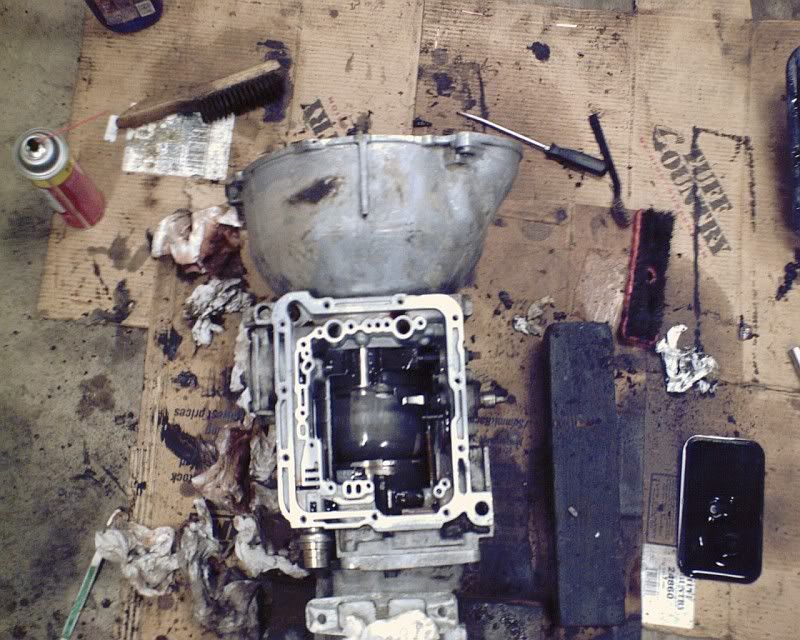
There you go folks... that's all there is to a C4/C5... that's why they are so easy to rebuild.

SUNP0078-1.jpg


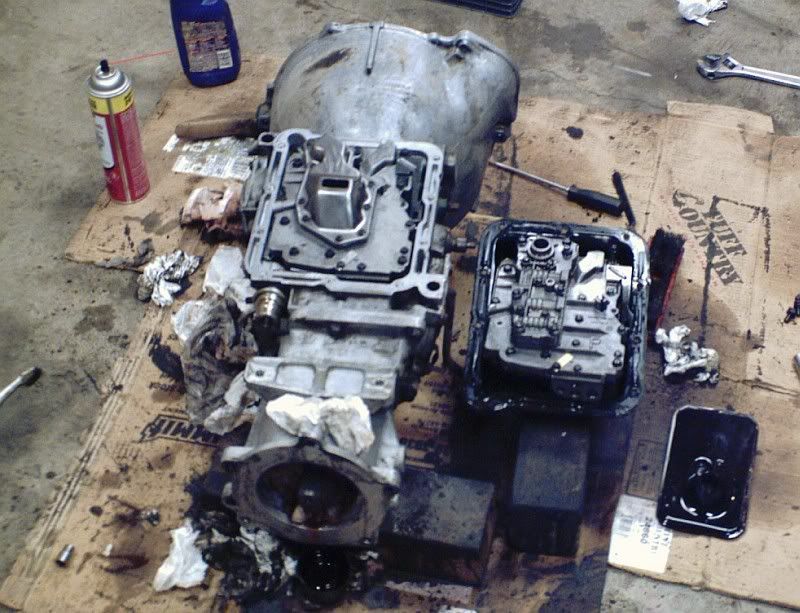
For review. C4 vs C5 valve body:

SUNP0079-1.jpg


SUNP0080-1.jpg


All ready to go in. :yay:

SUNP0082.jpg
 
background tech discussion....

The A4LD Auto trans is a POS. It's under engineered.. and Ford cheeped out on the hard parts... so they die. End of story. They are based on the old C3 pinto trans... so that gives you an idea. Automatic 4speed Light Duty. They ain't shittin.

The trans I'm replacing it with is a 1984 Ford C5... which basically is the lockup TC version of the old reliable C4 auto. So, I'm losing overdrive but gaining the strength of a trans used behind V8s. I swapped the stock C5 valve body out for a truck C4 valve body, because the C5 valve body makes it shift like grandma's Taurus... it sliiiiiiiiiides into the next gear. Not good. Maybe okay behind the 2.8L that they came behind in it's stock application... but a 4.0 would smoke it if it shifted like that. So, i put the truck C4 valve body into it in hopes of positive if not firm shifts. If it doesn't shift hard enough for my liking.. it will get a trans pack when it's time for a fluid service.

I may try towing my BII with this thing.. so the stronger trans was a must. That, and rebuild A4LDs with upgraded hard parts are around $2,600.... this C5 cost me $100 and the cost of new drive shafts..

Coming up next... adapting cooler lines, shift and kick down cables to a completely different trans than the exploder came with. :cheer:
 
My sister has a Exploder. She wishes her husband never came home with it! Her bro-in-law a tranny specialist had the tranny tore apart 7 times in one week and couldn't get it running. Tore it apart one more time and it works and he did nothing special! POS
 
Where is the SAS, and the 502 Ramjet motor and the Pro rock 60's and the 49's? I thought this was going to be a daily driver?
P.S. The grill is probably the best part.
Cory.
 
But wait... there's more...

The person who put a tranny into this rig, ( and it's now obvious to me after spending the afternoon under it that it's been out before...) was a complete no talent, ass clown, hack. No skilz at all.

Get this. The top two and middle two bell housing to block bolts are MIA. Gone. Non existent. Yes ladies and gentlemen.... the A4LD is being held into my exploder by 4 bolts...


:eek:

I know. :looser:


At least I don't have to break those bitches loose now.... :clappy:


I've pretty much abandoned the idea of adapting the column shifter to the C5. The cable moves the exact opposite way from the C5's arm. It's on top, the A4LD has the arm pointing to the bottom. I could use an after market shift arm and change it to the bottom... but it would eliminate the neutral safety switch/reverse light switch... which at that point I might as well put an after market shifter into it... so I decided to use the 1984 BII factory floor shifter.

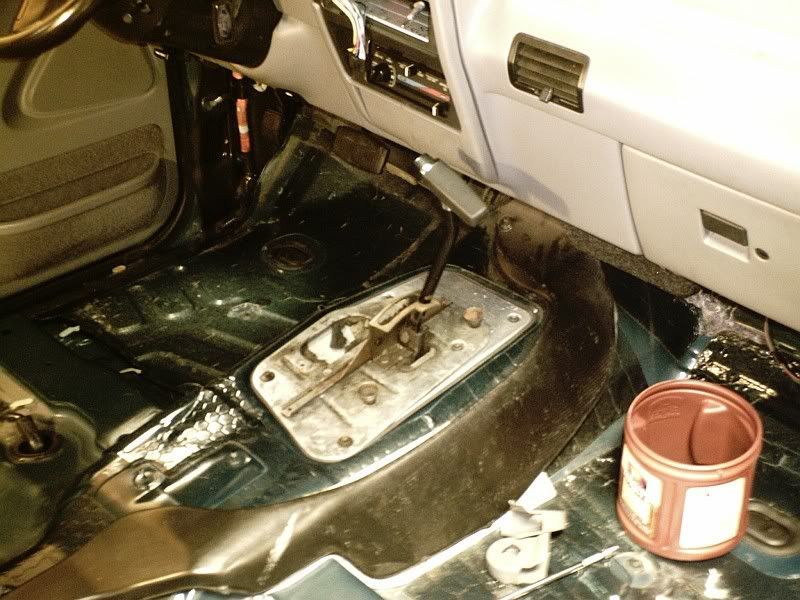
Here's some mock up pics of that:

It just clears the dash in park. It blocks the ash tray from opening all the way while in park... but I don't smoke anyway...

SUNP0083-1.jpg


The other thing I was worried about with the floor shifter is that it would clear the center console in 1rst gear. It does, with more room than the dash.

SUNP0084-1.jpg


Here you can see the difference between the early and later model trans tunnels... the later models have a much larger hole and corresponding floor plate. I will be putting the C5 shifter/floor plate on top of the existing sploder floor plate and basically sandwiching them.

SUNP0085.jpg
 
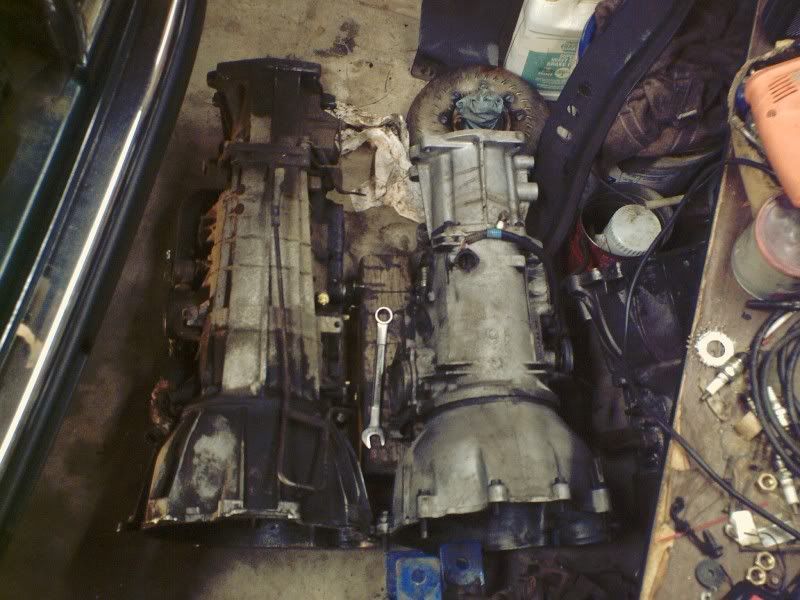
Now A4LD free...

SUNP0090-3.jpg


After some research I decided that I'm gonna put an "H" servo into the C5 before it goes into to reduce flare on the 2-3 shift.

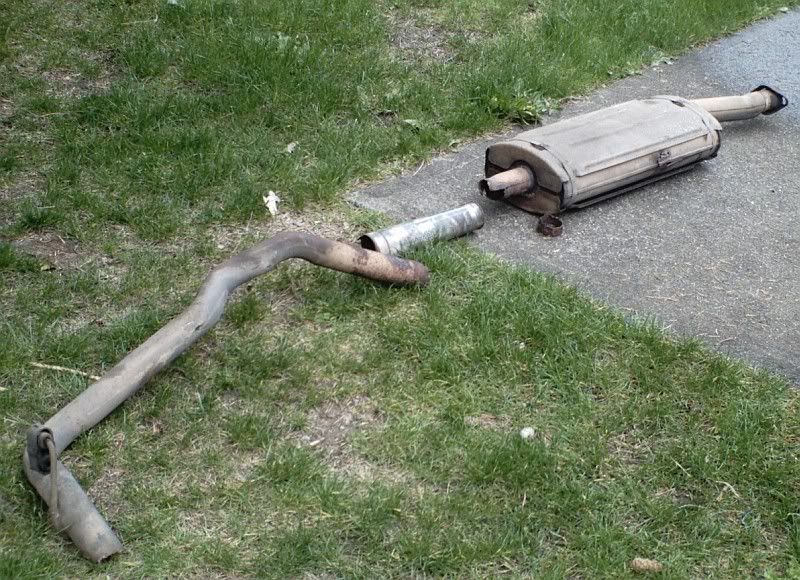
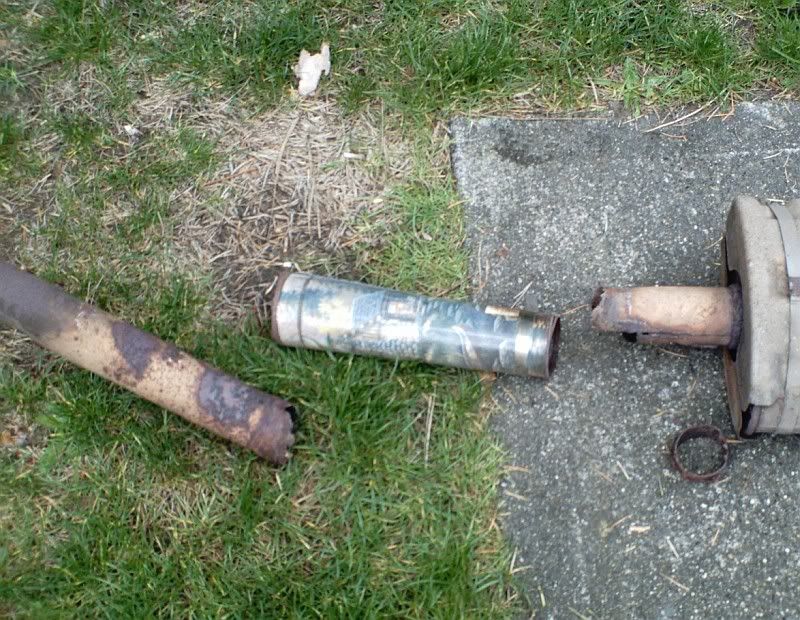
The previous owners did a bitchen patch job on the factory exhaust with a Christmas popcorn tin...

SUNP0086-1.jpg


SUNP0087-1.jpg
 
:haha: :haha: That right there is redneck engineering, I've seen some funny stuff with exhaust fixes, but that is the best ever. Looking good Pat. :awesomework:
 
Sunday...

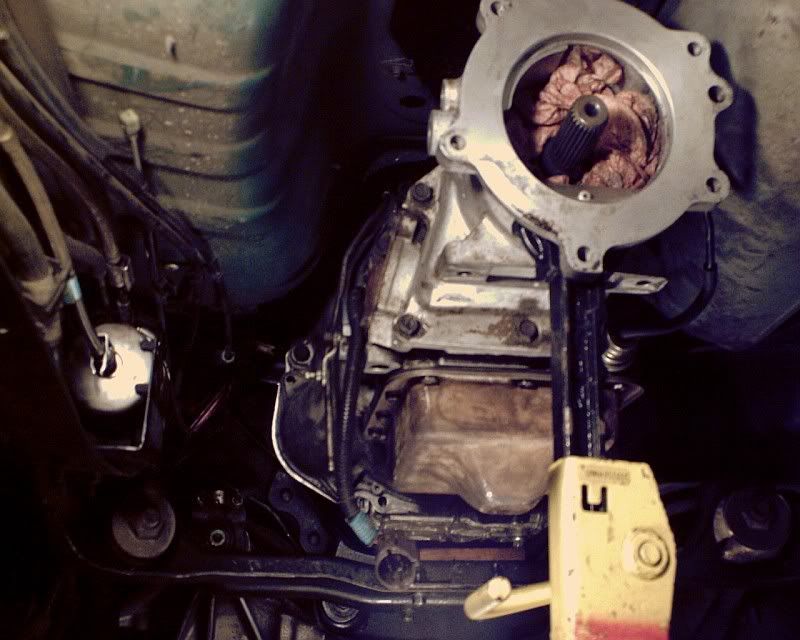
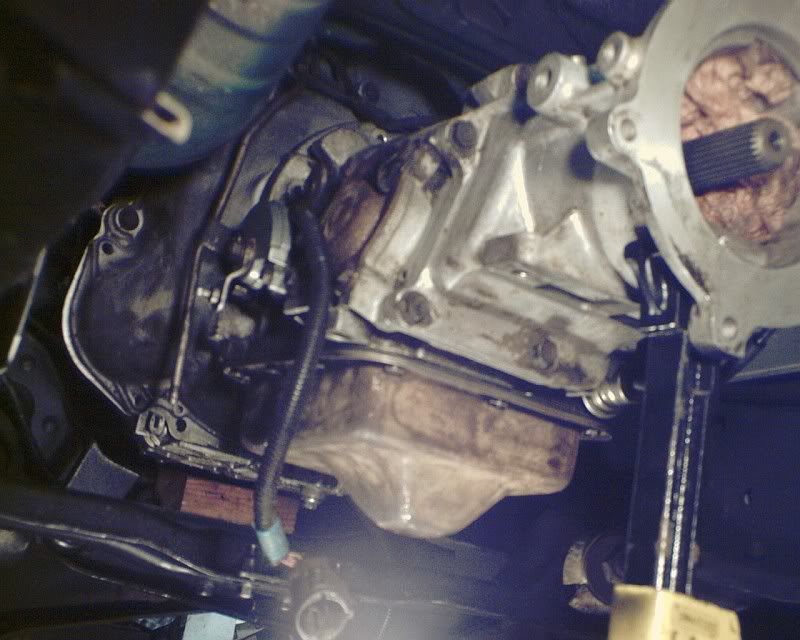
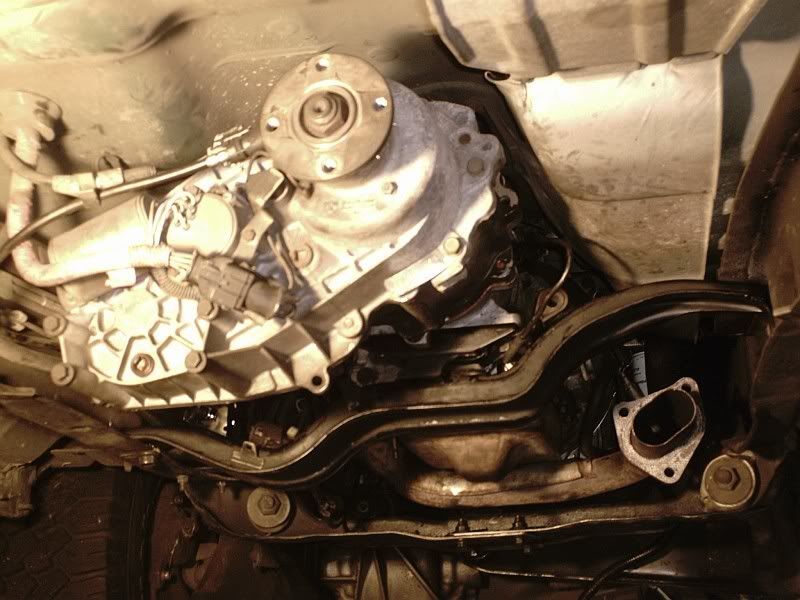
Well, I'm gonna have to use the 1984 crossmember. The original won't clear the front cat when moved forward for the C5. And... fun... sploders have like a frame within the C channel of the frame which makes twice as much to drill through to mount the crossmember and makes the crossmember too wide... so I'll have to mod it too...

Sploders only have once set of frame holes for the trans crossmember, unlike earlier BIIs and Rangers... probably cause they only had one length of tranny in them ever..

Gonna have to go shopping for parts and supplies in the morning...

----------------------------------------------------------------

Yesterday...

6 Hours later of cutting, grinding, fitting, and refitting...

SUNP0100a.jpg


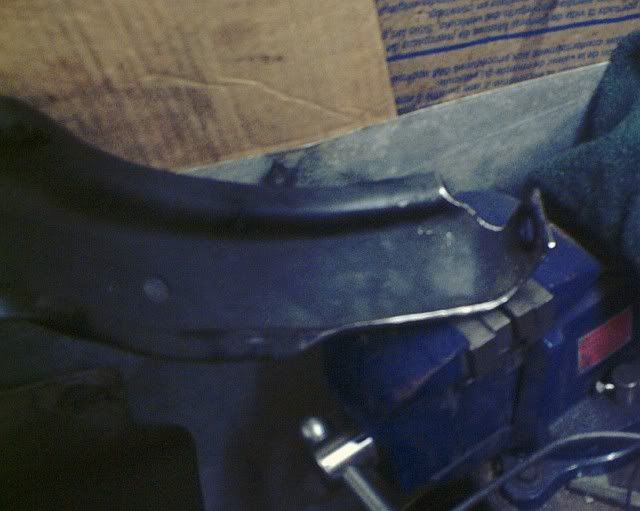
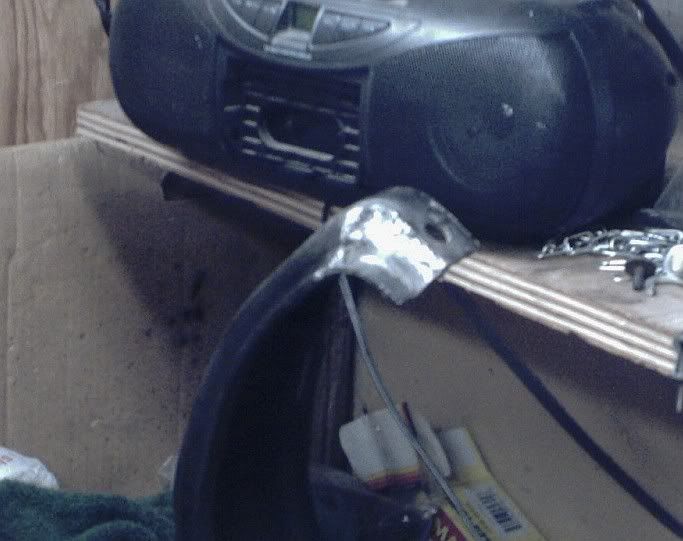
I had to cut the driver's side about 1/2-3/4" off to fit the 1984 cross member between the frame rails. It hit a double wall "bump" on each side of the frame. Then I had to clearance for a bump on the passenger side, and cut on the front edge to clear the forward cat. I also mocked up the original crossmember and a duff crossmember... This is as good as it's gonna get...

I almost wish I made an adapter plate like another member who did this swap, or just built a crossmember... If this one breaks.. I'll build one.

I gotta go buy a 1/2" drill today when I wake up so I can drill the frame and finally get this bitch bolted down. :mad:
 
Yep. Tech tidbit for you all to file away... Sploder frames.. while very similar to the other RBVs... are significantly different in several areas...

I wish i had a better camera so I could get a pic of this double wall thing it's got going on...

Cross member is in... trans is bolted in solid. Now to start hooking **** up to it after i bench press the t-case back in.

--------------------------------------------------------------------------

Well... I didn't like the amount of deflection I was seeing in the cut corner of the crossmember when I grabbed the t-case and tried to move it around... so I put the piece I cut out of the back corner of it up to it in the rig.. and found it cleared the bump in the frame if it was spaced in the thickness of the metal.. so I welded it back in.. and it clears.. and it's much more solid. Sometimes it just a simple solution...

SUNP0108-1.jpg


--------------------------------------------------------------------------

There you go kids... C5 and 1354E behind a 4.0 in an exploder.

SUNP0110.jpg


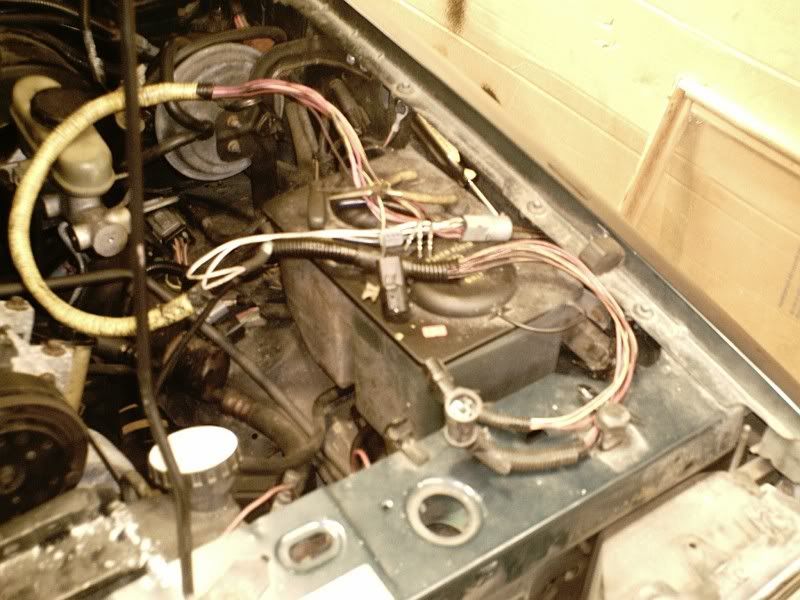
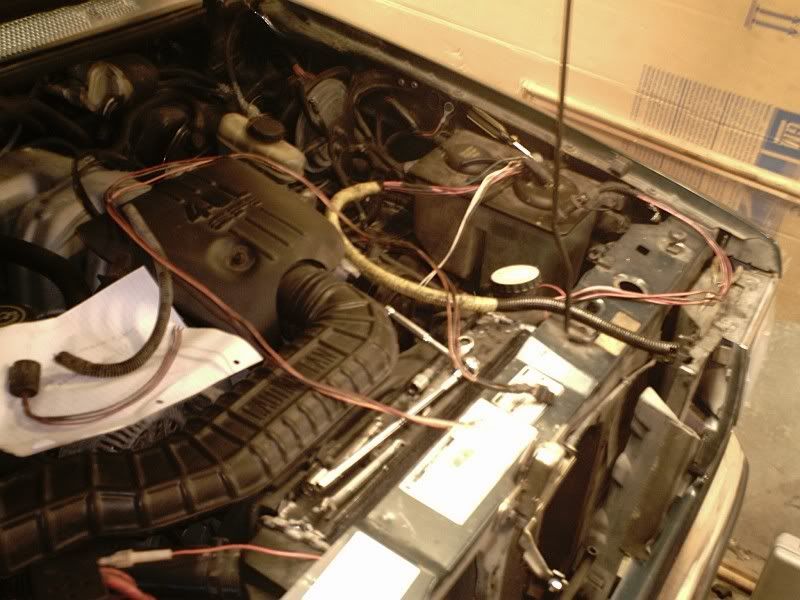
Here I started on the NSS/Reverse lights wiring harness. From the factory, it also has the trans soleniod harness running with it. Since I no longer have trans solenoids.. I took apart the black plug from the inner fender and pulled the 3 solenoid wires out of the plug. Why? Cause it's cleaner than just hacking them off...

SUNP0112-1.jpg


Here you can see the 3 wire solenoid harness pulled out of the main loom. (center) with the trans harness (right) awaiting it's splicing with the C5 NSS/Reverse switch plug. (left)

SUNP0117.jpg


I'll do what color goes to what tomarrow..
 
How to make the floor shifter sandwich:

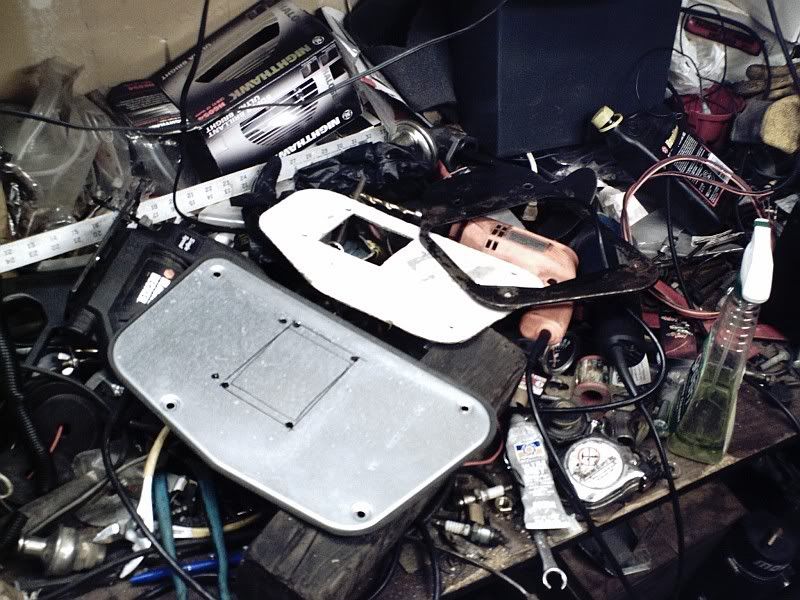
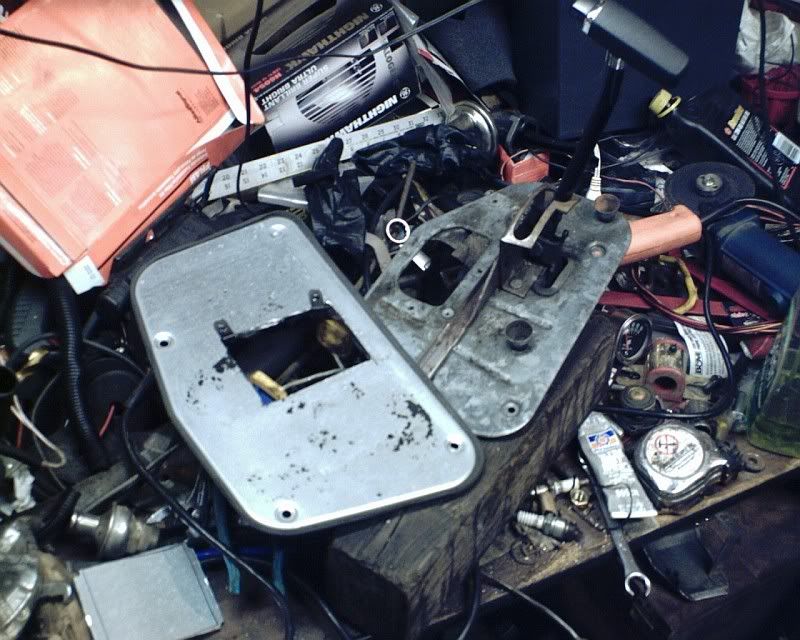
Take a 5 speed floor plate and use the outline of it to make a cardboard template of the outline. Then mark the bolt holes and cut out an area to clear the auto shifter arm and pivot. Transfer the holes onto the genII floor plate. Drill bolt holes.

SUNP0119-1.jpg


Cut out the hole to clear the shifter arm. Put 2 clips into the top holes you drilled for the auto floor plate retaining bolts.

SUNP0121-1.jpg


put longer bolts through the rear holes of the floor plates... this goes through the auto shifter floor plate, and the genII floor plate, into the original clips. Then bolt the top bolts of the auto shifter into the clips you put into the genII plate. Then put in the bolts for the genII's original top holes.

SUNP0120-2.jpg


you will also need to drill though the bottom plate for the shifter bezel mounting screws.
 
May 2 2007, 07:48 AM

I'm not a big fan of the factory link rod and bell crank BS for the floor shifter linkage. It comes out of adjustment when you twist the rig up off road. I am going to use a hardware store clevis direct linkage like I did on my bronco.

shiftlinkage.jpg


May 3 2007, 03:35 AM

The bracket off the 2.8 that the dip stick bolts to doesn't line up... the 4.0 has a taller deck height than the 2.8/2.9 so it's wider. I zip tied it to the firewall.

I took the original bracket for the kick down on the trans, flattened the bend in it, and bolted it to the C5 with a low/reverse servo bolt. I also put the kick down arm off the A4LD on the C5. So the kick down is done.

I still have to drop the drive shafts off to get lengthened/shortened, and get to the hardware store to buy the parts for the shift linkage... all that's left after that is to fill the trans/t-case, mount the trans cooler, install new plugs/wires, install the exhaust, and reassemble the interior. Then I can turn the key and see what I got. :D

May 4 2007, 08:32 PM

Drive shafts got dropped off today. Won't be able to get back on it till Monday.

May 5 2007, 10:29 AM

DENIED...

Every hardware supply store in the area is sold out of 5/16" clevis yokes... and the order time on the yokes is 2 weeks....

So... looks like I get to dig through the 4 corners of the garage to find that bell crank and link rod abortion.

Yesterday, 05:37 PM

Just got done installing this:

SUNP0124-1.jpg


It went in pretty nice.. fits well.

I got the list down pretty good. The trans cooler is mounted and plumbed. Trans lines are plumbed. Grille is back in. Got the new plugs and wires installed. Boy... the passenger side plugs on a 4.0 with A/C are just about as inaccessible as you can get... That side took like and hour and a half for 3 plugs. drool.gif

Gonna start on the interior after dinner... I think i might have an alternative shift linkage figured out....

The factory linkage for the C5 and floor shifter is a no go. The bracket bolt for the block doesn't clear the exhaust down pipe on the driver side... the pivot of the bracket is blocked by the pipe, and the ABS controller is in the spot on the frame that the bell crank pivot would mount...

The drive shaft guy did not call me today.. Hopefully they will be done tomorrow... :rolleyes:

It's getting close. :cheer:

Today, 05:16 AM

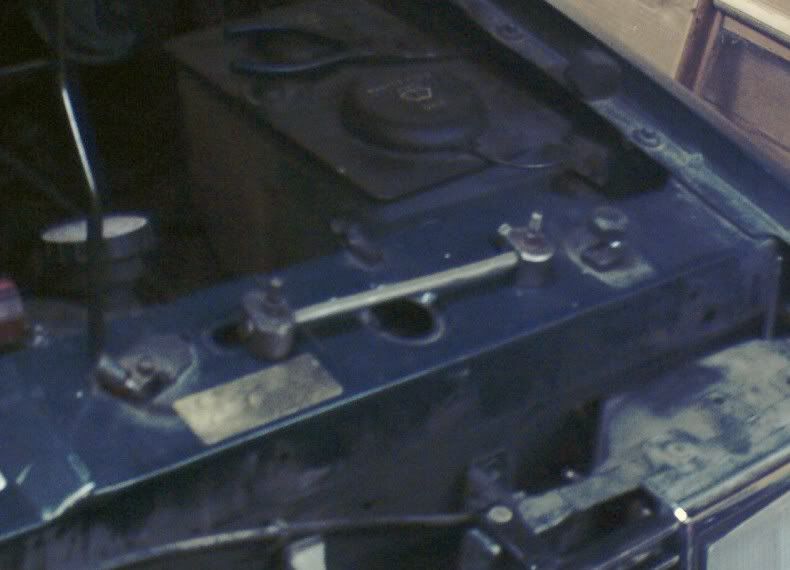
This is what I figured out for the shift linkage. Cost: $0. It's a couple of adjuster pieces from the stock shift linkage, and a piece of 3/8" tube.

SUNP0125-1.jpg


I got everything done up to the point of drive shafts and filling the trans and t-case. The NSS wiring works flawless. I have reverse lights, Crank in neutral and park, and the t-case shifts into low range only in neutral and park. I did a happy dance after it shifted all the way into 4lo with just the key in the run position.

The wiring for the NSS goes like this. From the original A4LD harness. Take the red/lt blue striped wire, and splice it to one of the red/lt blue wires on the C5 switch. Take the Pink and red/white striped wires and splice them to the other red/lt blue striped wire on the C5 switch. The other 2 wires you are left with are the black/purple and black/orange wires for the reverse lights. Simply match them with the remaining wires on the C5 switch.

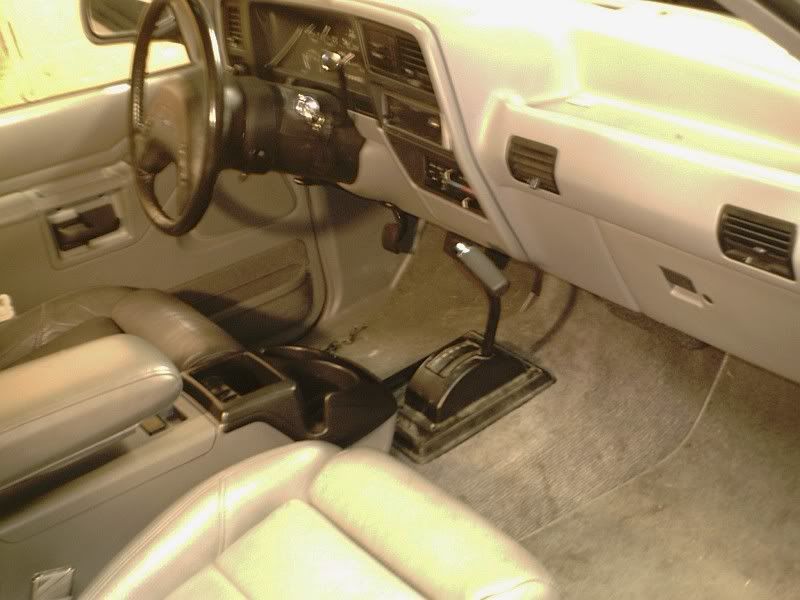
Here's the interior all back together with the floor shifter... I'll be pulling it all back apart to clean it up after I take it for a drive and make sure the trans works properly. I also plan on removing the column shift arm and shift indicator from the instrument cluster.

SUNP0126-1.jpg


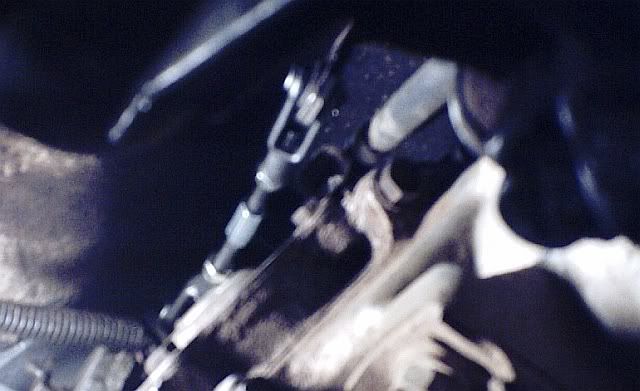
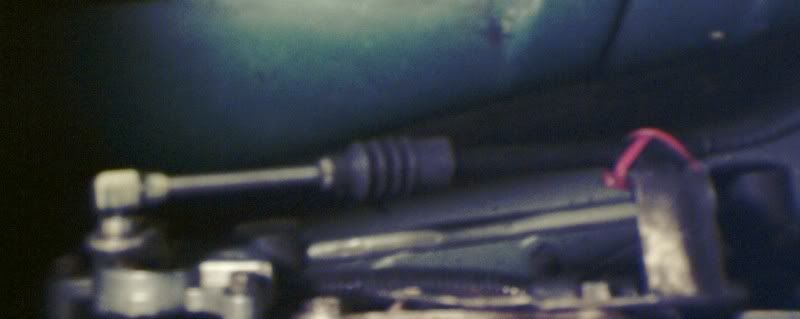
Here's a crappy pic of the kick down linkage. The arm from the A4LD bolts to the C5. You just have to reroute the cable to point the opposite way from the A4LD and tweak it's mounting bracket to bolt to the lower rear reverse servo cover bolt.

SUNP0127-1.jpg


Hopefully my drive shafts will be done today so I can take it for a drive....
 

Latest posts

Back
Top