I welded the c on this morning before work. I heated it to 350* or so with the weed burner, welded it, then hit it with the heat again the wrapped it in welding blankets and left it to cool. No pictures, because I was less than thrilled with how the weld looked and it's still wrapped up in the blankets.

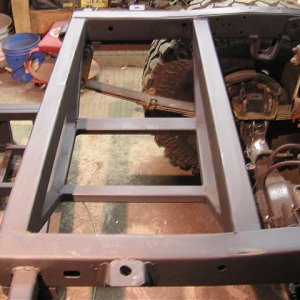
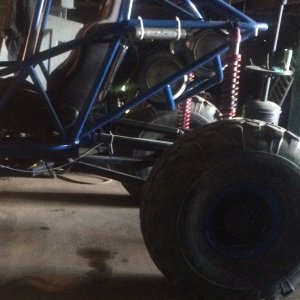
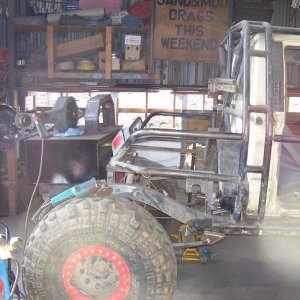
I hung it up from my lift trying to get it in a better position to weld, but I should have lowered that end down on a jackstand or something to keep it from moving. It kept trying to swing away from me as I welded it.