• Help Support Hardline Crawlers :

LJ on Tons

GlipGlop

Well-Known Member
Joined
Feb 5, 2020
Messages
75
Location
Seneca, SC
The LJ has been a work in progress since before I ever even had a driver's license. The Jeep is somewhat pulled together currently so I felt that it was a good time to start up a build thread in hopes to share some ideas. I am by no means a professional when it comes to fabrication and so please excuse my work. All I can say is its not the prettiest but I have yet to break a weld.

Anyway, here are the LJ's specs as it currently sits:

2006 Jeep Wrangler Unlimited
4.0L six cylinder
NSG370 straight six backed by a NP231/D300 Doubler clocked for driver side drop and triple stick shifter from JB Custom Fabrications
1310 Carolina Driveline Front CV driveshaft with 1310/13150 bastard joint
1350 Rear CV line also from Carolina
'04 Ford F250 HP60 Superduty front axle
CUCV Full Float 14 Bolt, slightly shaved housing without cutting and welding (inspired by the Roscoe P. Drivetrain tahoe build Verne Simons did for Peterson 4 wheel)
109" wheelbase with double triangulated 4 link rear and 3 link front
2.5" Rancho lift kit springs, 12" Rancho shocks up front, 14" Bilsteins rear
Stock fuel tank moved 4 inches back and pushed up
Mercedes Steering box clocked up
H2 rims wrapped with 38" Falken Wildpeaks
Stock Seats, stock cage, and some other bits and pieces still in holding pattern to further this build along
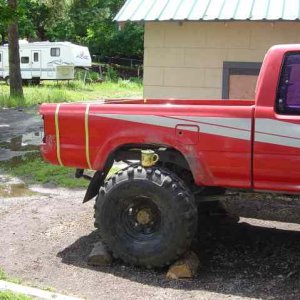
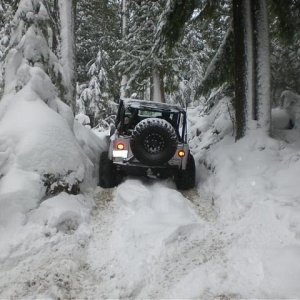
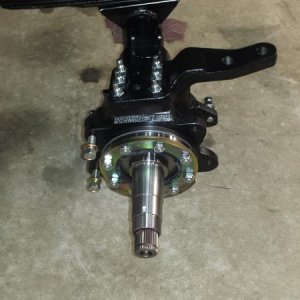
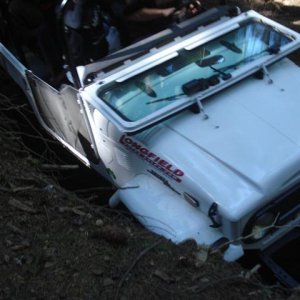
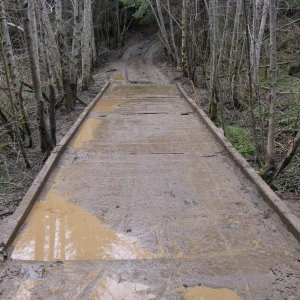
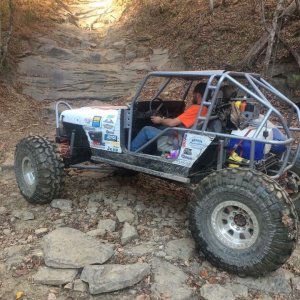
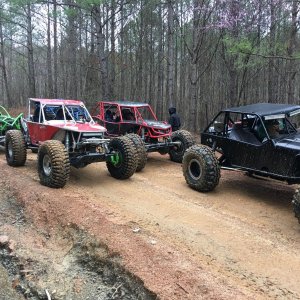
Blah blah blah, you get the picture. Here's some photos!

EHCT9062[1].JPG

IMG_8452[1].JPG
IMG_8521[1].PNG
IMG_8436[1].JPG
 
Last edited:
The LJ has undergone several iterations of itself and so to best show the progression of it all I guess I'll sorta start from the beginning (Brief overview)

The Jeep was bought new in 2005 in NJ from a dealer as a replacement for mhy dad's motorcycles. As I grow up the Jeep seldom get used and when I (being the oldest of 3) get my license, the keys were turned over to me. I quickly lifted it 2.5" with a Rancho lift kit and added a few creature comforts such as a aux/ipod plug in behind the dash from Mopar. Yes it was pricey but I love the stock radio style and didn't want to sacrifice that. I was quickly talked down from a mud style tire to a 33" Nitto terra grappler. Great for parking lots at the mall but not much else.

Wow I kept her clean! :LOL:

IMG_0178.JPG
IMG_2268.JPG
 
Last edited:
So from high school to college, nothing really changed. No major damage (except to my pride when I realized I was 'that' guy with the mall crawler). I joined Clemson Offroad Club and it all went downhill from there.

I started to learn the ins and outs and when a driveshaft destroyed itself leaving me with only front wheel drive on the side of I-26 it was time to start building. The 231 got an SYE and Carolina get its first order of many for a rear driveshaft. The skid plate drop was eliminated and I learned just how valuable ATF fluid is in your t case (yup, no fluid means overheating. overheating means the chain stretches and ultimately cuts through the case). The LJ got new shows on stock rims and 1.25" spacers. Also got a 1.25" BL and 1" MML. All done to impress a silly girl who like jeeps. how dumb.

First trip to Gulches
1541.JPG
1545.JPG


35s and SYE all set up for the URE trip a couple months after Gulches. It was quickly realized how important rocker guards are...enjoy this picture of a trail giraffe
1870.JPG
1885.JPG
1895.JPG
 
Last edited:
Fast forward a couple years and I bought a set of JK rubi axles and decided not to build (they ended up in my brother's TJ). Built a York compressor bracket and added on board air. Pieced together a pair of one tons. Bought an NSG370 and D300. Found a 231/300 doubler kit. Spent too much money. The 35s were awesome but enough was never enough.

one tons vs the JK rubi axles...and the 370 and D300 in the background...all stored in my mobile shed
IMG_0953.JPG


York Compressor and Bracket...had to trim out the passenger fender, cut the air intake shorter and use a 6 groove to v belt pulley on the alternator.
IMG_1132.JPG
IMG_0379.JPG
IMG_0463.JPG
 
Last edited:
Fuel tank skid plate was ripped half way out so it was repaired with a big ass hammer and cut to a shorter height. about 1.25" removed/overlapped to improve departure angle.
IMG_1463.JPG
IMG_1469.JPG
IMG_1474.JPG
 
Last edited:
Winter break had me three deep in projects...I was midway through a frame swap on my sister's TJ...doing a JK axle swap for my brother's TJ and swapping a manual and doubler into my LJ...overkill was an understatement.
IMG_1080.JPG
IMG_1878.JPG
IMG_1637.JPG
 
Last edited:
NSG 370 and NP231/D300 swap. here's that junk auto 42RLE (right) beside the junk NSG370 (left). Same size
IMG_1986.JPG


Incase you're curious, the white wire in the trans harness is the neutral safety switch. Ground it if you want to be able to start up your Jeep following a manual swap. Just beware, because it will crank up even without putting your foot on the clutch pedal. Also redrilled the trans so I could flip the doubler set up. Drilling was easy. the 3 days of heating the trans tunnel and hitting it with a hammer....not so much
IMG_1996.JPG
IMG_2046.JPG


D300 compared to the 231 prior to cutting. the doubler is no bigger than the 231 stock and I gained a 7.12:1 crawl ratio.
IMG_1958.JPG
IMG_1916.JPG
IMG_2045.JPG
IMG_2139.JPG
IMG_2142.JPG


The Jeep always demands blood...while getting in a hurry, The Doubler lost its balance on a floor jacket and crushed my hand.....shade tree mechanics beware. A quick ER trip and 6 stitches later and I was back in business finishing up the doubler.
IMG_2135.JPG
 
Last edited:
The Lj was hit head on one night while sitting at a stop sign (of course my by ex's at the time boyfriend) and unfortunately the Jeep was totaled out. After that all bets were off once I got the salvage title back. It's obvious who got the worst of it. :LOL:
IMG_4584[1].JPG


Gas tank was moved further back and the secondary cross member was removed. Here's a photo of my little helper
IMG_4801[1].JPG

IMG_4833[1].JPG


I took the spring perches, cut them off and put the right side perch on the left and left on the right to help move the axle back. I also used pieces from the removed cross member and a hammer to make an extension so the perch would span the entire frame.
IMG_4850[1].JPG
 
Last edited:
Some 4 link pictures etc etc.... Yes I used the 4 Link calculator but it ultimately comes down to where things fit. I didnt like the frame rail width fro the lowers and so I built a cross member with Barnes tabs, some tubing, and flat bar to create a double triangulated 4 link that all sat above the frame rail bottom.
IMG_4868.JPG
IMG_5106.JPG

IMG_4876.JPG
IMG_4875.JPG
IMG_4902.JPG
IMG_4937.JPG


Meanwhile, on the other side of the parking lot, we finished my brother's JK axle swap..only took 5 months
IMG_4894.JPG
IMG_3689.JPG


Too many projects....
IMG_4925.JPG
 
Last edited:
Rear end got zipped up with the exception of shocks..now to start on the front
IMG_5320.JPG
IMG_5336.JPG


Hubs got redrilled to 8x6.5 and got studs to match the 14 bolt...I'll never do that again
IMG_5386.JPG
IMG_5387.JPG


Clearance mock up...Thought maybe the stock ford steering would work...it didn't
IMG_5442.JPG
IMG_5489.JPG
IMG_5526.JPG
IMG_5538.JPG
 
Last edited:
Clearance was made for the new set up, tested and the front got regeared with a Spartan lunchbox locker. The front suspension was built off the exisiting coil buckets and shock towers and the control arms created a modified 3 link of sorts with the lower arms being very similar in length to that of the rear arms and the upper arm on the driver side being about as long as a stock TJ/LJ upper control arm. This was due to the lack of space available. The the front suspension was heavy inspired by the Golden Eagle LJ Chris Durham built for Warn for the Ultimate Adventure. The front suspension utilized long arms for lowers while maintaining stock upper control arm positions.
IMG_5570.JPG
IMG_5607.JPG
IMG_5609.JPG
IMG_5709.JPG
IMG_5808.JPG
IMG_5809.JPG
IMG_5866.JPG
 
Last edited:
Where did you get the pulley for the alternator to add a vbelt?
I found the pulley in the back alleys of the internet. Dougie's Chop shop makes them for mini truckers who want to add a york compressor for their airbag suspension. I'll attach a link below to the pulley. Just know that if you plan to run one you'll either need to make a spacer or shave the front face of the alternator off ever so slightly. I shaved my alternator because I didnt feel comfortable adding a spacer.

V belt 6 Groove Alternator Pulley
 
I've always liked this LJ. The Durham hood looks great on it!!
lol thanks, always means a lot when the LJ gets some love cause sure as hell don't show it much. Thinking it might be about time for an LS myself though :unsure: As far as the Durham hood goes, that thing was a long time coming. Ill be sure to post some pictures from when I learned there's a difference between flexing the suspension out in the driveway with jacks vs getting it up on a ramp or into the rocks...
 

Latest posts

Back
Top