• Help Support Hardline Crawlers :

BeerJ's BuzzBuggy Build-o-rama!

Thanks man. I've had literally no time to work on it lately but I'm still gathering parts and am off the last week of the year so hoping to knock out a bunch of stuff.
 
Wasn't planning on starting the cell just yet but had some free time. Couple of welds to do yet as well as the sump. Also need to see what I have for bushings to mount it. I don't see the rear portion of the chassis being able to flex much but I'd rather not take any chances.


Looks good man.
How much time do you have in cleaning the d60 of the old brackets? Any tricks you found along the way other than just start cutting away haha.
Did you have the hubs redone for 8x6.5 pattern
 
whiskeymakin said:
Looks good man.
How much time do you have in cleaning the d60 of the old brackets? Any tricks you found along the way other than just start cutting away haha.
Did you have the hubs redone for 8x6.5 pattern
Thanks thumb.gif
I probably had a full day in it minus random breaks. I pretty much just cranked up the plasma cutter and used it like an air arc. Sometimes it was a matter of cutting 1" cubes.
For the hubs, I got a template from patooyee. Just removed 4 of the studs, the other 4 located the template which had 8 1/8" holes. I used a machinist vice under the drill press so once I had the 1st hole, it was just a matter of spinning the hub till the next lined up. They're not 10000% perfect but they'll run more than true enough for the trail.
 
Fuel cell is done, just waiting for my stat-o-seals to show up for the bulkheads.

Just enough clearance under the sump.

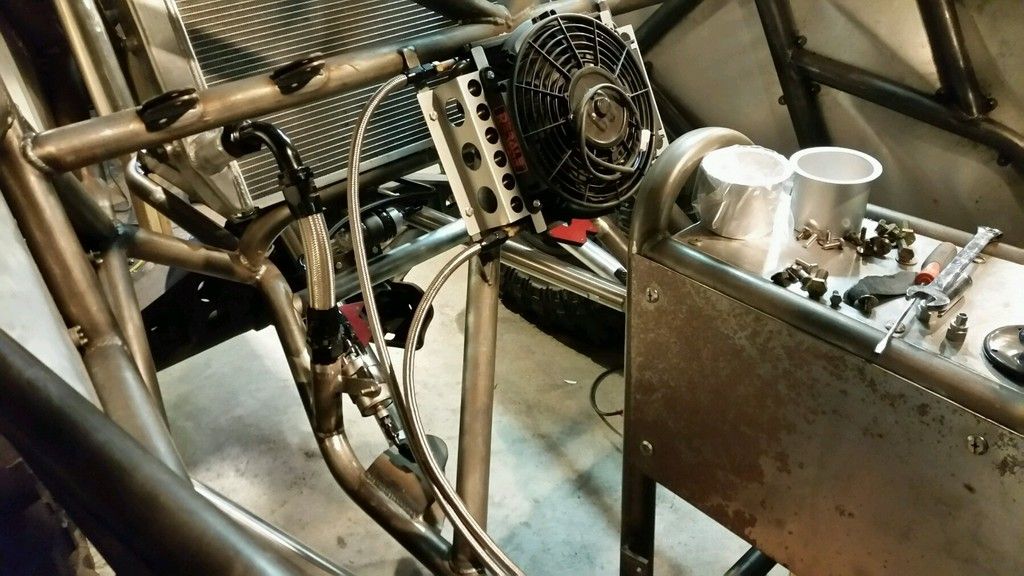
Trans cooler is in and plumbed. Also the fuel lines are in and ran up to the engine bay.

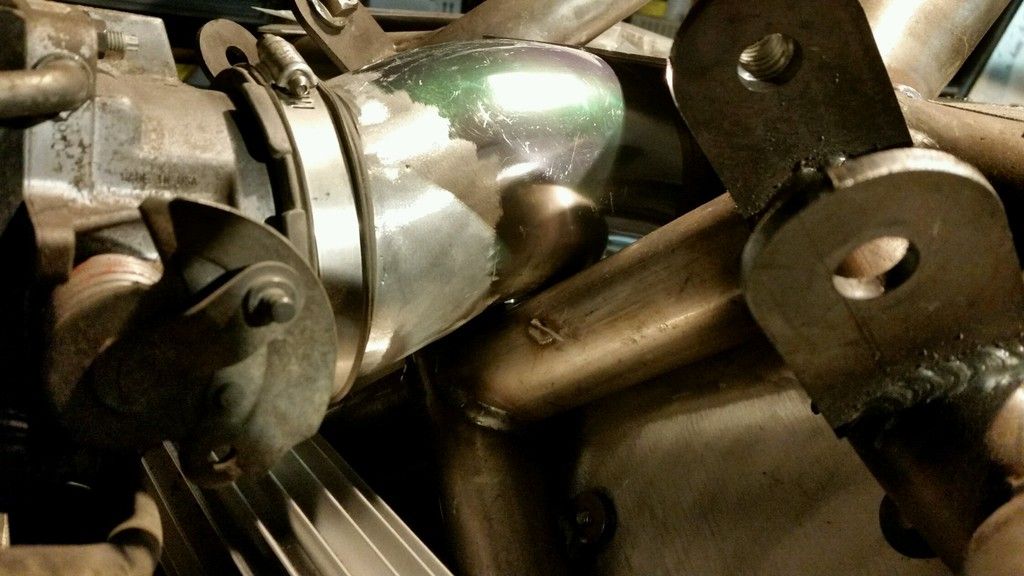
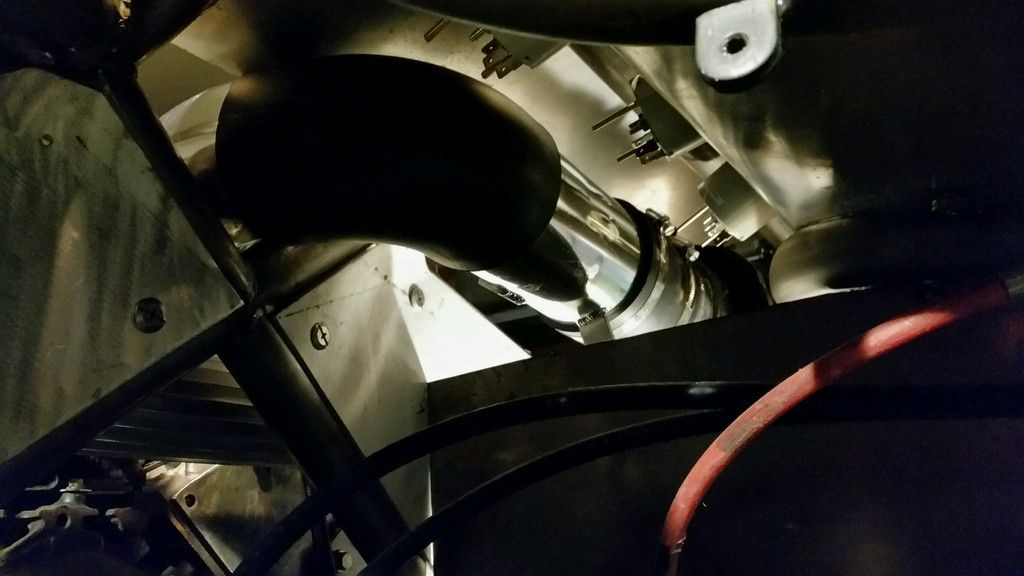
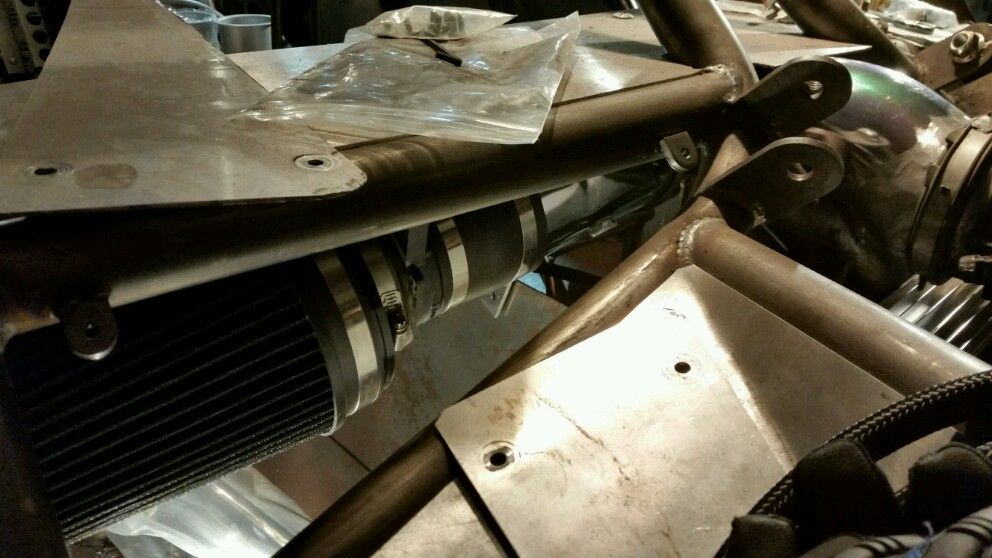
I knew hooking up the intake tube was gonna be interesting. Worked out better than I expected. Still needs finish sanded and buffed but that can happen at teardown and paint.


Gonna start the headers today.
 
fe795630ae88ac453383c5d433006f20.jpg
76f31fef1c7e1c8c48d28b042cbb0086.jpg
8d6be1f8f5b1ff2dc5205d6fc9290492.jpg
51ca2b9c2e4f13712b78e2e1aa3bf8c8.jpg
 
Thanks man. I'll eventually build some for real but this was a decent quick option. Still need to rig up a back purge before I can finish weld them.
 

Attachments

  • fairing fastener.JPG
    fairing fastener.JPG
    92.3 KB · Views: 138
Re: Re: BeerJ's BuzzBuggy Build-o-rama!

jeff150 said:
Wonder how these fairing fasteners would work on that cover so you wouldn't have to use a screwdriver? http://www.ebay.com/itm/like/131303286729?lpid=82&chn=ps&ul_noapp=true I am thinking about building me an aluminum dash and using them to hold my panels in.
They would probably work great. I got excited when I opened the link and saw all of them and only $5. Then I saw that was for each. Lol. Maybe down the road. I'll probably just use some cheap little thumb screws like this.
56991004f9ee8bcd3d3b5728ac772352.jpg
 
Re: Re: BeerJ's BuzzBuggy Build-o-rama!

Beerj said:
They would probably work great. I got excited when I opened the link and saw all of them and only $5. Then I saw that was for each. Lol.
Damn it and sorry. I didn't realize that either. Went back and looked at some others and found a few vendors selling a ten pack for $27.
Still not cheap but wouldn't be bad in limited numbers.
 
Slowly making progress.
Pulled the drivetrane out to install the torque converter. Sealed up between the tcase and trans. Up to this point, knowing I had to pull everything to to the torque converter, everything was just bolted together temporarily.
Cleaned up the engine a little and put new intake and oil pan gaskets in.
d32758d65c4e2f5f476a21a4e8b4ecfb.jpg


Got the steering plumbed.
642e9b192a65a8a5709f6e741f819533.jpg

0c2356fd63f9e3825cb37c44d74e1737.jpg


Fuel system is fully plumbed.
5c41c8a42e650b3f466b443bde3f328d.jpg

3c3557f09c8111e67e23aac9a017062f.jpg


Built the driveshafts.
84bf6654493e0f0da39e952afb5d69e3.jpg

dafafad686b36139091a51db551464c5.jpg

31adeb23ed79113f2af1a48a2746168d.jpg

ed98ea38bd7738b9eb6af1afdc4b7b2b.jpg


Just finishing up the framework for the engine skid.
ca81c57f08a0cc5f1f5afa082b27a795.jpg
ec597f614568608fe4ad57e862afab80.jpg
e56f2efe163728800fbb5e2acc591e25.jpg


Next up is to throw the spool in the rear, new ball joints in the front and pull some wires.
297ff4f97e7959c1c318a830cc68047a.jpg

3eb67388f2c617278aec796cc3490845.jpg


Sent from my SM-G935P using Tapatalk
 

Latest posts

Back
Top