• Help Support Hardline Crawlers :

Chevota Build

bobbed_84_toy

ALWAY$ BROKE
Joined
Oct 20, 2006
Messages
1,556
Reaction score
0
Location
Black Diamond
I'm going to post up a bunch of pics that shows the build from when I first got the truck to how it sits now. Then I'll post update pics as a go along.
 
a1-2.jpg

a2-2.jpg

a3-2.jpg

a4-2.jpg

a5-1.jpg

a6-1.jpg

a7-1.jpg

a8-1.jpg

a9-1.jpg

a10-1.jpg

a11-1.jpg

a12-1.jpg

a13-1.jpg

a14-1.jpg

a15-1.jpg

a16-1.jpg

a17-1.jpg

a18-1.jpg

a19-1.jpg

a20-1.jpg
 
smalltowncowboy said:
looks nice but i hope you reinforced your front spring perches

I will reinforce them after I get the steering box mounted. They'll be reinforced front-to-back and side-to-side. I'm just waiting to get all the essential stuff on there so I can run the braces around everything
 
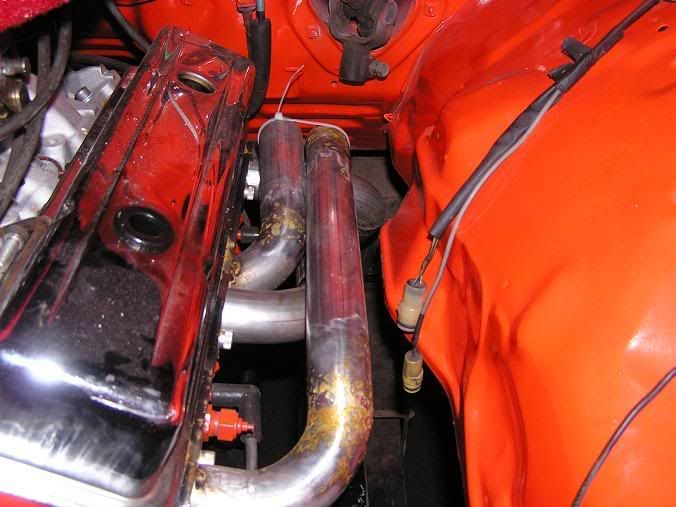
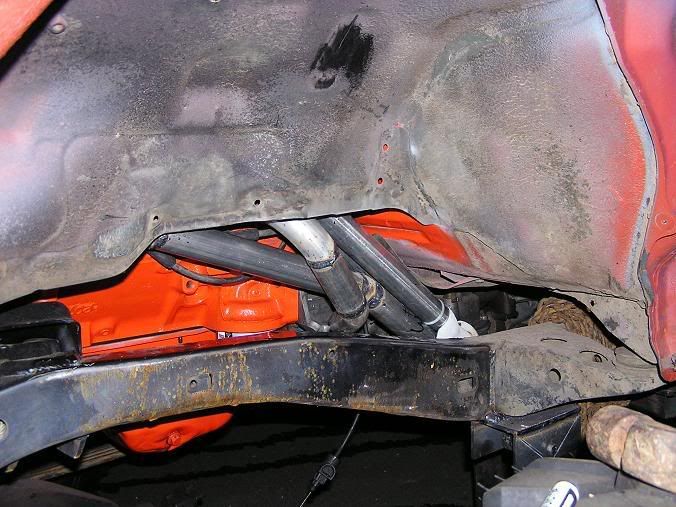
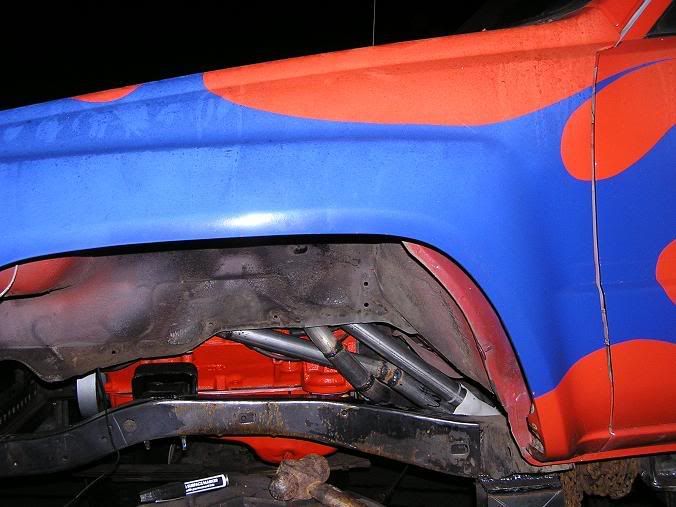
Here's how the headers are slowly but surely coming along. I still have to run them parallel under the floor then finish weld everything and stick the collector on it. Then start on the other side:corn:
From there i'm going to run 2.5 inch exhaust into delta force 40 mufflers(the race mufflers off the el camino I sold to my old man) which are nice and loud so everyone within a 5 block radious knows i'm running a V8:flipoff: :clappy:

a27.jpg

a28.jpg

a29.jpg
 
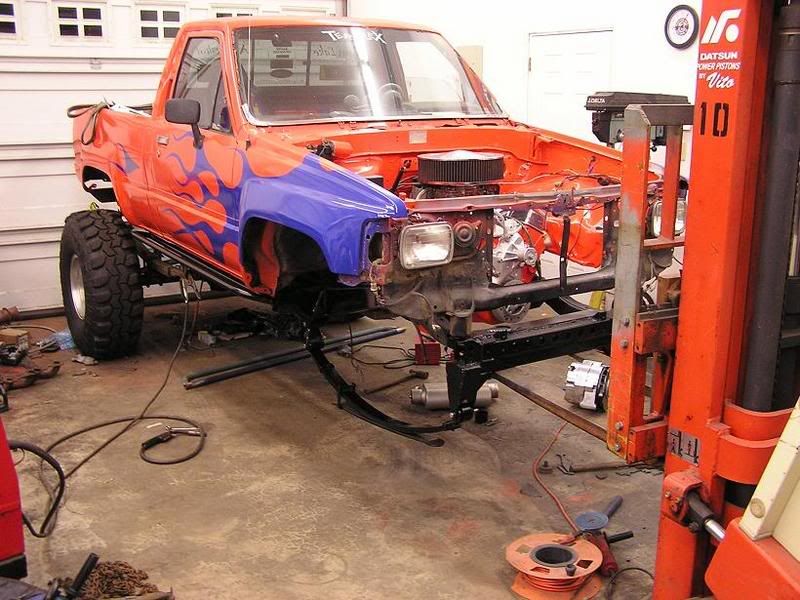
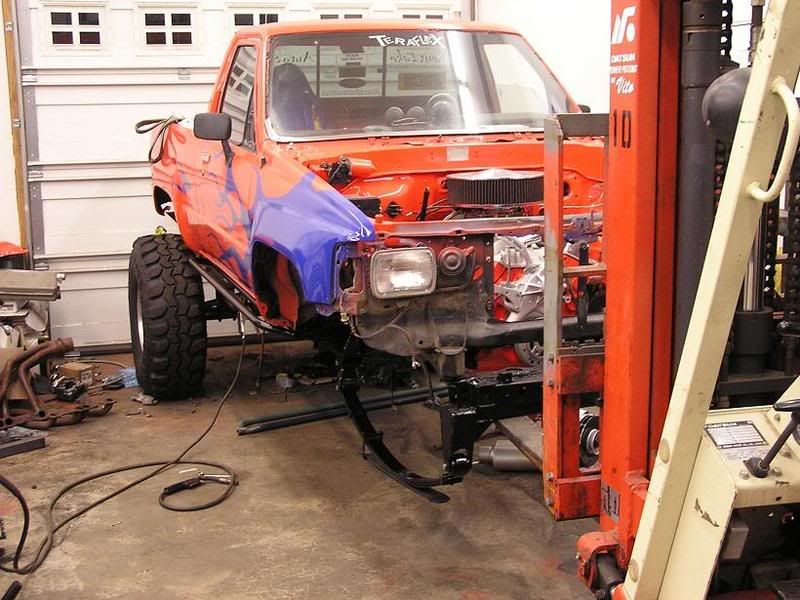
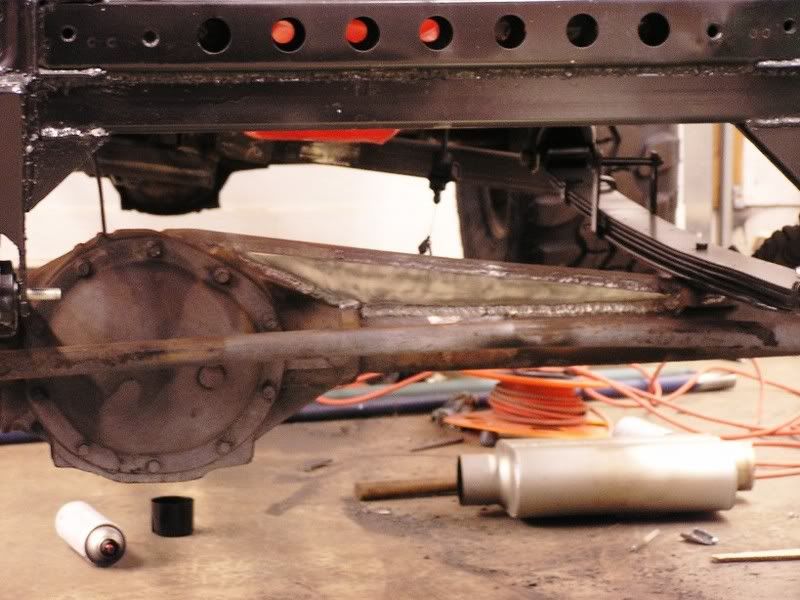
Well the shop is finally dirty again which means i've actually been working on my junk. Pulled the front axle out so I could finish and paint the hangers, shackles, springs and whatnot. Built some sliders for it too. I'm trussing the heck out of the front axle while it's out also so we can air it out in the oregon dunes:clappy: . It's nice to actually be starting to finish some of this stuff instead of having the whole thing tacked together half finished lol. I should be able to finish her up with this next paycheck and a little bit of time:corn:

a31.jpg

a32.jpg


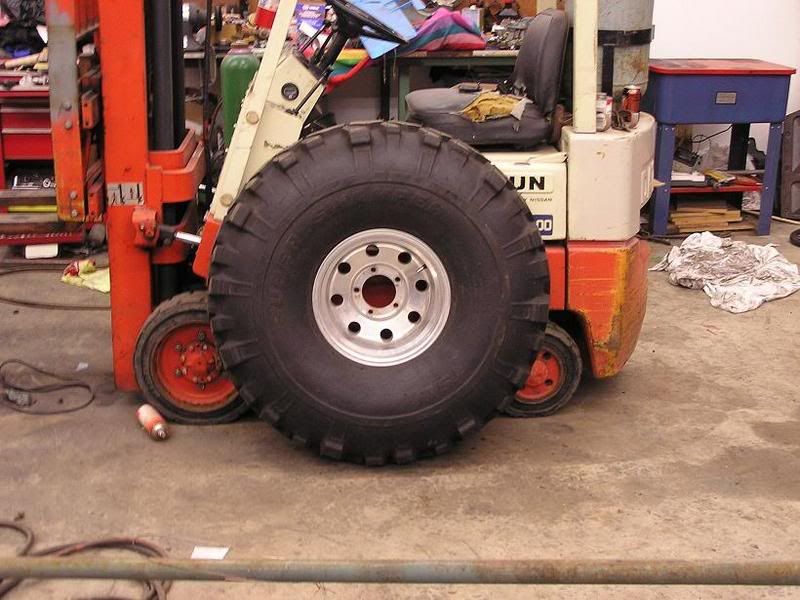
Next project is fitting 42s on the forklift:redneck: :redneck: :stirpot:
a33.jpg
 
Damn man, the attention to detail is amazing...:pray: :clappy:

Please provide us with some more pics when you get those 42s on the forklift...:redneck: :redneck:
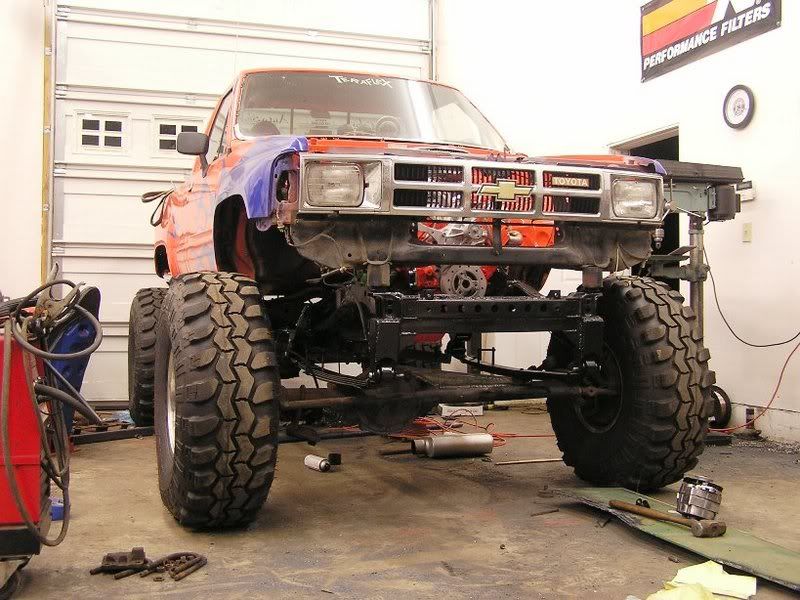
 
No major updates but a couple more pics. Got part of the front truss done. It's 1/4 inch wall 1" tube boxed in with 1/4" plate. Going to do the same to the knuckles once I get the steering arm off the driver side. Those conical washers are a :rb: . Going to box in the rear truss tomorrow and start building the shock hoops.

a35.jpg

a36.jpg


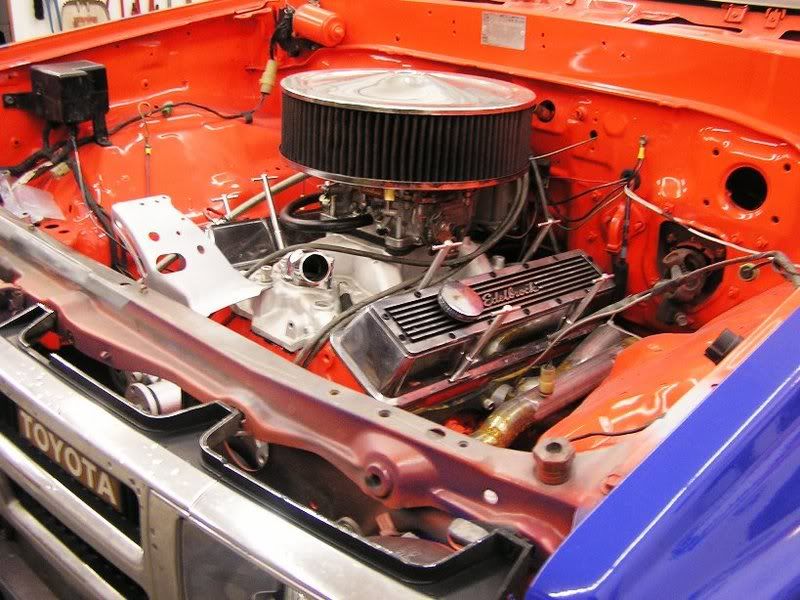
Took some of the bling off my old el camino's 327 to put on the yota too :cheer: :flipoff:

Shiny parts make it wheel better right?
a34.jpg
 
Looking good man. One question: It looks pretty close in the engine compartment where your steering shaft has to clear the exhaust headers. You going to have enough room?? Moving the steering box??...
 
zig80toy said:
Looking good man. One question: It looks pretty close in the engine compartment where your steering shaft has to clear the exhaust headers. You going to have enough room?? Moving the steering box??...

full hydro would do the trick :cool:
 
zig80toy said:
Looking good man. One question: It looks pretty close in the engine compartment where your steering shaft has to clear the exhaust headers. You going to have enough room?? Moving the steering box??...


Actually I tucked the headers close to the engine for a reason

I'm going to be using a steering box out of a fullsize 2wd chevy that mounts on the outside of the framerail. The input on the steering box is about 4 inches from the outside of the frame which will allow the steering shaft to clear the headers by about two inches but I do need to cut a little of the inner fenderwell.
 
lilyota said:
nice. lookin good. did you get the front of that monster truck fixed yet


Nope. I stuck the rotor back on and enough of the hub on to keep it together so I could still drive it. If I end up buying this other yota the ford will get stuck on the backburner till I get around to painting it and selling it:corn:
 

Latest posts

Back
Top