• Help Support Hardline Crawlers :

Renovation of a YJ

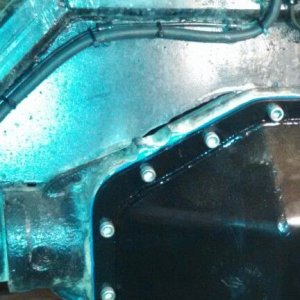
I'm. Looking at it now and what you are seeing is the plate on the back leading edge of the winch plate......:awesomework:

haha yeah, hard to tell from a pic... but it looks like it was right there...

i was like.... damn!! that be some thing rope going through there...

:haha:
 
:haha::haha: You guys need to get a room!!! :fawkdancesmiley:

Well, got the Prop valve mod done---rather simple in the end...took the plunger out of the valve, and there's a square cut o-ring on the end of it that sits in the groove on the plunger; it ended up staying in the valve when the plunger was pulled...fished it out with a pick, cleaned everything up and re-assembled the valve without the o-ring; You must reinstall the spring with the plunger to hold it to the valve body, as the cap is also a vent of sorts... Bled 'er out--she holds in 2lo now!!!! huge difference...:awesomework:
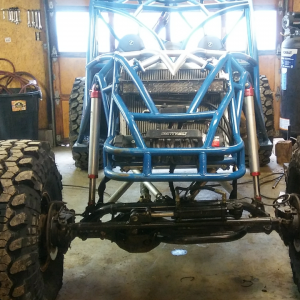
Got the winch wired up and the rope on it...
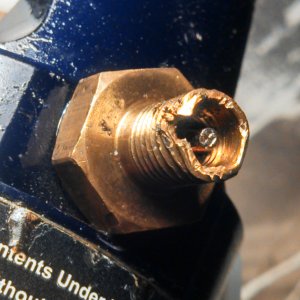
Took a look at the alleged overheating issue we noted while running around the yard; and found the top heater hose was splitting at the clamp, plus I could feel something inside the hose, so I pulled it apart to fix the hose, and someone had stuffed the bell of the aftermarket gauge into the heater hose, and just crushed its lead between the nipple and the hose with the clamp! For now I just cut the split end of the hose, and put it back together to find out what temp its running at---lo and behold, the way it's set up, it reads about 20-25* higher than it actually is! (No big surprise there...:rolleyes:); Good news is it's not actually running hot! :cheer: Using my temp gun at the heater hose it is running between 178 and 196* when the stat opens up...I was surprised there was actually a stat in there! :haha: Also cleaned all the muck out of the rad fins while I was there....
 

Attachments

  • Jim's Jeep Redo... 288.jpg
    Jim's Jeep Redo... 288.jpg
    48.4 KB · Views: 287
  • Jim's Jeep Redo... 292.jpg
    Jim's Jeep Redo... 292.jpg
    38.4 KB · Views: 295
  • Jim's Jeep Redo... 291.jpg
    Jim's Jeep Redo... 291.jpg
    44.5 KB · Views: 287
  • Jim's Jeep Redo... 289.jpg
    Jim's Jeep Redo... 289.jpg
    69.6 KB · Views: 284
  • Jim's Jeep Redo... 290.jpg
    Jim's Jeep Redo... 290.jpg
    67.4 KB · Views: 283
I used to wheel with this rig when the original owner had it. That rig has seem some **** :D I'm glad to see its coming back to life :cheer: Keep up the good work kev :awesomework:
 
Well, it went home yesterday! :cheer: Got a call from Jim...thought his trans blew backing it off the trailer---turns out the T-case wasn't engaged all the way! :smack: :redneck: Looking forward to Tomorrow's shake down! :awesomework::cool:
 
The rig is fantastic!!! It did everything that I asked of it, and more. It is just as smooth and controlled at 40 mph on the logging roads as it is at 1 mph climbing rocks.

You can imagine just how big my smile was, and probably still is.
 
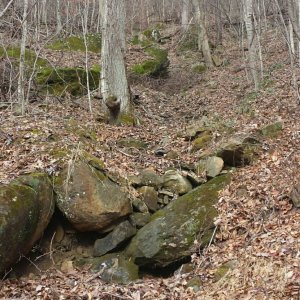
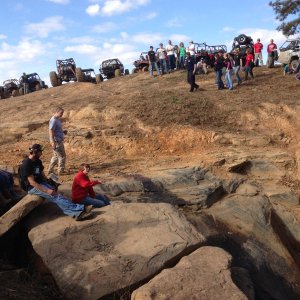
Here is a picture from the 1st run at Walker on Friday:
 

Attachments

  • First Run at Walker.jpg
    First Run at Walker.jpg
    74.2 KB · Views: 232
The new tub came with a full dash (minus instruments) and heater. Just need to get it installed. Probably after the first of the year.
 
had this laying around. jims yj suspension test.:awesomework:

[YT]http://www.youtube.com/watch?v=sAKv13fKoVo[/YT]
 
After the shake-down runs, I left the YJ on the trailer for a couple of days. When I went to move it to the the garage, I noticed that the the right rear wheel cylinder was leaking, even though it looked new when Kevin checked it.

Rather than rebuild or replace the wheel cylinder, I decided to convert to rear disks. I ordered the brackets today from GreatLakes Offroad.
 
Back
Top