• Help Support Hardline Crawlers :

"Dirty girl" A White Trash Fab build

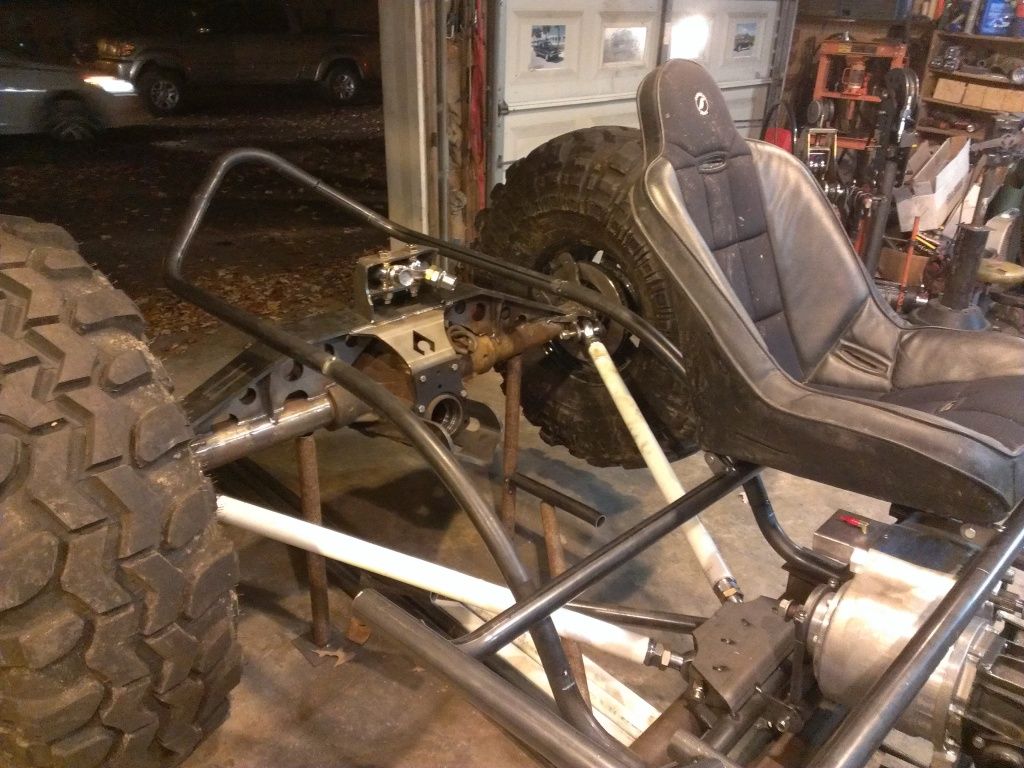
Took a while but we got the ram mocked up, sits offset 2.5" to the passenger side and had to holesaw the upper truss support to clear the fitting.

It will be tight but the diff cover should still slide out.
 
Talking to myself over here.
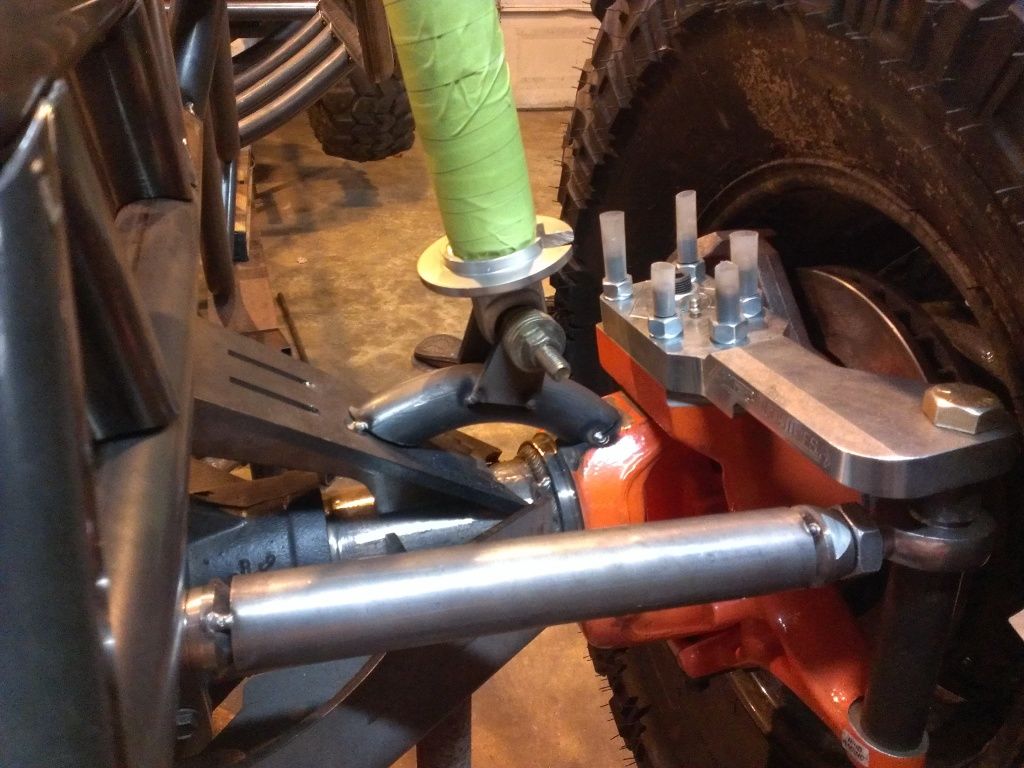
Drivers knuckle drilled and tie rod mocked up. Drilling a 3/4" hole threw a almost 1" thick highsteer arm sucks.

 
Yea, Stepped it up from a 3/16 pilot to 3/4 added a 1/16 with every bit change. :****:
 
The arm has a bit of angle kick on the bottom that hit funny on the table of the drill press, I checked it out before they were installed. Drill press is a bit too fast for a 3/4 bit hogging threw something that thick and will cash out the bit or the belts.
 
SomewhiteGuy said:
The arm has a bit of angle kick on the bottom that hit funny on the table of the drill press, I checked it out before they were installed. Drill press is a bit too fast for a 3/4 bit hogging threw something that thick and will cash out the bit or the belts.

not if you buy the cheap bits and use some cutting oil. Do it all the time with my Home Depot (Rigid) drill press. Build looks good. The more that see the artec truss', the more that I think I need to buy one and install it, rather than build my own. they sure look nice.
 
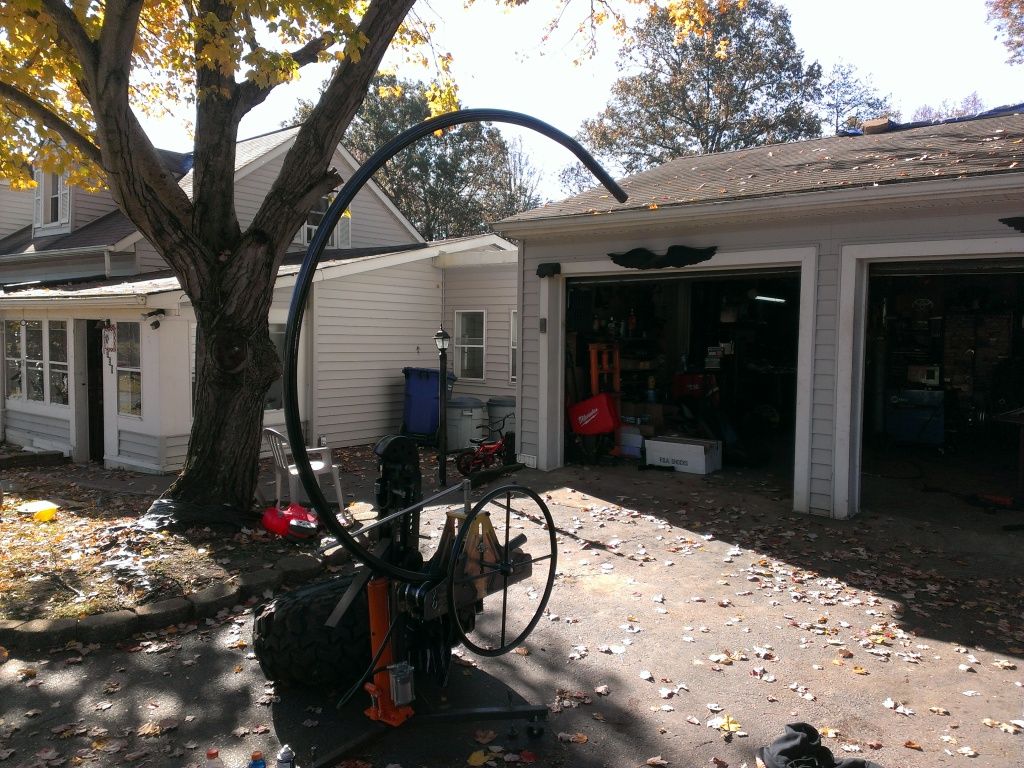
Keep forgetting to measure the roller.
Passenger side done.

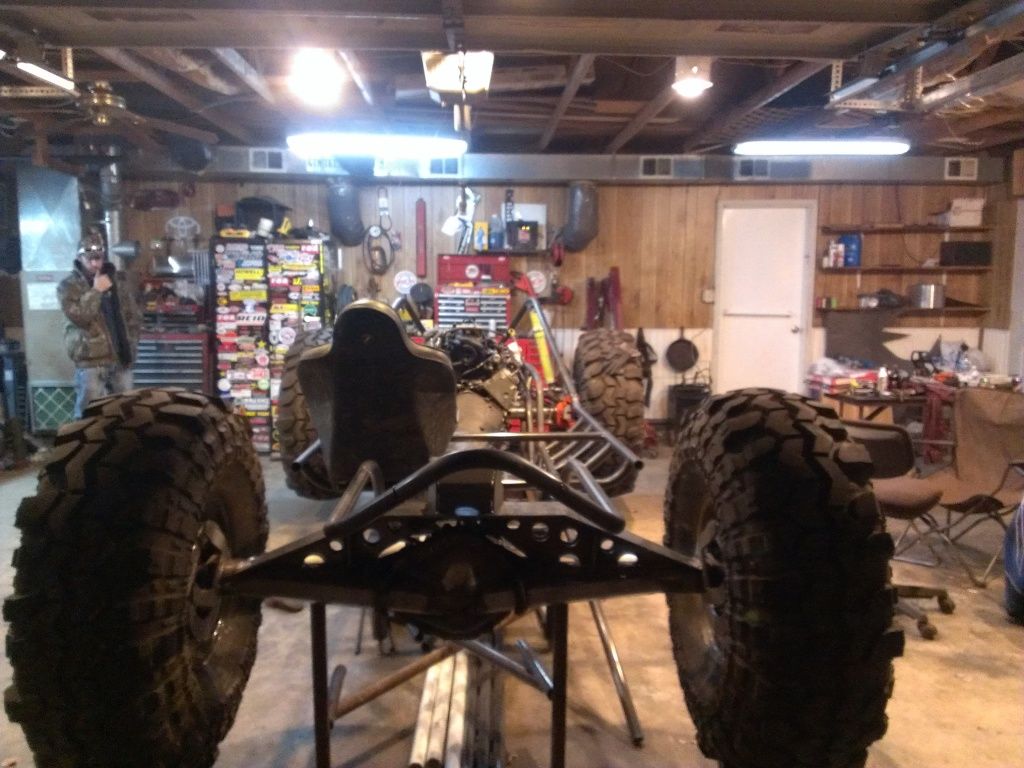
Lowered the atlas 2" to help keep the seats lower to in turn keep the roof line lower. Back to tube this weekend.
 
tbs said:
its looking good
Thanks.

My little bit installing the new wod t stat housing.

Hadley bending up the replacement passenger rail.

Whats left of the old rail and the clippings from 44 notches today.

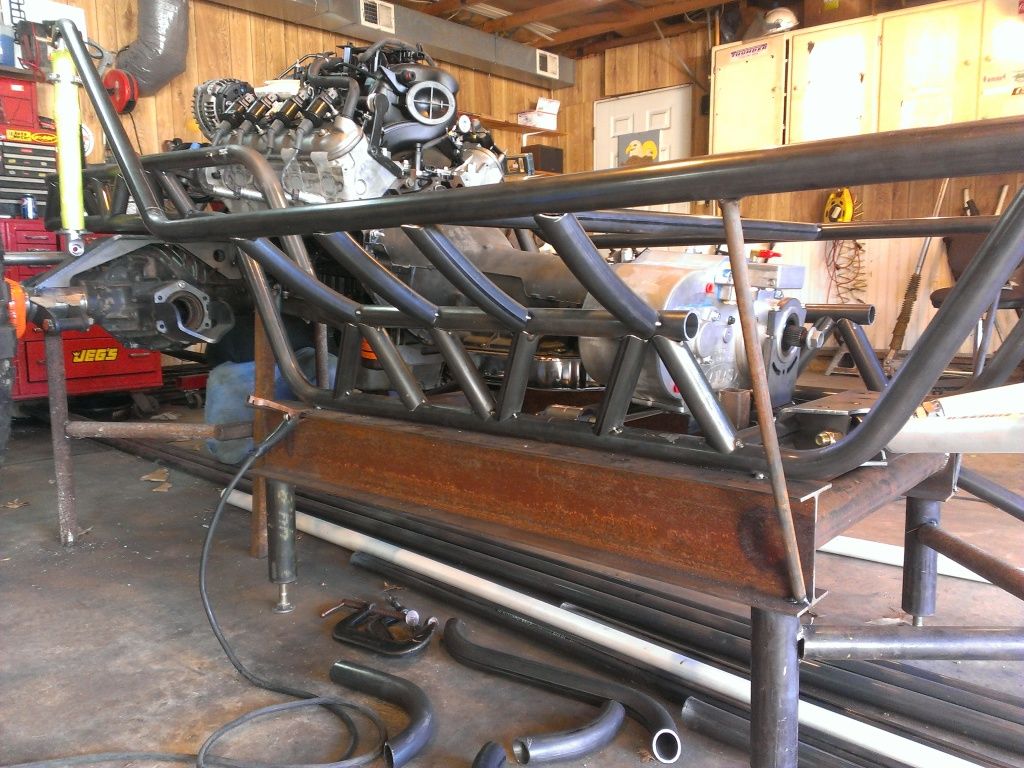
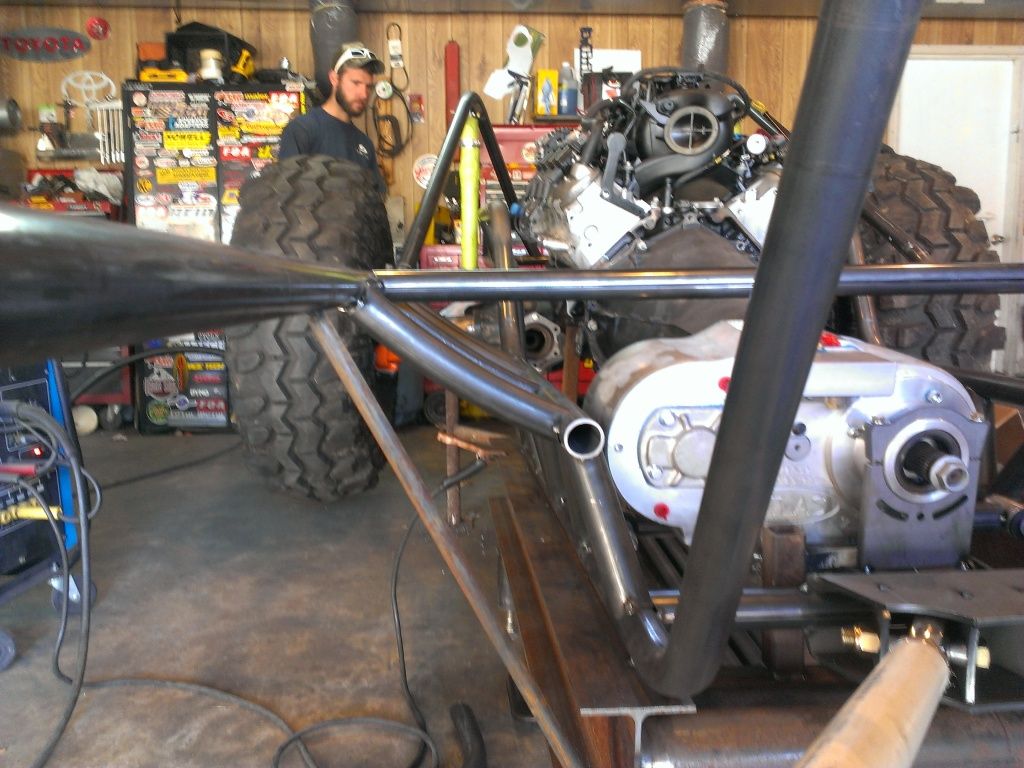
Couple shots of where its at when we quit tonight.


About the roller the swag kit has 2 sets of holes added so you have the stock hf then +6 and +12 spacings.

Tonights progress, Installed TMR Atlas support.

Then the RuffStuff lower link bracket.

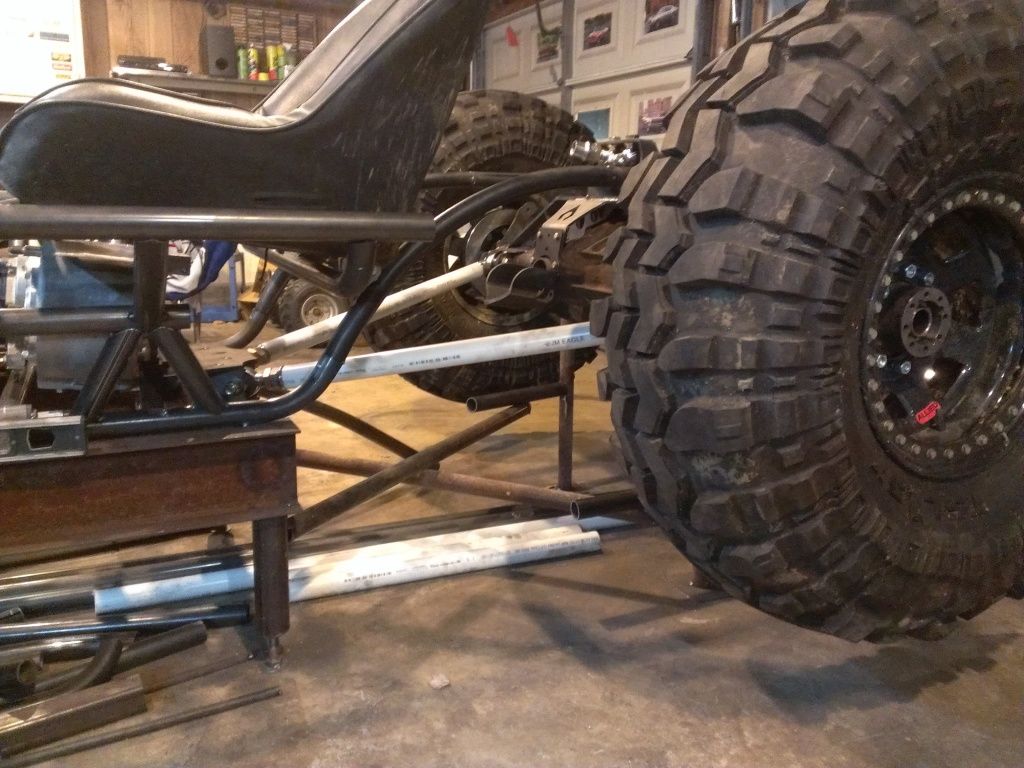
Cut some mockup links.
 
Technician said:
What kind of flange angle?
Will measure them today.
Lil ugly said:
Is that set at full bump in the last pic? What separation will you have at the chassis link mounts?
Yes building the buggy at full bump 18" belly 6.5" uptravel in front 7.5" uptravel in rear, will cheack spreadsheet when I get home for seperation.
 
4th time was the trick on the front brake calipers.

Trans mount in, will box the center part when its out for full welding.


Spent most of yesterday getting the front shock hoops/rub rail tubes right.


Draco said:
Nice work man! Moving along! :dblthumb:
Thanks, its starting to look like something now.
Started today rolling tube.

Cut and notched in place.


While I was busy with that Hadley and my bro were busy with front shock mounts. Wide open design brackets on top.

Some tube and tabs from RuffStuff on the bottom.

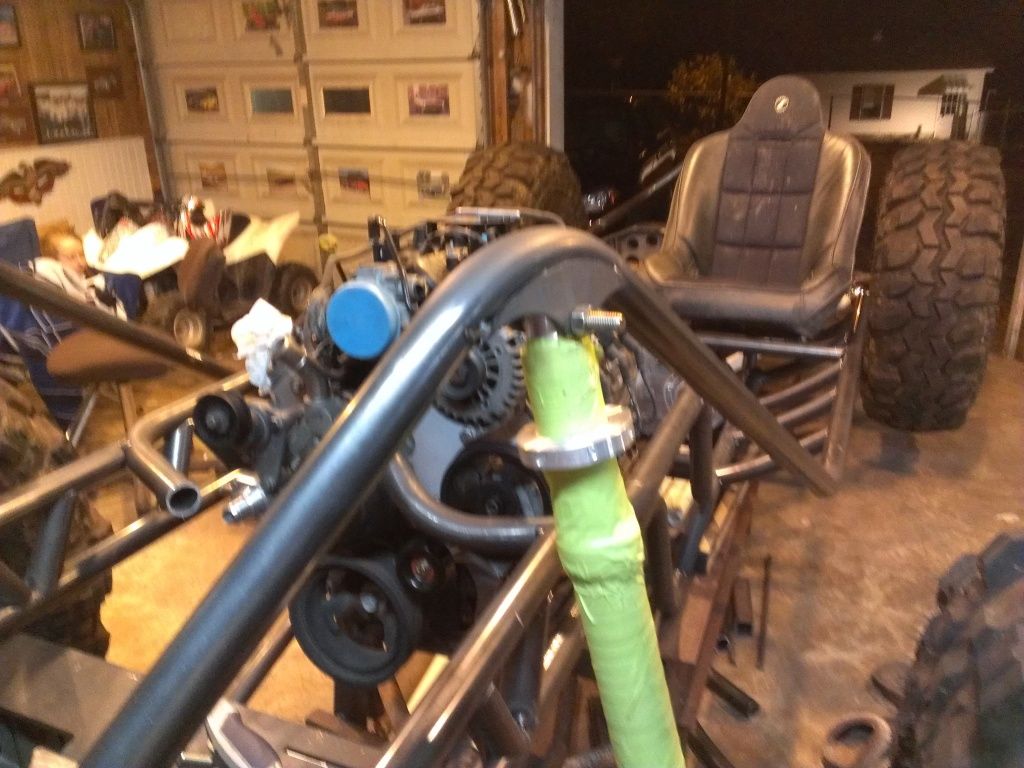
Sometime around lunch the tubes for the seats were fabbed up and the drivers seat mounted, seats are mounted in double shear with clevis pins to make them quick to remove.(will get a pic tomorrow I forgot) You can also see the rolled tubes that frame out the rear and completed rear lower frame section.


Latest posts

Back
Top