• Help Support Hardline Crawlers :

Never ending Samurai build...

clemsonjeep

Well-Known Member
Joined
Mar 11, 2013
Messages
1,738
Location
Camden, SC
This build started back in 2008 and I've tried to keep it updated on Pirate as I change things up, but I've gotten to where I don't care to spend much time on that site anymore. I do however spend plenty of time here on Hardline :****: If I'm going to spend more time here than there I figured I'd also get more response here as well.

Here's where this build started...

DSC01549.jpg


Just prior to pulling it into the shop to strip it down I had been driving it on a daily basis as well as 2hr trips one way to to see a girl I was dating. The little booger got great mileage and was a blast to drive...not to mention everyone giving me the stink eye :flipper:

At first the plan was to use a pair of the early Wagoneer axles with the offset rear and this is what it looked like the first time it sat on it's own weight again.

DSC02980-1.jpg


Then I got a bender and things started to take shape...

DSC_0011.jpg


After being frustrated trying to nail down what I was going to do for a steering setup and a few other things I decided to change directions and throw a set of yota axles under it. I took a day off work and visited a handful of salvage yards one day and came back home with a high pinion 3rd, elocker rear, IFS hubs and brakes, IFS rear axle, and other misc. parts.

DSC_0379.jpg


DSC_0381.jpg


I ordered up some Longfield goodies as well as sending him my ring and pinions to have them treated along with the lock collar and side gears from the elocker.

DSC_0391.jpg


Cage taking shape...

DSC_0763.jpg


DSC_0858.jpg


DSC_0911.jpg


First time out to check clearances and such...

DSC_0935.jpg


I had busted my ass for several months and sold a motorcycle to fund a few last minute parts in order to have it ready for a trip to CO and UT.
 
The first trail it touched was Billings Canyon...

DSC_1225.jpg


DSC_1106.jpg


Then the next day we went to Moab and ran a few of the most popular trails before hitting BFE at the end of the day.

DSC_1358.jpg


DSC_1374.jpg


This was on Trough Trail or Sidewinder which weren't very far from Vail, CO...where we were staying.

DSC_1758.jpg
 
Then somewhere along the way this happened...

DSC00804.jpg


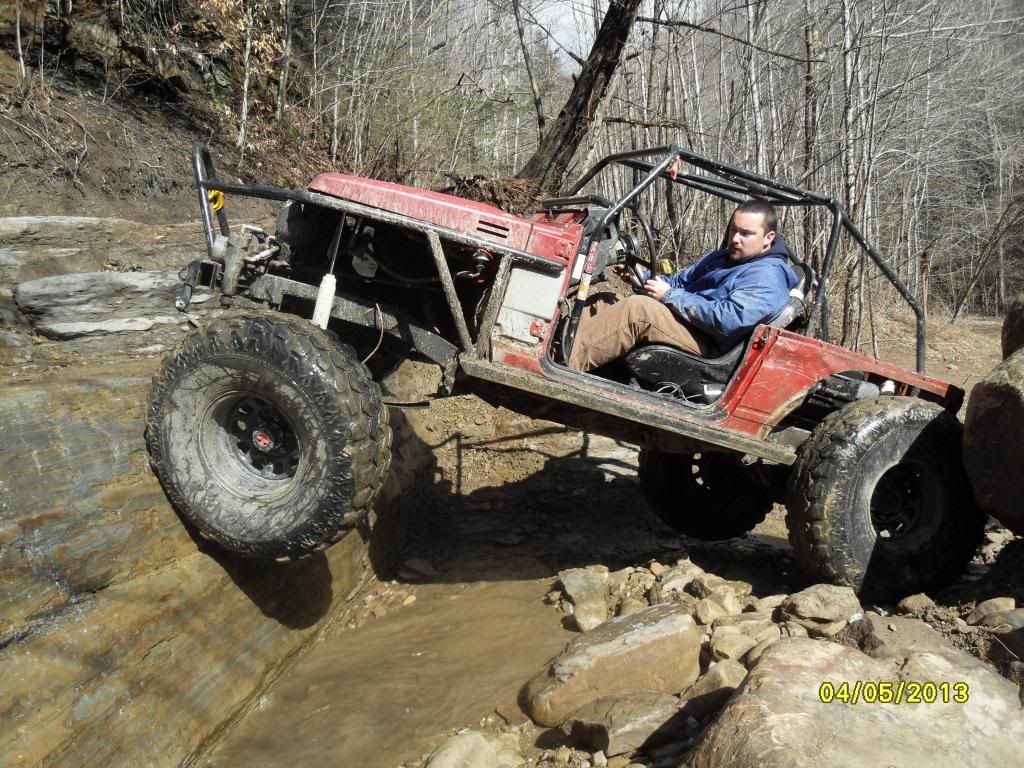
By this point I had also been to Harlan 1-2 times and taken a few good hits on the body. The driver door wouldn't go on anymore because of the big rock at the bottom of the waterfall at the bottom of Rail Bed. I really enjoy Harlan though...and this rig really seems to work well there as well.

DSC_2783.JPG


DSC_2794.JPG


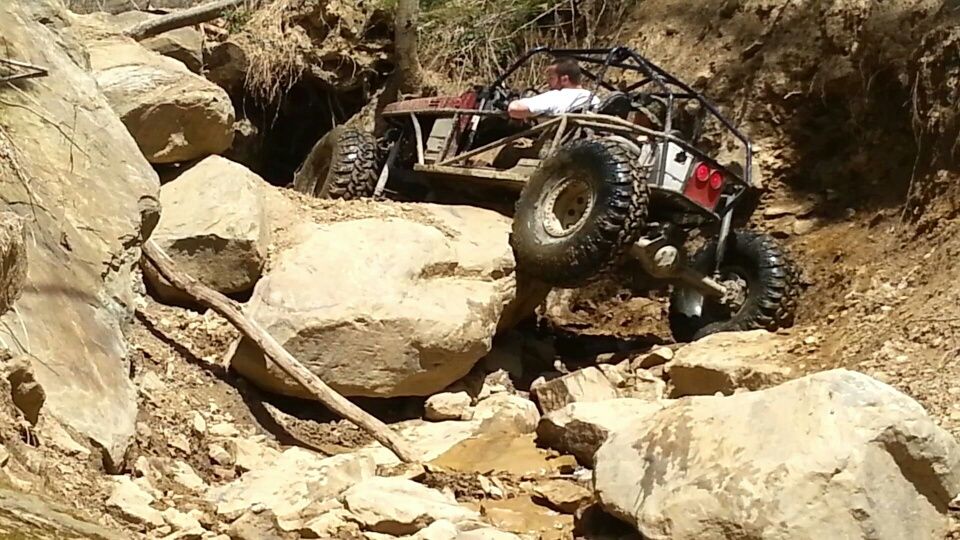
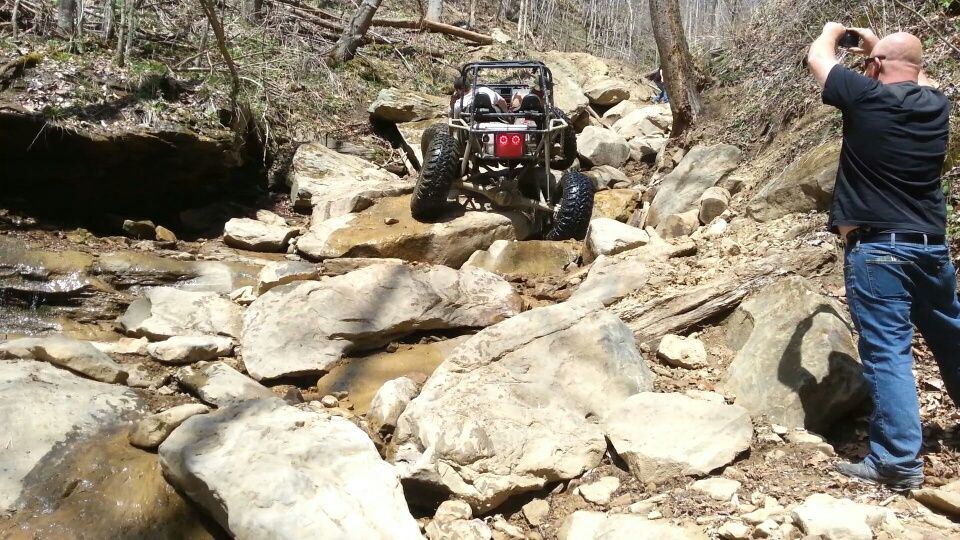
Me entering Lions Den
http://youtu.be/6Bxb3jsLKsM

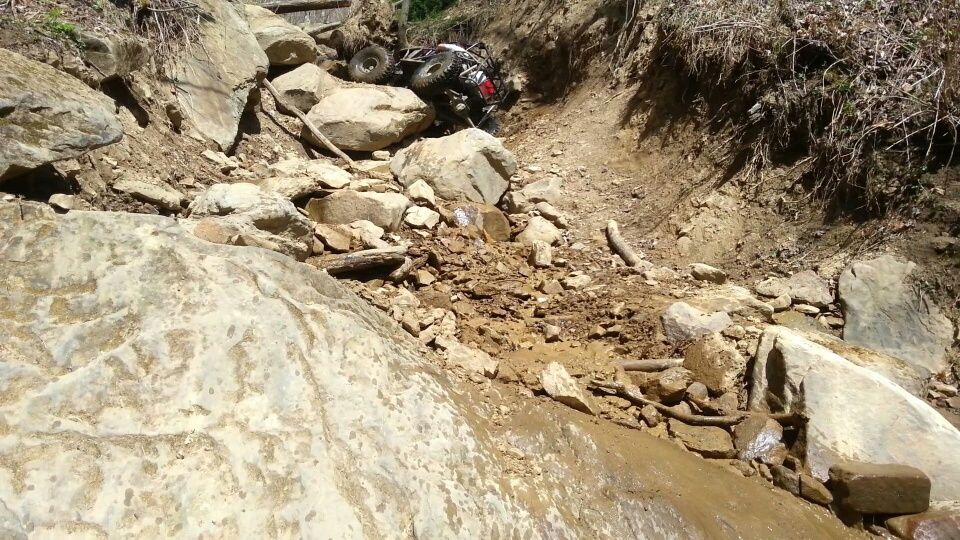
The rest of my run through Lions Den
VIDEO0152.mp4 - YouTube

CopyofHarlanAPR2013010_zps5d37b887.jpg
 
Then I found a good deal on a set of 39.5's on beadlocks...which I'd never had before.

IMAG0490_zpsa37648e8.jpg


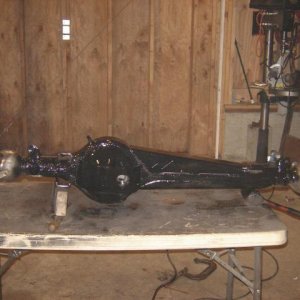
The next phase was cutting up the rear end and 4 linking it...

IMAG3281_zpso2zjyfsc.jpg


IMAG3283_zpscsexdxl0.jpg


IMAG3292_zpsco9pznaq.jpg


IMAG3291_zpsv7g47dod.jpg
 
This is where I can really "restart" the build thread here on Hardline.

IMAG3311_zpsekbkl6mg.jpg


IMAG3312_zpsvsiibnkw.jpg


Weld porn...I wasnt as rusty with the ol spark gun as i thought Id be...always room for improvement though.

IMAG3313_zpsai5cgxgz.jpg
 
Long weekends are great. I just about got it back to roller by then end of today...just needs shocks or temporary supports added along with wheels and tires of course. Everything went fairly smooth even though I started the weekend being low on abrasives so I found myself squeezing every bit of life out of a flapper wheel as possible.

Next step is to get under it and do some work on rebuilding the TCase mounts since the stock ones have seen better days and I had to cut the rear most passenger side mount off to clear where I installed the lower link bracket. Shouldn't be too hard...just more cutting and grinding.

Started building some reinforcement plates for the frame at the upper link mounts. These also provided more surface to weld the mount to. The first one I cut out I forgot to add the section at the top where the mount sits above the frame so i had to cut another small piece and weld them together. The second plate I cut was all one piece...

IMAG3316_zpsbobb92kt.jpg


IMAG3320_zps43b8gwsv.jpg


IMAG3322_zpsdpbhxuvi.jpg


My fuel cell showed up on a brown truck middle of the day.

IMAG3323_zpsz70ltk89.jpg


Location of uppers...

IMAG3331_zpsjpxqyvpn.jpg


Once I got the links cut and tacked together I had to take my turn at the obligatory suspension cycling pictures...:flipoff2:

IMAG3328_zps4p9n9pbp.jpg


IMAG3330_zps8xrkyffl.jpg


IMAG3334_zpsgevol4ig.jpg


The electric locker components come close to the upper link at full stuff...I'm thinking I'll have it limited to stop before it gets this far anyway. Not to mention I'll also be installing limit straps and a suck down winch once I do the tube work on the back end and get the shocks mounted.

IMAG3330_zps8xrkyffl.jpg
 
Previously I was at 100" WB and now I've added 3" to the rear. I plan to add up to 2" when I get around to linking the front.

IMAG3337_zps6ap7ouwa.jpg


I ended up with 36" lowers and 31.5" uppers. I believe the separation at the axle turned out to be something like 7.5-8" and around 5.5" at the frame...which is adjustable to 7.5". With this setup my AS was around 60% and wit the uppers in the top hole it dropped to around 30%. I'm really happy with how flat everything came out...or parallel to the ground...however you want to refer to it.
 
In any case I had a few buddies come over this weekend and we made some progress. First off we built a mount for the rear suck down winch. The hood pins were installed at some point. The exhaust is back on but it needs hangers...zip ties probably won't hold up. The biggest changes came when we moved on to making room for the 39.5's up front. Since I can't move the front forward without changing up just about everything we reworked my sliders and the tubing associated with them...which snowballed into where it is now. I'm happy with it and the new tubing is going to work really well when I have time to rebuild the cage later on.

IMAG3408_zpsxo9thzed.jpg


IMAG3407_zpszgmrx7m4.jpg


IMAG3406_zpsqpfu4e1m.jpg


IMAG3440_zpsbmbanhk0.jpg


IMAG3437_zpsimnxrcea.jpg


IMAG3441_zpsy15jd5s5.jpg


IMAG3442_zpsrkpvkfz9.jpg


IMAG3443_zpspivxxxrf.jpg


IMAG3444_zpsb3u8uirc.jpg


IMAG3445_zps0o795h4j.jpg
 
Installed electric fuel pump and filters. Made block off plates for mechanical fuel pump and EGR valve. Wired suck down winch and fuel pump. Built floor subframe and installed the base to mount the 8gal Action Packer tote behind driver seat.

I haven't decided what to use for the floor...normal expanded metal or some other type of material. I saw something in a buddy's rig that I liked that was solid rod on a 1.5" x 1.5" square pattern that I liked. It would be really easy to clean, provide plenty of attachment points for bungees and such and was really rigid. I'll be carrying a cooler and small toolbox and/or parts on top of this area.

The first thing I did this past Saturday was fab up an attachment point on the axle for the suck down winch. I ended up using a flat bottom shock tab off of the top of the TG truss directly below the winch. This looked good and was really simple, but after reinstalling the winch I realized it was too tall and wouldn't provide enough room between it and the winch. So first thing I did Sunday was cut that off and make up a new mount that is attached between the upper links right above the 3rd member...maybe 3-4" lower than the previous version and it works great.

1392951636588_zpsxkxgmpil.jpg


Started getting some paint put on it as well...

IMAG3489_zpsrzdwuvsg.jpg


Another project I had been putting off but finally got around to was making some shift knobs for the Tcase. I'd found these tools at a previous job and have no idea what they were used for, but they looked like a great start as a shift knob. I cut the bottom portion off and then threw them on my lathe and drilled them out for the M12 x 1.25 tap.

IMAG0009_zpse0rebrxm.jpg


IMAG0010_zpsozgerddb.jpg


IMAG3467_zpsliey9euu.jpg
 
The shakedown run went as well as it could have! The only thing I came back with to spend some more time with is tuning the rear shocks so they work in tandem...or a little more closely with the front leafs. The rig rides GREAT now compared to having the leafs in the rear...it was just too light on the back end for the leafs. The smooth application of power is very nice. The rear end sits down on steep climbs...maybe a little much...and one reason I plan to spend some time with the shocks. I don't believe it's all in the geometry, but more so in the oil/nitro levels.

The park we went to was The Flats up in Marion, NC. The Rock Corps 4x4 club were great...very welcoming and we had a great time the entire day! Thanks again guys for letting us join in!

IMAG3563_zpsfmyr9v4u.jpg


IMAG3559_zpswzgbhy6n.jpg


Ryan on Laurel Lane @ The Flats Off Road 3-9-14

Ryan on Laurel Lane (Top Portion) @ The Flats Off Road 3-9-14

Ryan on East Street @ The Flats Offroad 3-9-14

Ryan on Ledge @ The Flats Off Road 3-9-14
 
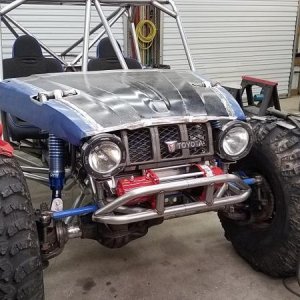
I finally let it get to me that I'd NEVER had great lighting on any of my rigs in the past. Bottom line was that I never wanted to spend the money on lighting. This time I still stuck as close to the Samurai way and found the best prices I could on what I got...but I believe I'm going to be extremely happy with what I've got...

I went back and forth on how to mount the light bar, but in the end this was the simplest way to get it done...
IMAG3661_zpsmjagemt7.jpg


The difference in light output between my old Hella 500's and LED's is crazy...
IMAG3662_zps0b1pd47b.jpg


I got in touch with MOMAR here on the forum to pick up a pair of his Tracker Pods for the front and a pair of his Mini Pods for the rear.
IMAG3667_zpscgnqpwbe.jpg


Then I looked around on eBay and found a seller with 6 of these Eagle Eye lights for a great price and picked them up to use as rock lights.
IMAG3668_zpsz7ugyrsn.jpg


Front lights installed.
IMAG3671_zpsgte2m4bz.jpg


Rear lights installed
IMAG3670_zpslghhon6t.jpg


I also managed to make the panel for my stop/tail/turn lights...I like for people behind me to know what I'm doing...especially when stopping. This is especially nice when we go to places like Harlan where we do drive on city streets to and from the trail heads. Hand signals work...but these days most people don't even know what those are.
IMAG3672_zpsrsi6jlyo.jpg


Another project I finished up was getting rid of the ghetto fab power steering reservoir mount I'd been running. It even had a shop rag wrapped around the reservoir to protect it from the clamp...geebus I was lazy. Here's the new mount...
IMAG3660_zps9idhggby.jpg
 
After the trip to The Flats it was obvious that I needed to tear into the front axle and find out why my ARB was leaking and causing the pump to cycle on regularly. Once I got it apart I couldn't believe what I was seeing. Well I could, but I couldn't believe the locker was still engaging...

IMAG3624_zpsncrv1aeq.jpg


IMAG3625_zpsq1xm67cv.jpg


IMAG3628_zpsyehdnrdk.jpg


I'm not real sure how this happened because I haven't had the front end apart since I put it together. It's been on A LOT of rides since then and the leak on showed up the last 2 trips out. Something let the tube move into just the right spot to get pinched between the axle housing and the gear/carrier...who knows what goes on in there when we aren't looking :eek:

This was one of those times I would have liked to have a removable diff cover so I could have pulled it to see before taking it apart...AND it would make it a lot easier to route the tubing and know that nothing was in the way. As it is it's kind of a blind process of putting it where it looks best and then stabbing the 3rd member into the housing and then turning the pinion by hand listening for anything to hit :shaking:

I fixed this in true Samurai fashion...I picked up some 3/16 bendable copper and drilled out the end so it would slip over the 3.5mm line that ARB uses now. Then I soldered the patch in and then used a new section of 1/8 line from there through the bulkhead. While I was in there I also replaced the o-rings in the seal housing. It'll take more force to move this 3/16 line into harms way...and the material is thicker too. Just think...people say that just because you have a Samurai hood doesn't make it a Samurai...well if that's the case at least I'm sticking to my roots and staying budget minded :flipoff2:

IMAG3632_zps8o9k0vbw.jpg


** That picture doesn't show the final layout...I did have to test fit it twice to be sure I had it in a good spot. On a side note...if I'd remembered that the seal housing came out the side of the carrier without removing the carrier like Dana axles I probably would've picked up a new one...but I'm good with this!
 
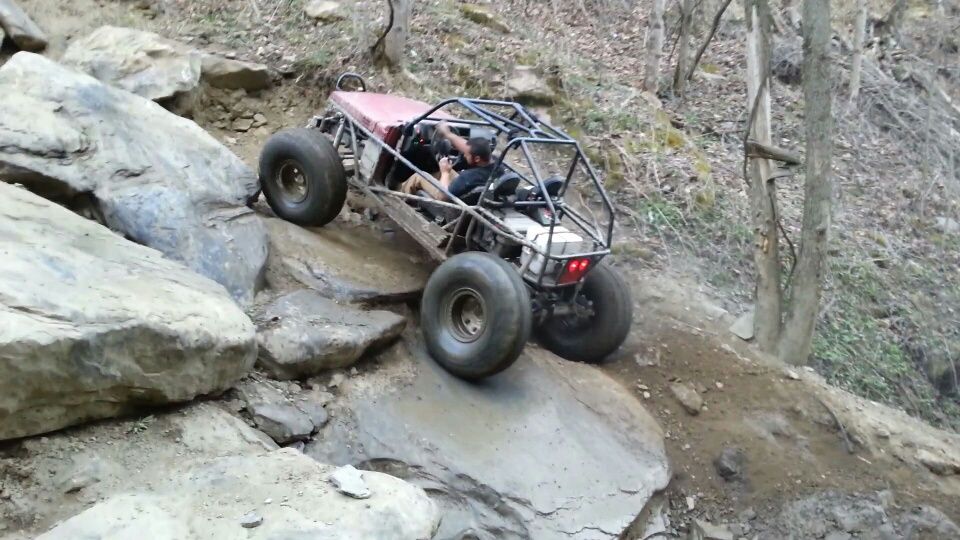
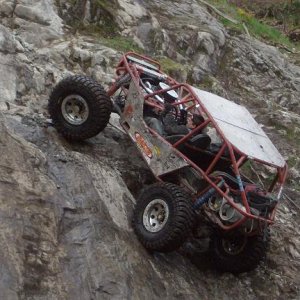
We went up to Harlan, KY for several days and had a great time as usual. Again, I was really pleased with the way my rig is working with only a few minor things to look into changing. I knew my lower link mounts at the frame were low and would hit things...but that didn't bother me too much. They don't get caught on rocks too often, but when climbing steep ledges I found out that they were usually what was holding me back...or the t-case skid was.

So...I'm planning to work on finding a way to move them up 1.5 to 2 inches and going from there. My upper link mounts have 3 holes for adjustment and I've been running them in the lowest holes with good results. After running the numbers through the 4 link calc again it looks like 2" is about as much as I can get away with without having to move the upper mounts. Hopefully I can get something done before the next ride in 2 weeks.

Here's some pics...videos to come...

8amu2e9e.jpg


duvuju4u.jpg


eru9atuj.jpg


u8ape3u8.jpg


ajysypyj.jpg


1397498622_zps479898c6.jpg


1397498626_zpsc17db713.jpg


1397498839_zpsd400ee6c.jpg


1397498836_zpsca5ec6c1.jpg
 
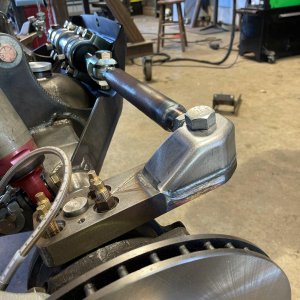
Once again I waited til the week leading up to a planned trail ride to do some work. This time around I finally dug into moving the lower link mounts by frenching them into the frame. I gained a little over 2" more clearance which doesn't sound like much, but just by comparing the new to the previous setup shows the improvement...

IMAG3894_1_zpsw5vfiogn.jpg


IMAG3903_zpsjepnazqh.jpg


I did some measurements prior to doing this and based on what I came up with this change should have put my AS up around 100. My uppers are still in the lowest hole and I have 2 more holes above it...each 1" above the other. That should allow me to adjust back to where I was before the change if I choose to do so.

Here's the numbers in the calculator...this is with the uppers in the lowest hole at the chassis...

finishedraisedlowermounts_zpsf3354e21.jpg


Only thing I see that I would have liked to improve on is the oversteer. These samurais don't lend themselves to much triangulation without a lot more work so I'll just have to live with it until I get brave enough to build my own chassis :smokin:
 
That brings us up to current day...

Here's what I've been working on most recently. I'll be swapping in a 1.6 8v motor along with a 3spd auto from a tracker. I've used the Trail Tough adapter on the transmission since it is the 4wd version. I chose to go with the 4wd version so that the intermediate shaft could maintain some length and keep the angle from being too crucial. What I didn't realize was that the 4wd case would require more floor mods. The flange at the rear of the trans where the T-case would have mounted is pretty large compared to the tailhousing on the factory 5 speed so the tunnel has to be widened.

IMAG3864_zps8fek9c6s.jpg


IMAG3876_zpsjajk4wch.jpg


I will also be rewiring everything. The motor harness was done by Myron @ ZuksOffRoad and he did a GREAT job on it. The upper portion of the cage will also be redone to fix a few issues I have with the current cage as well as incorporating a flat dash of some sort.

IMAG3916_zpsevfxdkfc.jpg


IMAG3920_zpsov9reryk.jpg


I picked up this Derale cooler for the transmission and plan to mount it under the Action Packer tote behind the driver seat.

IMAG3946_zpswsvohh37.jpg
 

Latest posts

Back
Top