• Help Support Hardline Crawlers :

The Apocalypse Redux: Nuzzy's return to the trail...

Well, the accident kinda ****ed up my ability to get a lot done this weekend. But I drug my hurtin ass out the the garage today and hobbled around a bit.


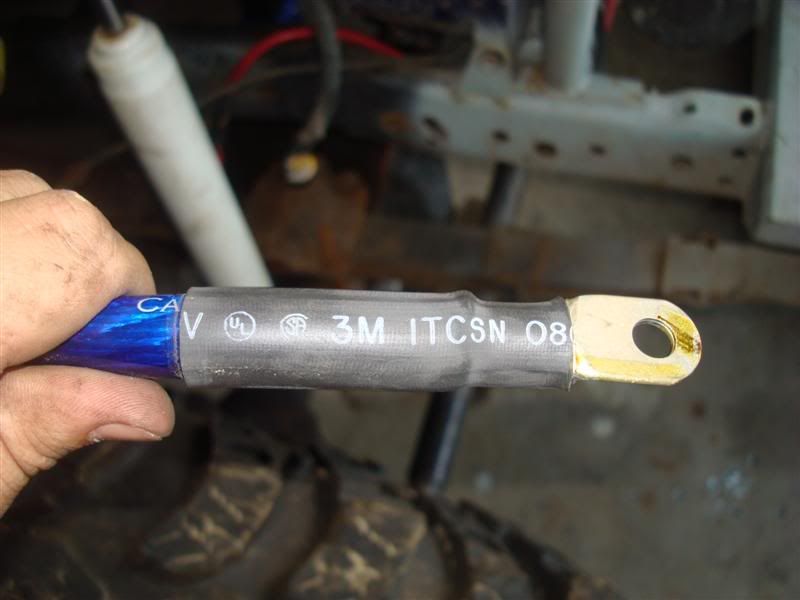
Started soldering and heat shrinking my cables. This is a 2' section of 4ga stereo cable from alt to starter.
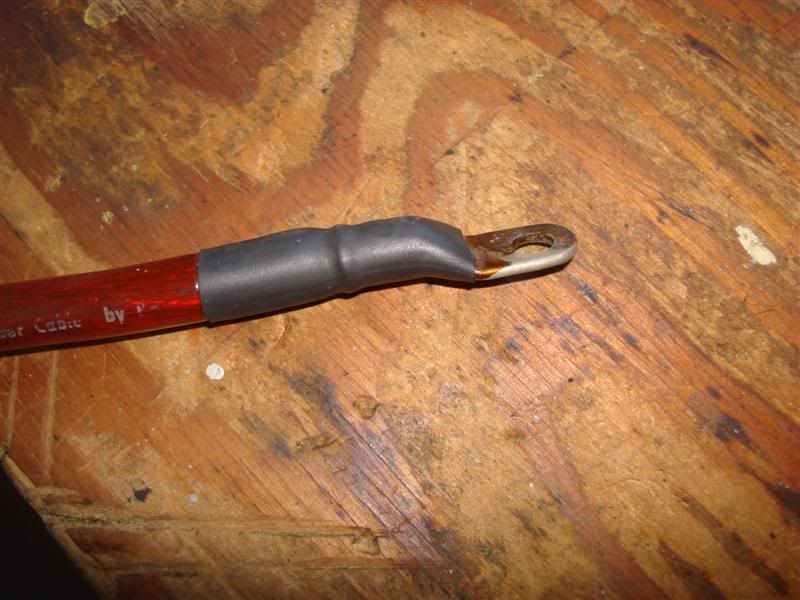
DSC05301Medium.jpg


1/0 stereo grade for a ground (my batt grounds to the floor inside and then through a bolt to this which then grounds to the frame)
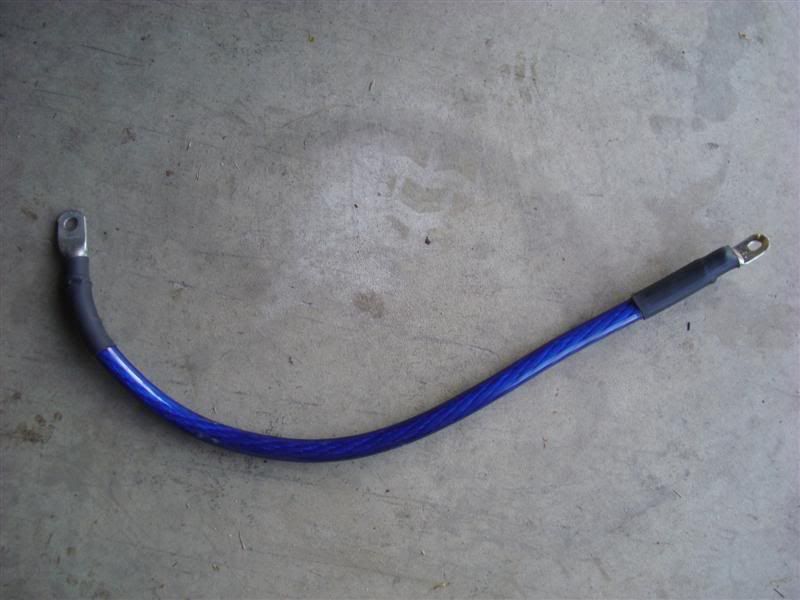
DSC05314Medium.jpg


DSC05315Medium.jpg


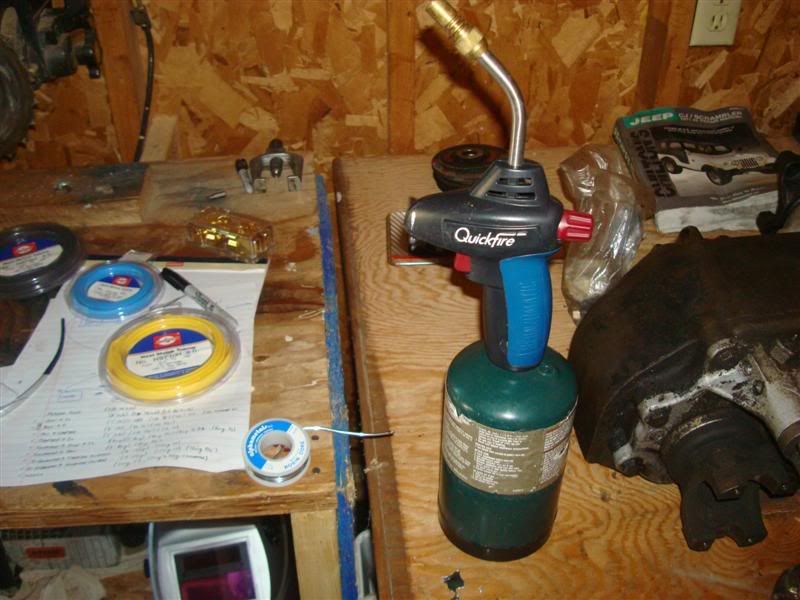
Yay for blowtorch soldering

DSC05310Medium.jpg


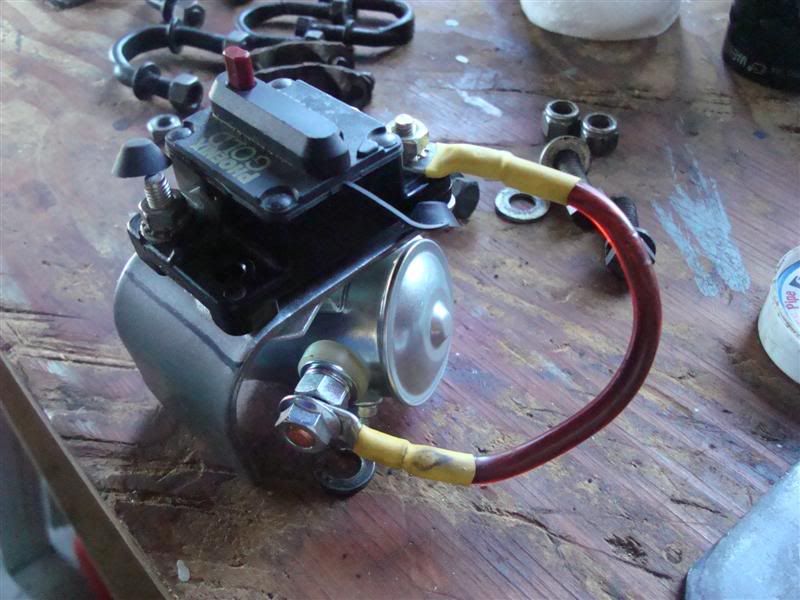
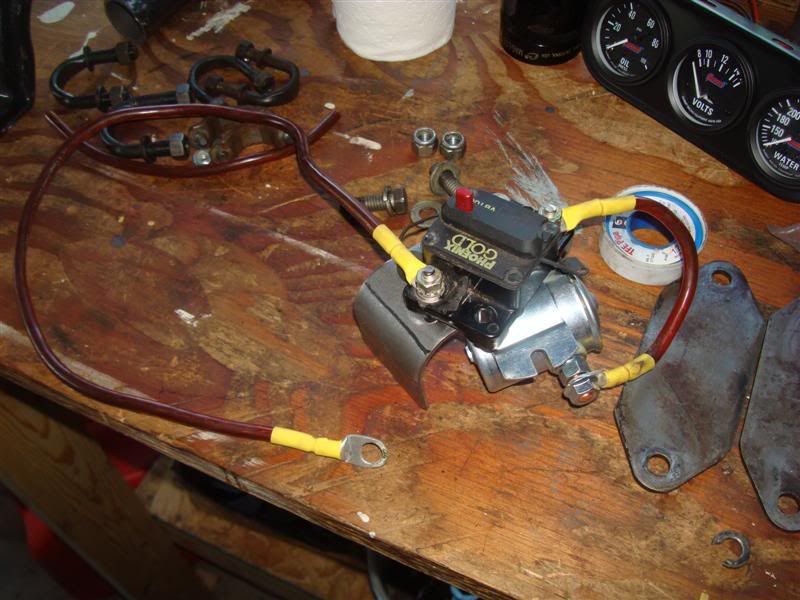
Then I got to work making a bracket for my inline fuse to the fan solenoid
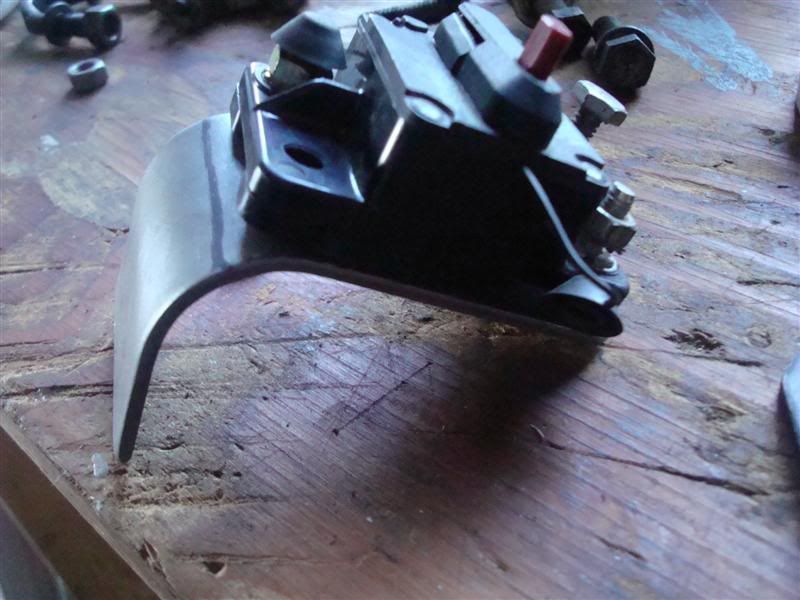
DSC05303Medium.jpg


Figured I'd also have to make a bracket for the solenoid until I turned this lil fawker over and found the holes lined up almost perfect
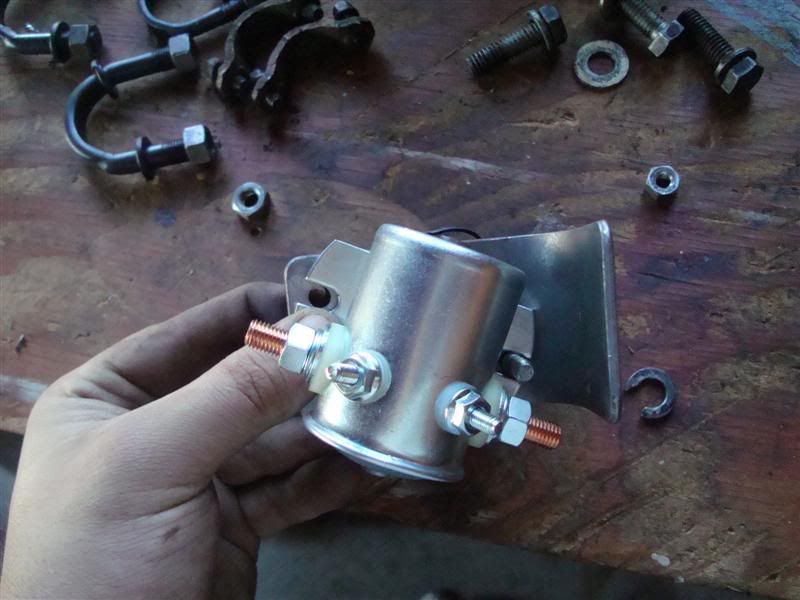
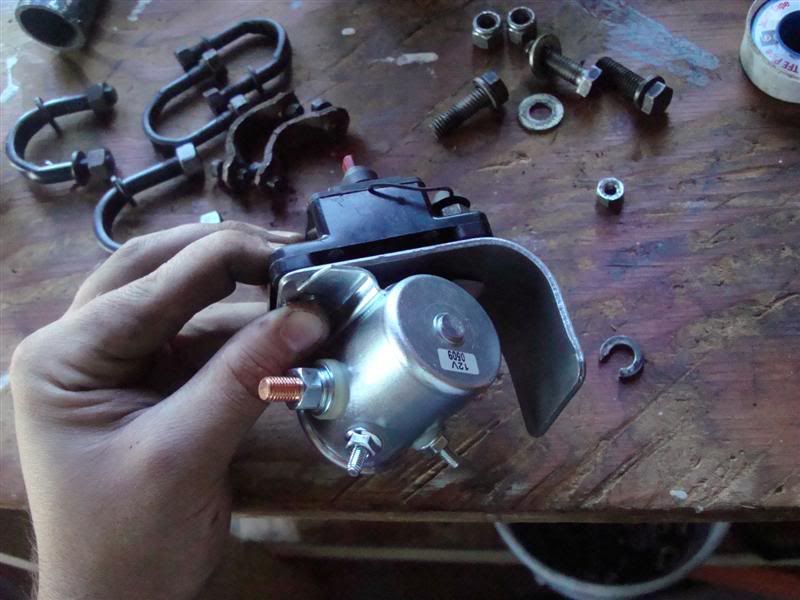
DSC05307Medium.jpg


DSC05305Medium.jpg


This will just tuck inside the passenger frame rail just above the axle and should be relatively safe
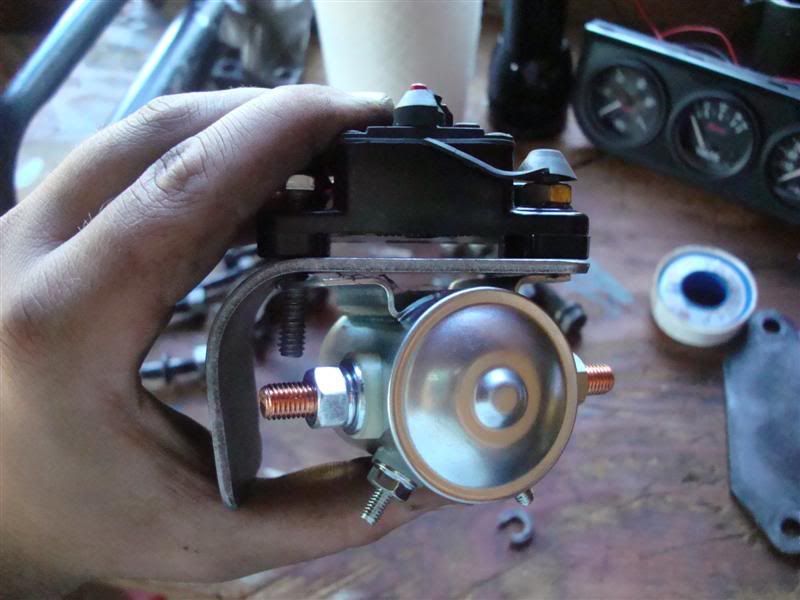
DSC05308Medium.jpg


Back to wiring

DSC05309Medium.jpg


DSC05313Medium.jpg


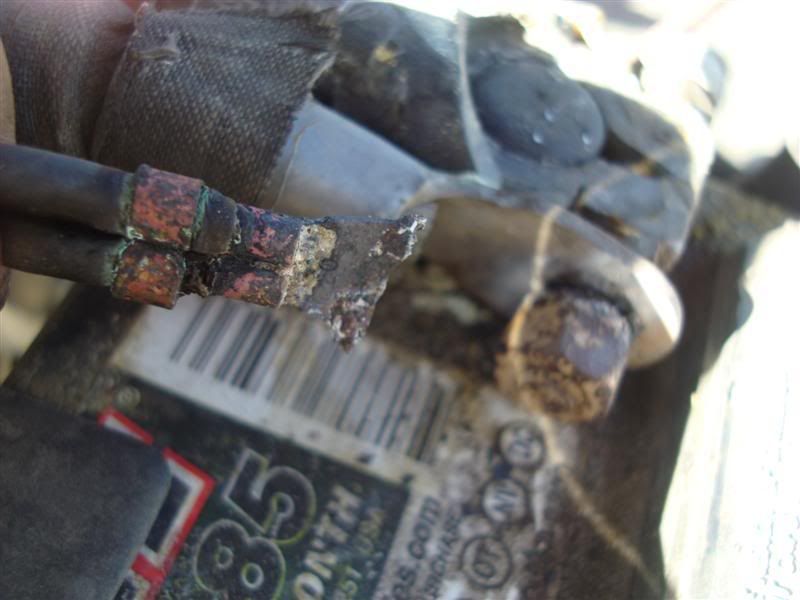
Then I started looking around for smaller 20A inline fuse to use as a jumper on the solenoid (and since I didn't get to go to NAPA today) decided to see if there was one I could steal from the truck. Thats when I found this :wtf:
DSC05311Medium.jpg


Something went nuts there and wrecked havoc on that lil guy. I'm kinda wondering if that might be a connection for my exhaust brake which would explain the troubles it had when we were driving cross country. Anyways, I put on new connecters.


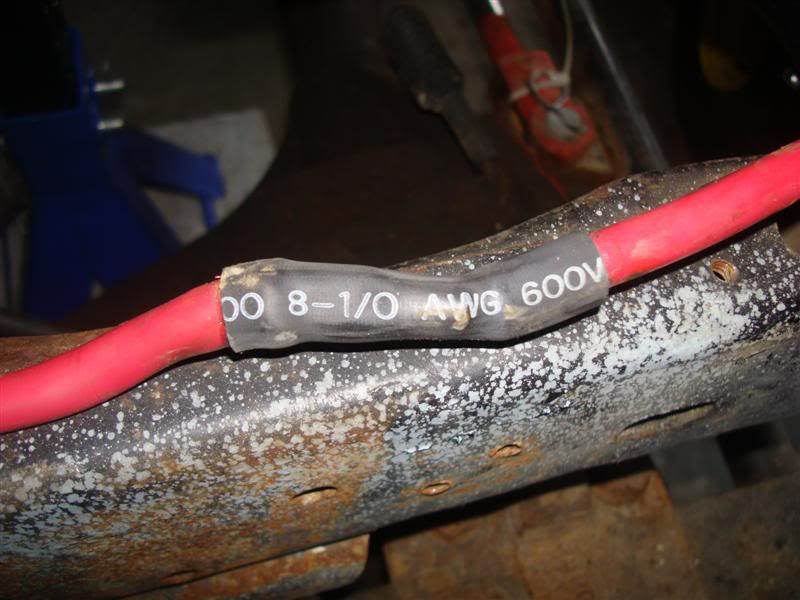
Also butt spliced my winch power cable back together with some 2ga copper butt splice dealy where it had been severed. Ain't pretty but should do the trick.
DSC05317Medium.jpg


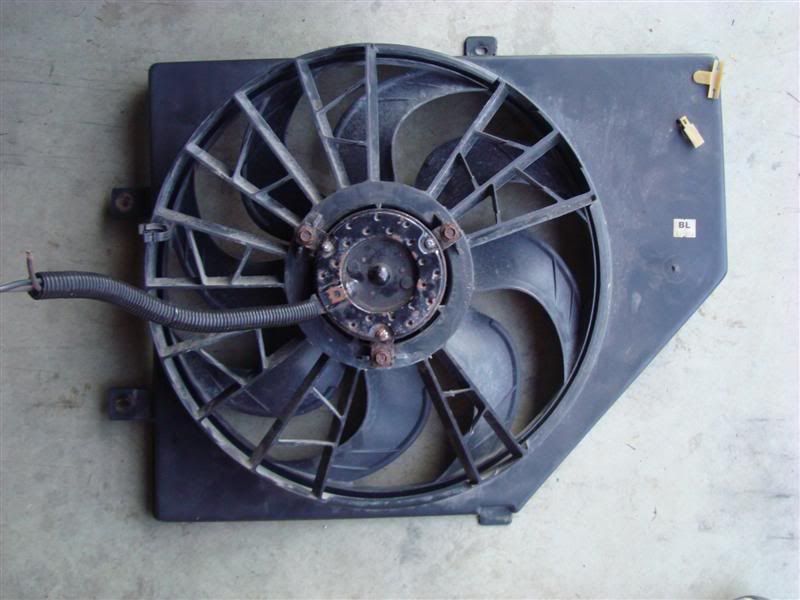
Next up is fitting this guy. I know it's a taurus fan (got for free from my dad), but I'm not sure if it's the 3.8L model everyone likes...? Either way, I'ma run it. If it turns out to be a lesser fan, I'll already have the wiring in place to get the "right" taurus fan.
DSC05316Medium.jpg


A wise man once told me, "Ya just gotta keep at it and at least do something every day" :beer:
 
Last edited:
I thought the Taurus fan I ran (until it was stolen...) from the V6 had a full rectangle shroud which fit perfectly over my Toyota radiator, and some fatty power leads for the two speed motor. Id say thats not the "normal" fan, but it should work until you get the "kick ass" junkyard version.

~T.J.


This is also a two speed fan, but I didn't think it looked right for "the" fan. So thanks for the clarification. Just gotta keep my eyes peeled...
 
Nuzzy did you crimp the ends before you sodered them? I have seen well sodered ends melt the soder on a winch under high load. dang I cant spell.
 
Nuzzy did you crimp the ends before you sodered them? I have seen well sodered ends melt the soder on a winch under high load. dang I cant spell.


I did not, as I've never seen them crimped AND soldered before... :eeek: Hmmm

Interested to hear more opinions on this...
 
Good that your moving forward again:cheer: all those nickle and dime things are a real time sucker (not to mention $$$):booo: Theres a waterneck off of an 6 that has a bung in it for a vacume switch that will work for your water temp if your not using the emmissions stuff. I will try and dig around and see if I still have one kicking about but I doubt it. You can get one that goes into a radiator hose as well (jegs,summit)

NAPA has the waterneck, pretty cheap too--IIRC it's a 91 & later 4.0L that uses this neck with the bung for a sender....
 
I did not, as I've never seen them crimped AND soldered before... :eeek: Hmmm

Interested to hear more opinions on this...

Oh yeah, and definitely drimp the ends before soldiering...makes an overall better connection!:awesomework:
 
Oh yeah, and definitely drimp the ends before soldiering...makes an overall better connection!:awesomework:


How do you crimp before soldering? I learned by getting a pool of solder in the end and then inserting the cable. Are you saying crimp and then heat and hope solder trickles down in between?
 
If I'm not mistaken, couldn't you use that same method, but crimp the connector as you're still heating the solder? Might take another set of hands, but it should work.
 
Ive done it a similar method before. I have crimped them, then hold it in the vice as shown above and heat the connector to holy hell, then stick solder in the connection like you would a plumbing joint. The problem here, is that a lot of heat is conducted into the wire and melts the insulation too in my experience.

Typically, I just crimp them and call it good. Thats the way most aftermarket cables are if you think about it. Then again, it could just be to keep costs down. Ive used bulk solder and solder slugs before for cables too. I like the slugs better since you dont have to feed an entire roll in it seems, and they give you the same amount each time. Not to mention you can buy the exact amount for the number of connections, no guessing how many rolls of solder you need.

As for the crimps, Ive used both the fancy expensive crimpers, and the cheap "hit it with a hammer" crimper you can get just about anywhere, and both have worked for me.

At this point, Id say just run it and be aware they MIGHT give you trouble if you happen to create enough heat on the cable with a long winch pull, similar to melting a battery cable cranking a car that wont start, only faster because the winch pulls more amperage.

~T.J.
 
If you are just shoving the wire into a pool of soder you are making a bad conection. You have to heat the wire and the conector to get the soder joint to be good otherwise its a cold soder joint and has not electricaly bonded to the lug and the wire.

it will take some practice but the soder should wick into the wire once everything is warm, and you should be able to do this with out seriously damaging the wire insulation, and thats a good use of heat shrink after the joint is done. I would still do it with a torch but not to directly, its closer to a braising technique if you have some one that is a pipe fitter near by.

The joints that I have seen fail the wire melted the soder and the wire fell out of the lug.
 
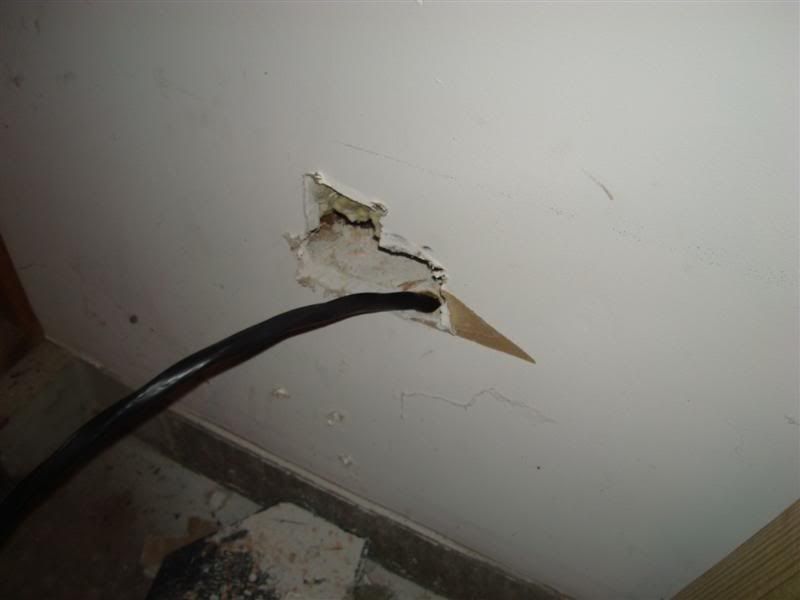
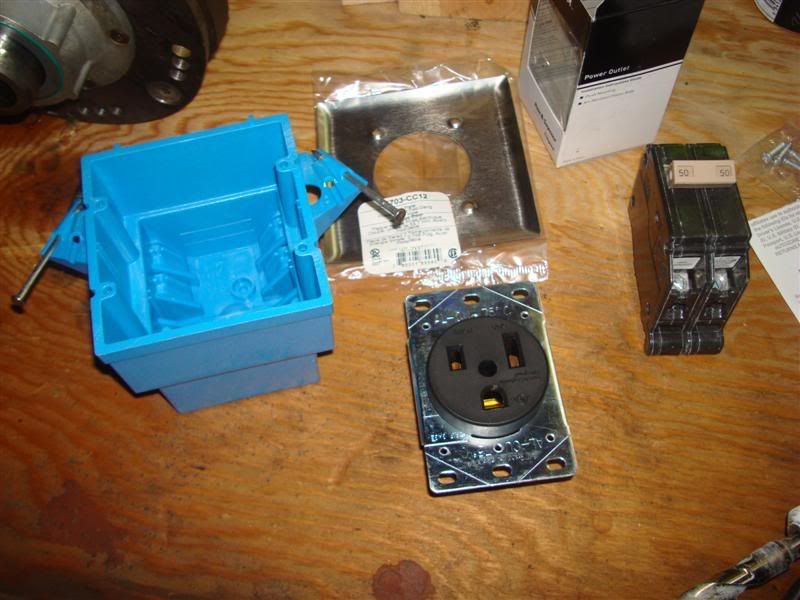
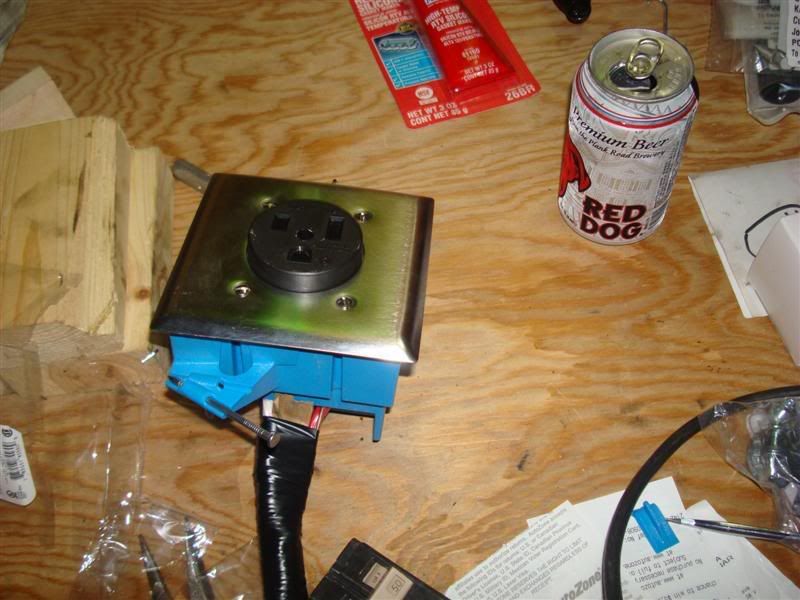
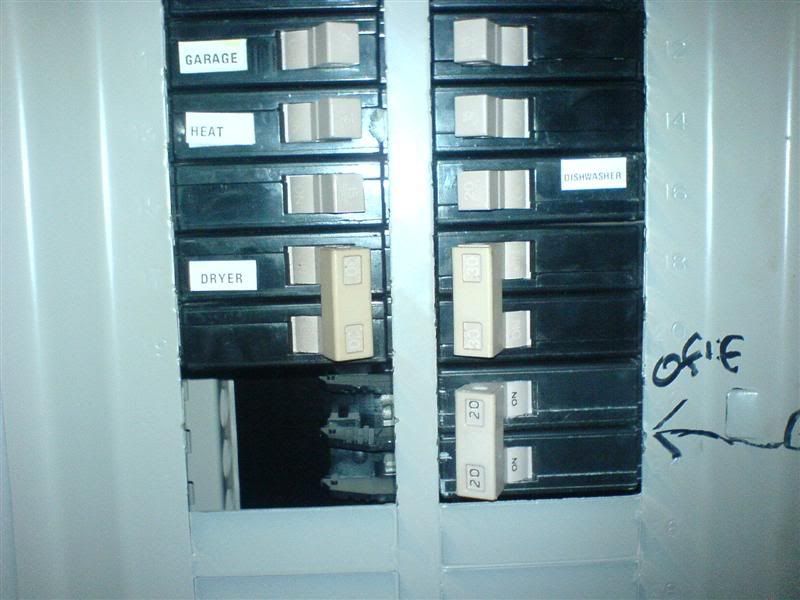
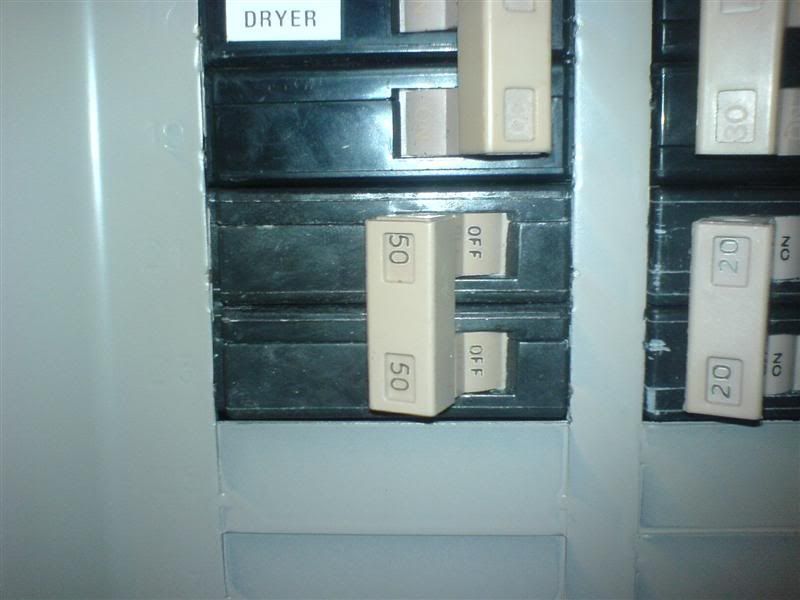
Did a quick side project today and got a 220v outlet ran from garage to panel for my welder. For anyone keeping score :redneck: this is my first attempt at house wiring.


I drilled a hole from the basement where the panel is but couldn't go all the way through so I had to do some searching :D

DSC05318.jpg


Then made this

DSC05319.jpg


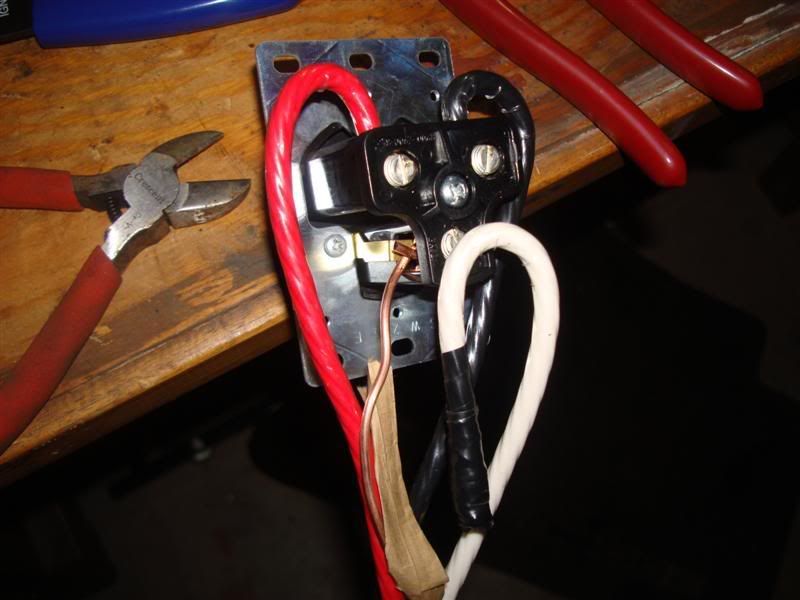
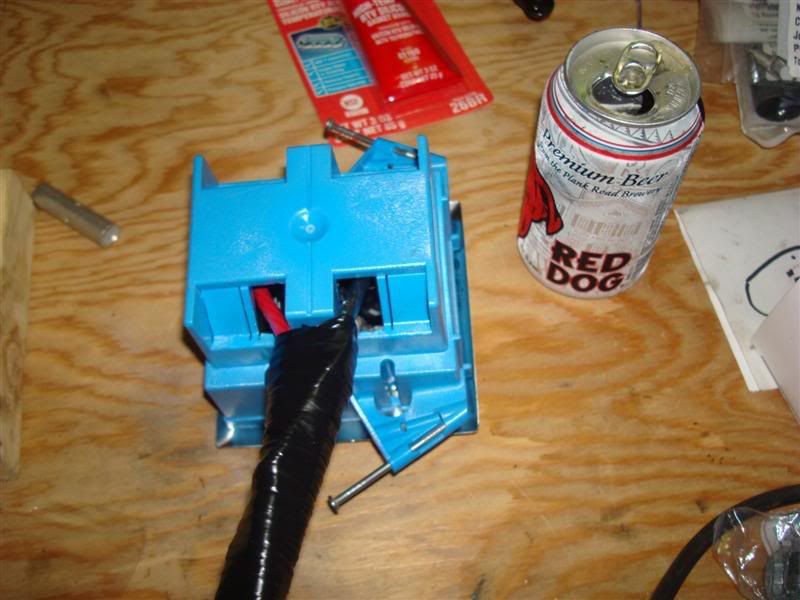
Into this

DSC05320.jpg


DSC05322.jpg


DSC05323.jpg


I wanted to keep the outlet movable so that I could take it to wherever I needed to weld. Basically wanted the welder to be able to cover the entire garage and into the driveway if need be.


Anywho, this seemed like a good spot

DSC00617.jpg


For this

DSC00644.jpg


Hooray for me making it through without getting electrocuted!!

DSC00645.jpg


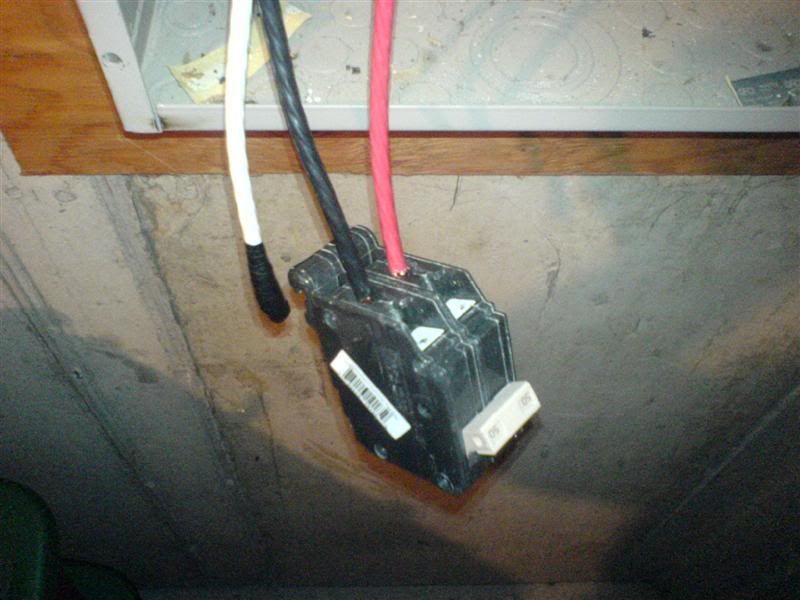
Although my outlet only needed two hots and a ground, it was cheaper to buy the wire that included a neutral. So I just taped it off at both ends and it's there if I ever change the outlet for a newer welder that may need such a thing.
 
Of course I HAD to try the welder out, and let me say...


...wow it's been a while since I stick welded :haha: And even then I never had to pick the settings cause my buddy did it for me. I bring teh suck!! :haha:

Luckily I have time to read up, study, and PRACTICE before I weld anything on my jeep :redneck::redneck:

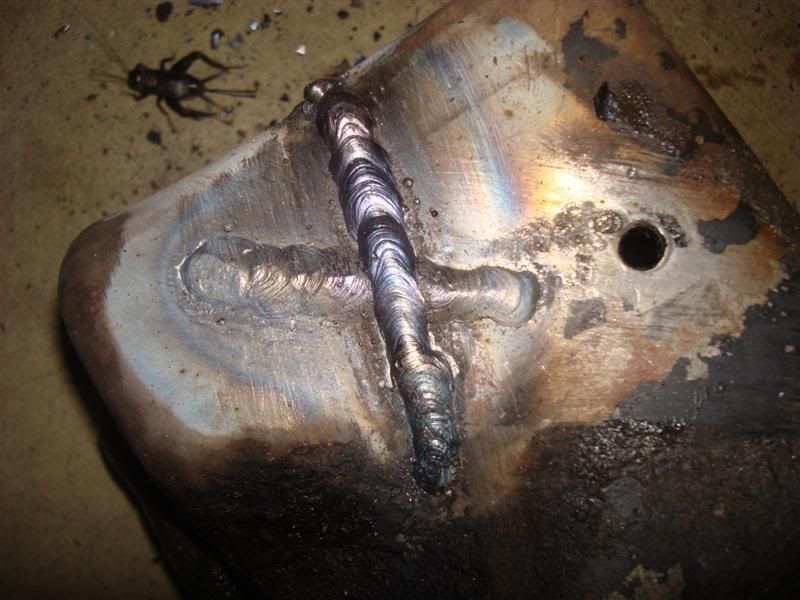
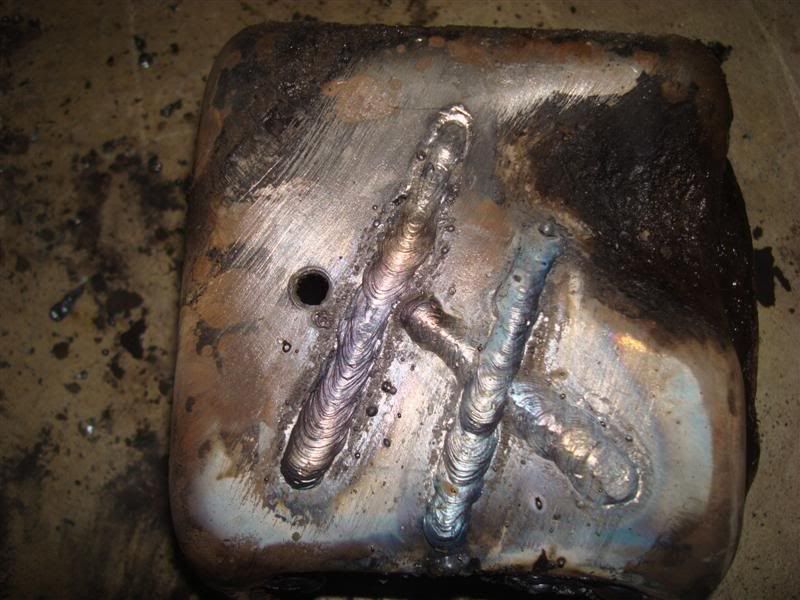
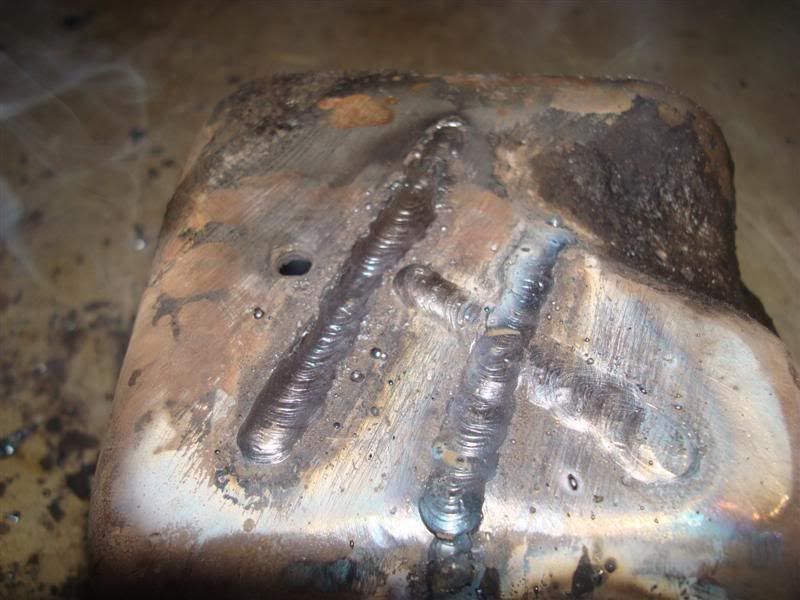
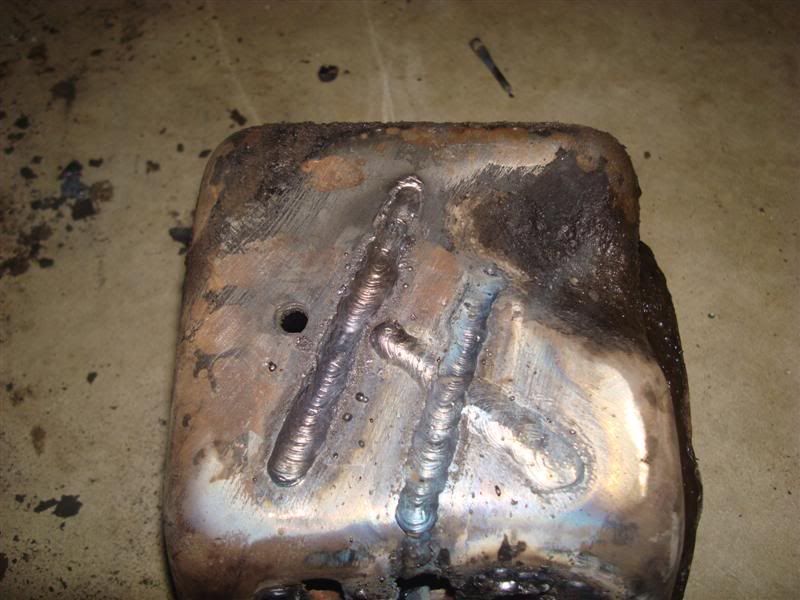
1/8ths 6013 on 90amps...

DSC05324.jpg


DSC05326.jpg


DSC05327.jpg


DSC05329.jpg


How it sits until I route it better

DSC05333.jpg


:cool:
 
Just an after thought, but typically I try to keep my grounds the same size or larger than the power feeds. So, in the case of your project, I would have made the "neutral" wire the ground wire. That way, it can carry as much power as it needs to without worry. The electricity doesnt know what color the wires are, and bigger is usually better when running lots of power distances. So, in my opinion, if you have the wire, why not use it?

~T.J. (from Ashleys laptop)
 
Dude, where is your common wire? you have 2 hots and a ground......... the white wire is suppose to be hooked to the common rail on the main breaker board? with ground optional for a 4 prong outlet????????
 
Just an after thought, but typically I try to keep my grounds the same size or larger than the power feeds. So, in the case of your project, I would have made the "neutral" wire the ground wire. That way, it can carry as much power as it needs to without worry. The electricity doesnt know what color the wires are, and bigger is usually better when running lots of power distances. So, in my opinion, if you have the wire, why not use it?

~T.J. (from Ashleys laptop)


Every write up I read and person I talked to said the bare copper should be the ground so I went with it. Meh. Point noted though. :awesomework:


Dude, where is your common wire? you have 2 hots and a ground......... the white wire is suppose to be hooked to the common rail on the main breaker board? with ground optional for a 4 prong outlet????????


Right, the white is supposed to be neutral with a 4 prong. But since my welder is the older 3 prong (2 hots and a ground), I left the white unattached at both ends. I wouldn't have even bought the wire with the white included except that it was cheaper than the black/red/copper wire by about $.80 a foot. Just pretend the white isn't there as it's useless in this application. :cool:
 
Just an after thought, but typically I try to keep my grounds the same size or larger than the power feeds. So, in the case of your project, I would have made the "neutral" wire the ground wire. That way, it can carry as much power as it needs to without worry. The electricity doesnt know what color the wires are, and bigger is usually better when running lots of power distances. So, in my opinion, if you have the wire, why not use it?

~T.J. (from Ashleys laptop)


There shouldn't be any current flowing in the ground unless there is a ground fault. For his circuit, the load is powered by L1 and L2 (red & black) leads only. A larger ground wire won't make any difference.
 

Latest posts

Back
Top