• Help Support Hardline Crawlers :

The Apocalypse Redux: Nuzzy's return to the trail...

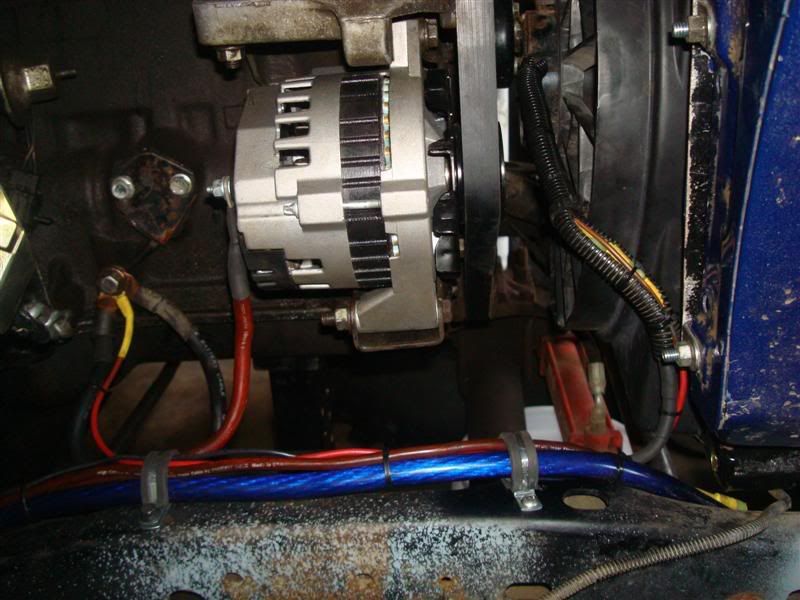
Right, the white is supposed to be neutral with a 4 prong. But since my welder is the older 3 prong (2 hots and a ground), I left the white unattached at both ends. I wouldn't have even bought the wire with the white included except that it was cheaper than the black/red/copper wire by about $.80 a foot. Just pretend the white isn't there as it's useless in this application. :cool:

I see said teh blind man......... x2 on teh bigger ground though.

Git er dun kid, only 8 months to Moab 08. :cheer:
 
Alright, so I went back and crimped all my soldered ends. And by crimp, I mean hammered flat cause that's all I had to use :redneck:

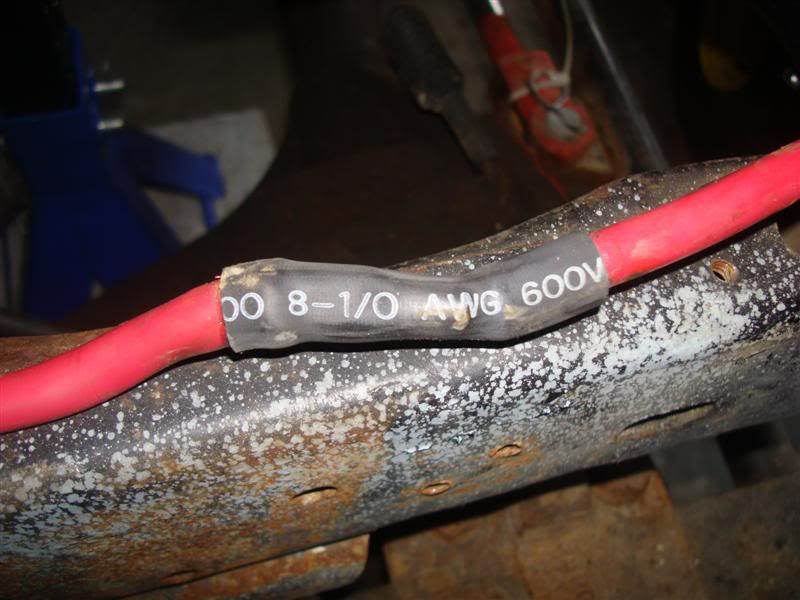
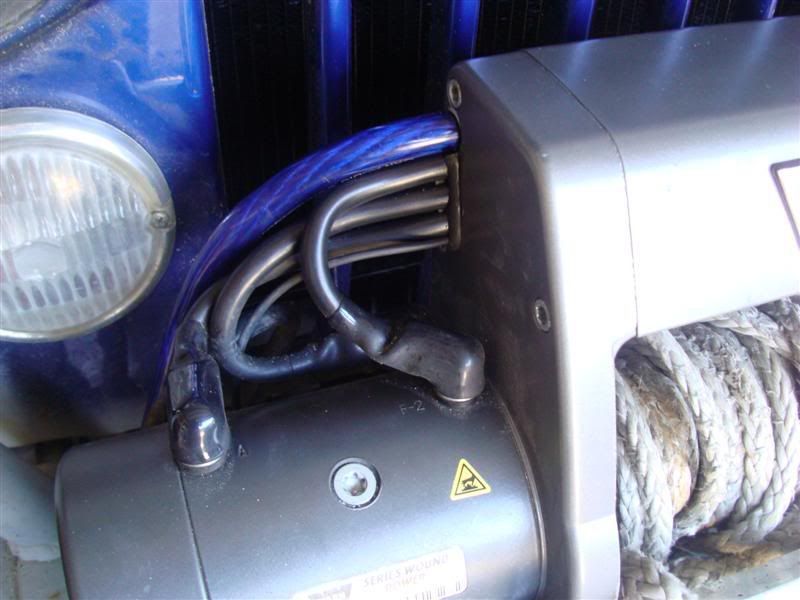
Then I got to thinking how I really didn't like this splice in the pos winch cable

DSC05317Medium.jpg


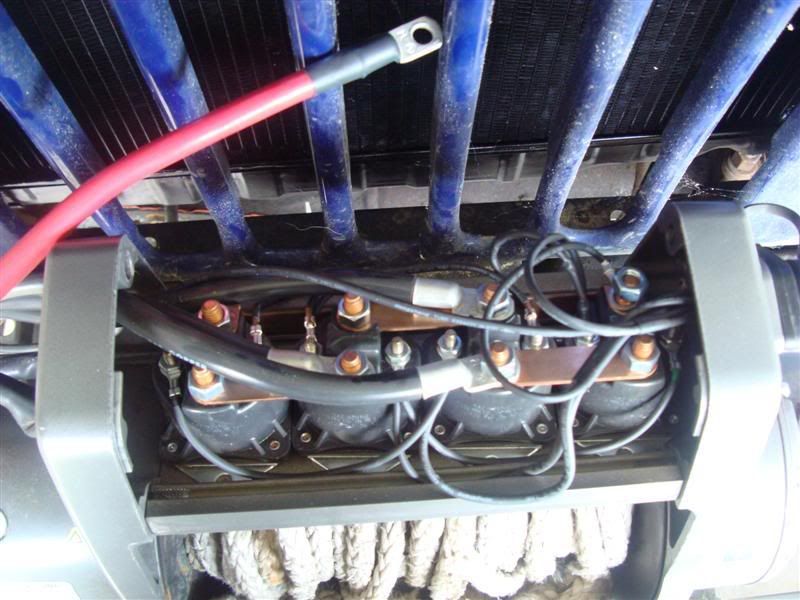
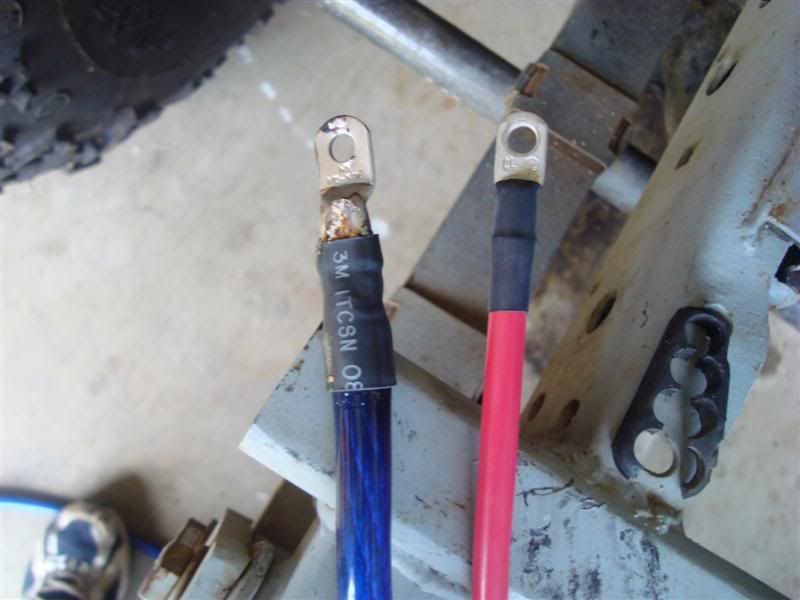
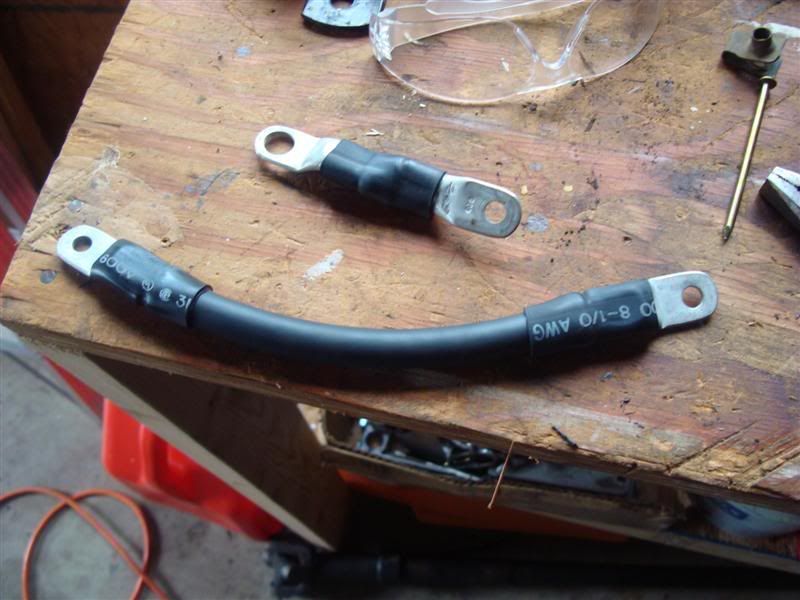
Well, I didn't have any 2ga sitting around to rewire it, but I did have some 1/0 fine thread left over...

So off comes the winch access panel dealy

DSC05348.jpg


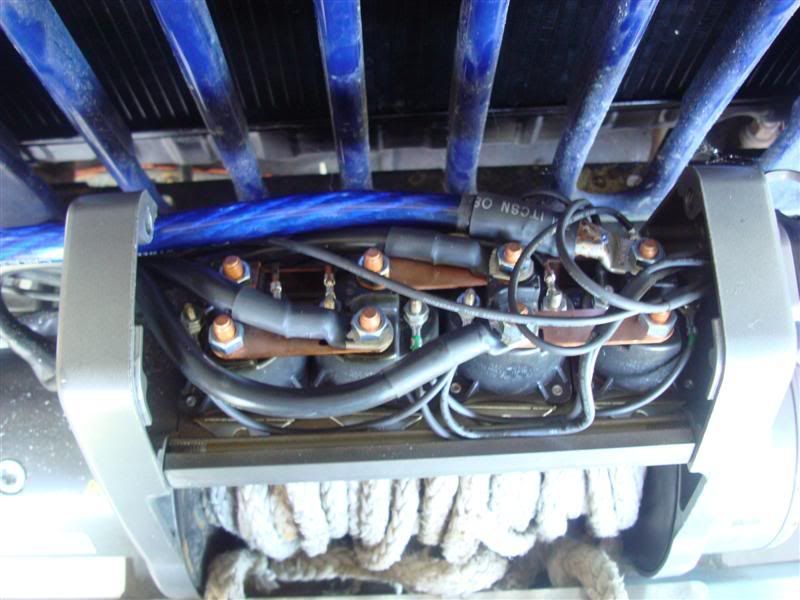
Yeah... Just go ahead and ignore the ugly heat wrap. I was trying to use up an odd scrap and wasn't too worried since this is in the winch not exposed to elements. :eeek:

DSC05350.jpg


A little drilling/filing to make the hole in the side of the case bigger

DSC05351.jpg


Much mo betta :011:

DSC05353.jpg


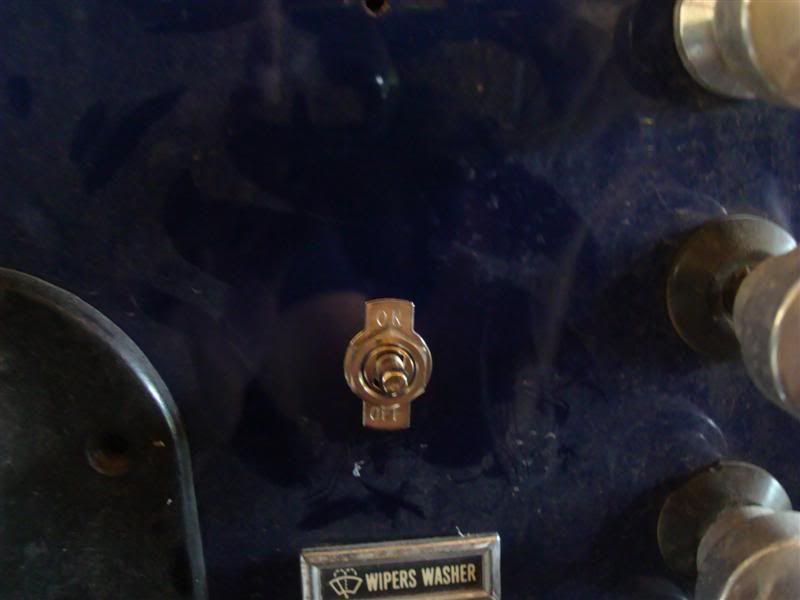
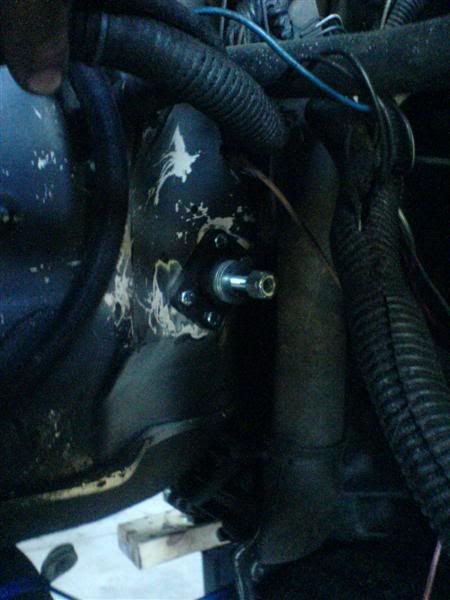
Then I threw in a kill switch for my elec fan in case I find my self going into deep water or mud.

DSC05357.jpg
 
Looking good Nuzzy keep up the momentum.


Every weekend I'm home, I'm doing something to keep it moving forward :cool:


What sucks now though is I leave Monday morning for a 2 week trip to AZ so I won't be able to touch it until the 27th :booo: Gotta get a new battery too but since I toasted my laptop in the GTO crash, now that has become a monetary priority :mad::mad:

I'm really pulling to get it all done by mid/late October :gunz:
 
Been a weird couple weeks but I got back out in the garage today. Started taking taking the front of my truck apart to change ball joints but came to a road block when I didn't have a 1 11/16ths socket for the cassle nut holding on the hub assembly... thus... time to play with jeep :D


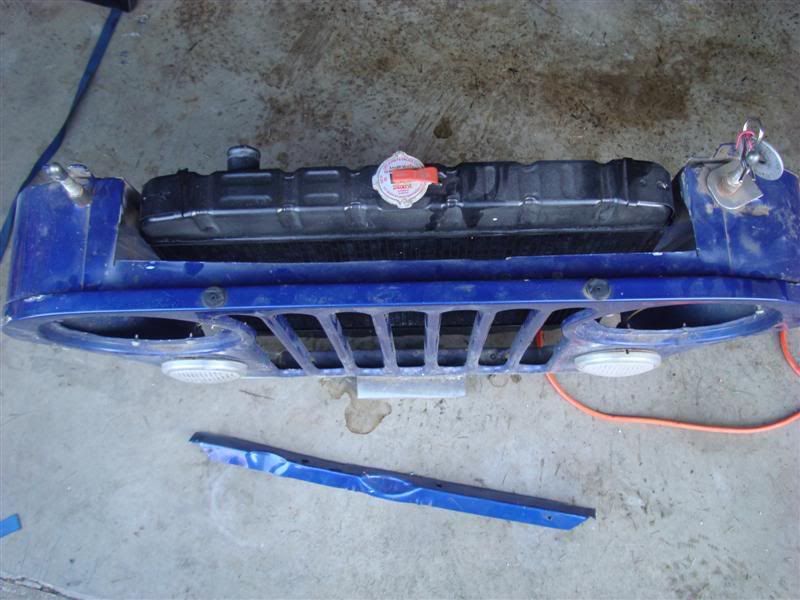
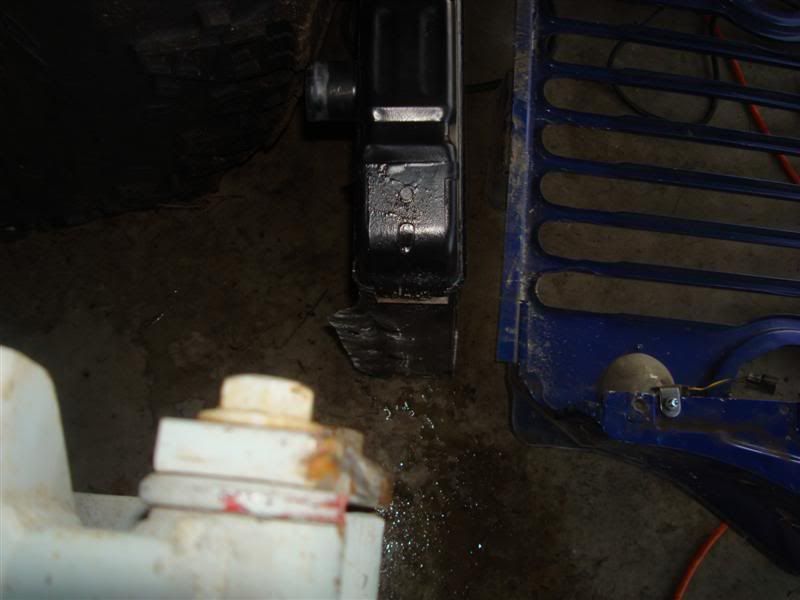
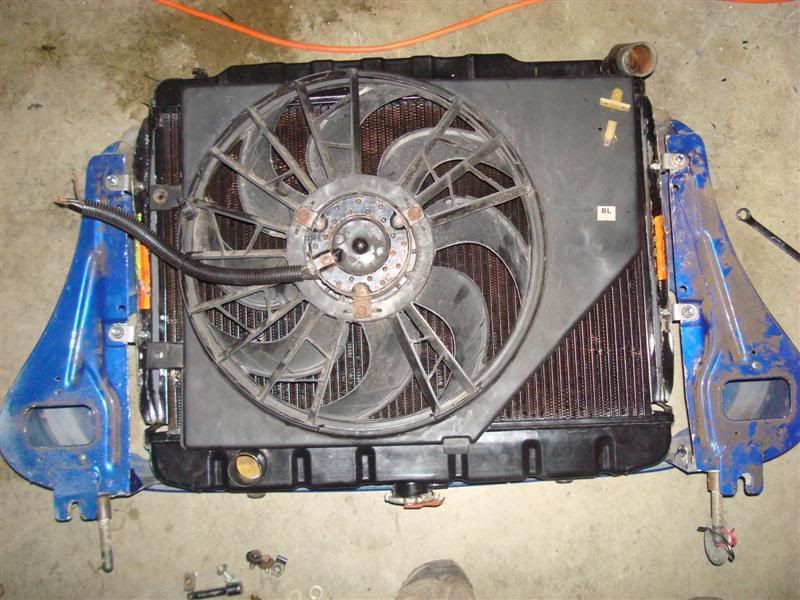
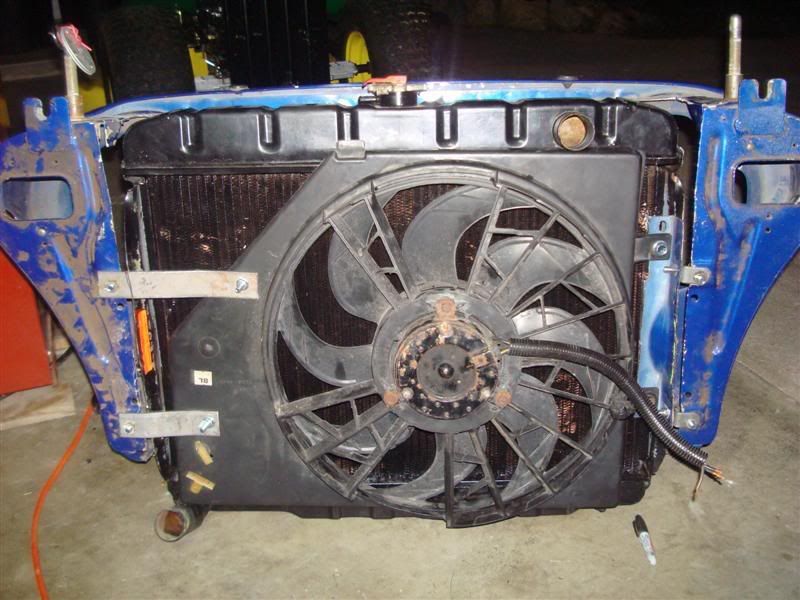
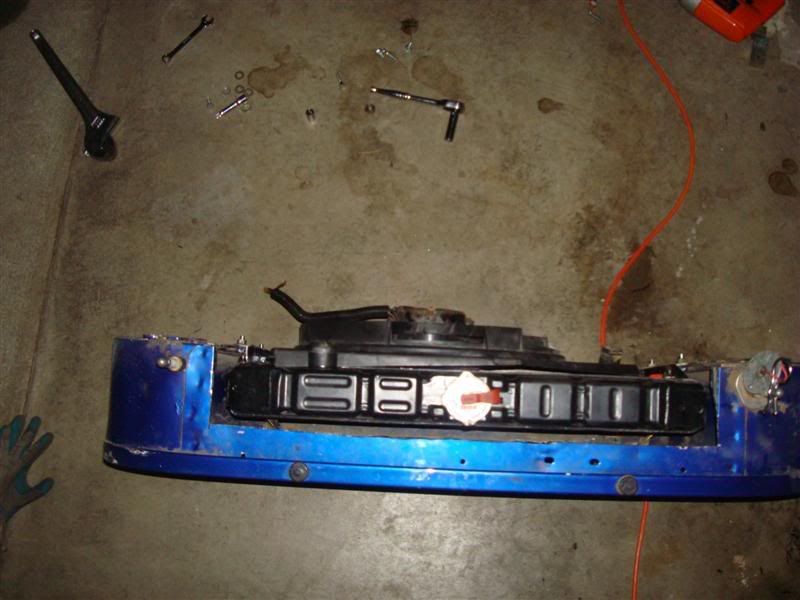
So I've been trying to figure out how to fit my fan. I was off by a good few inches and am running out of room to move the motor back. Well I got to looking and realized how much spare room was behind the grill. So out came the cutoff wheel.

DSC05418Medium.jpg


DSC05419Medium.jpg


Then I *adjusted* the rad with a crescent wrench and hammer until the mouting surface was bent 90*

DSC05421Medium.jpg


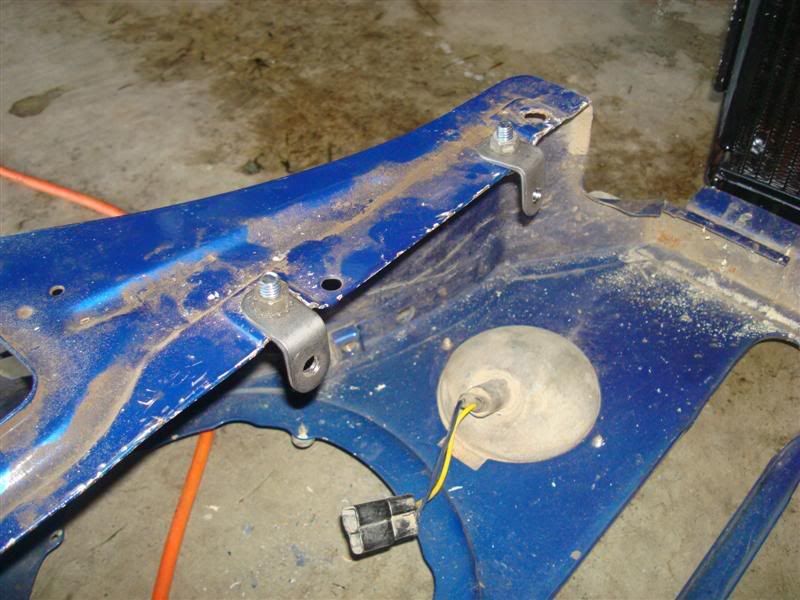
Drilled holes in some tabs I had sitting around

DSC05420Medium.jpg


DSC05425Medium.jpg


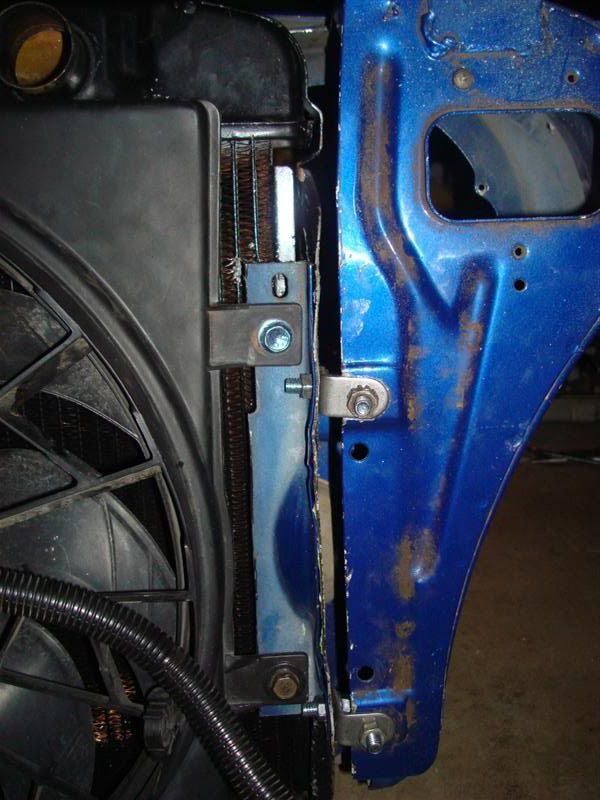
Reused some of the previously cut out metal to make a mounting bracket for the fan

DSC05427Medium.jpg


Bent up some mounts

DSC05430Medium.jpg


And ta-da... Rad/fan moved forward an extra couple inches

DSC05428Medium.jpg


So close!!

DSC05434Medium.jpg


DSC05436Medium.jpg


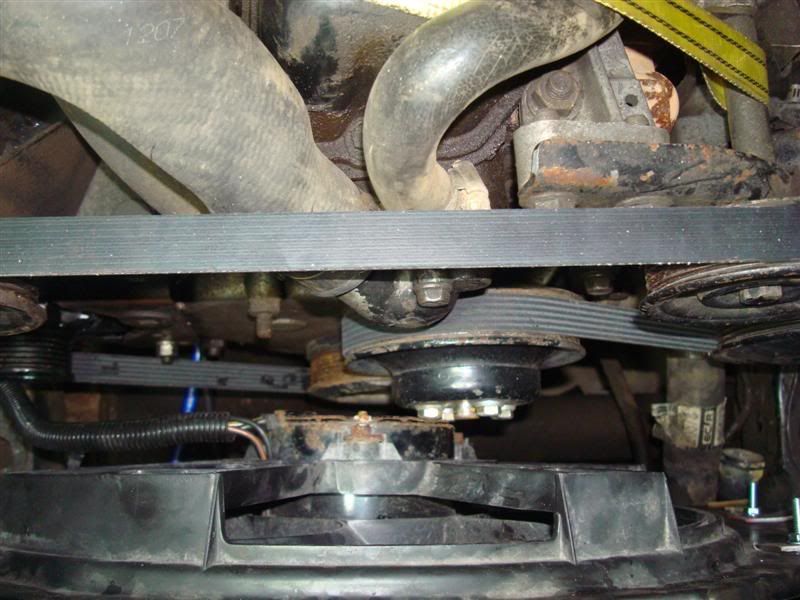
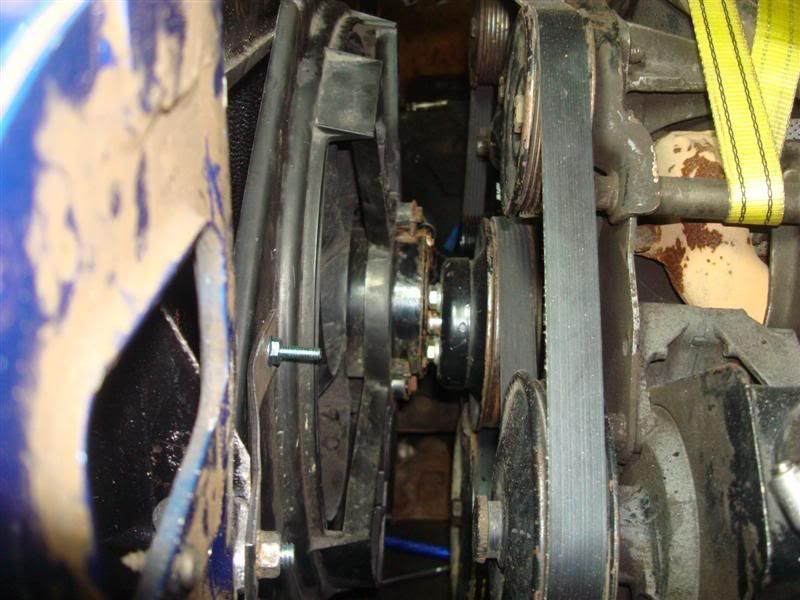
Hopefully can eek another inch or two by moving the motor back... :cool:
 
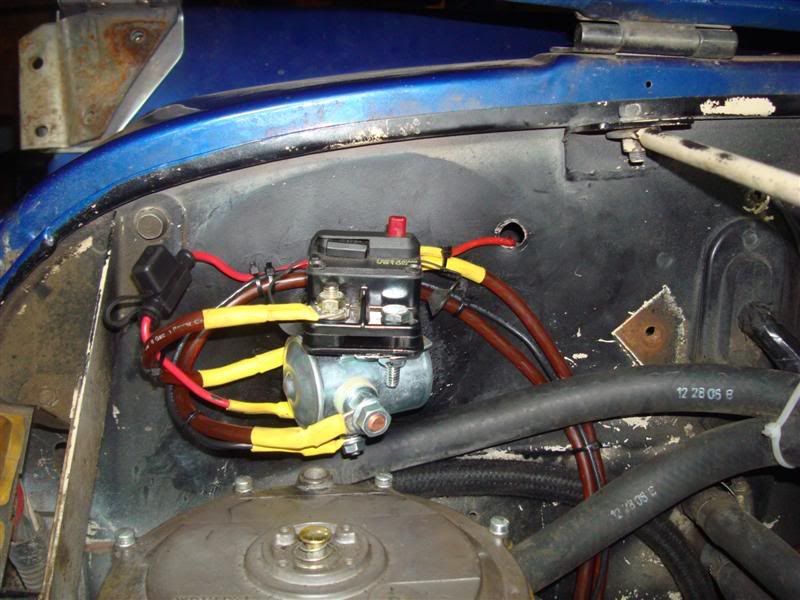
Fan is all wired and working, which is another small yet great step forward. Now just trying to find the best spot to mount my starter solenoid that's tucked out of the way...


I may have sat in the jeep for a few minutes this morning making vroom vroom noises :D
 
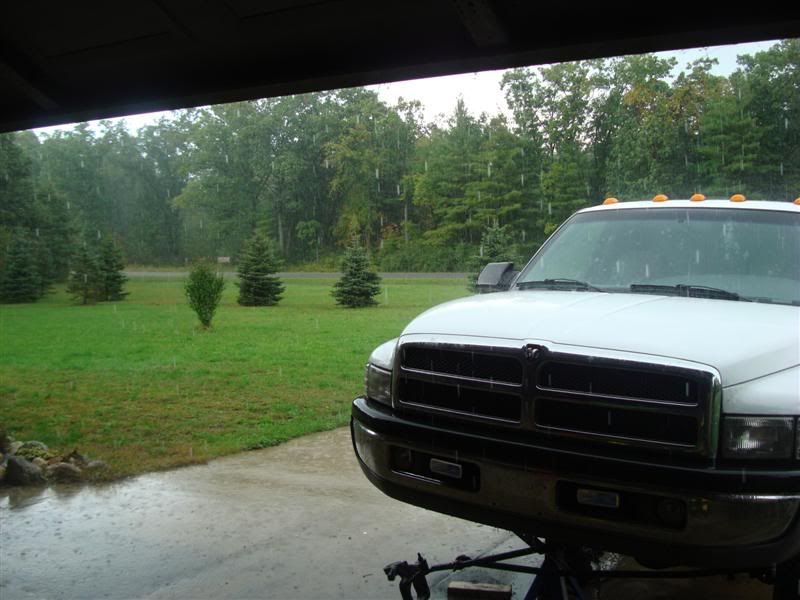
Once again rained out for trying to finish the ball joints on the truck...

DSC05455Medium.jpg


So I spent the afternoon and evening finishing up the majority of the wiring from the comfort of the garage.


I liked crash's junction block so much, I just HAD to get my own :D Finally found a spot I could mount it that didn't involve removing my heater core to get to the inside nuts.

DSC00657Medium.jpg


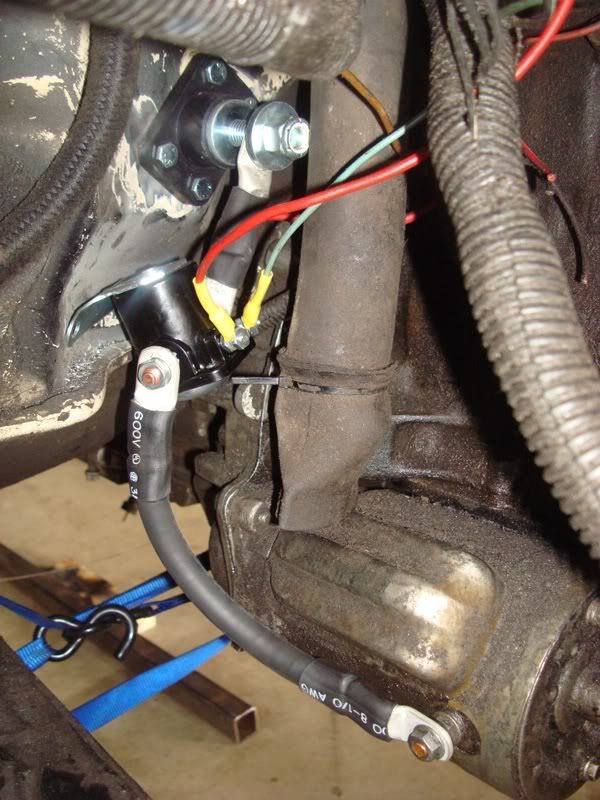
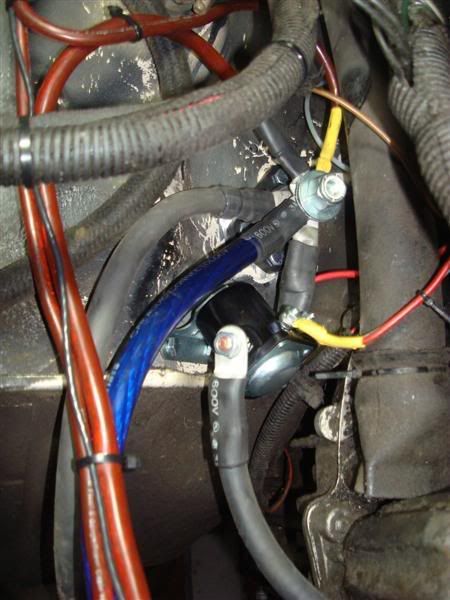
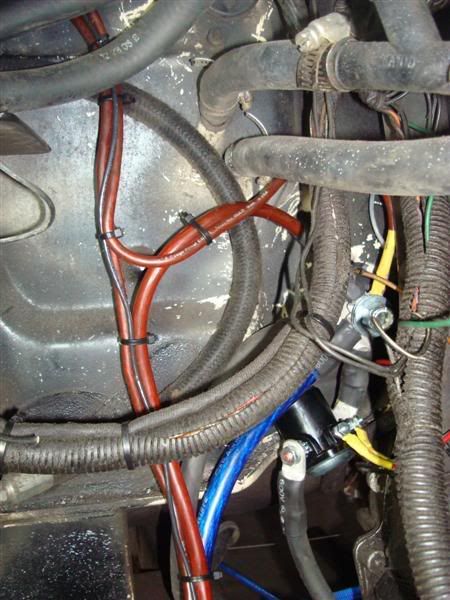
Then found a spot for the starter solenoid that kept the distances for more wire minimal (and avoided the heater core again).

DSC05447Medium.jpg


DSC05453.jpg


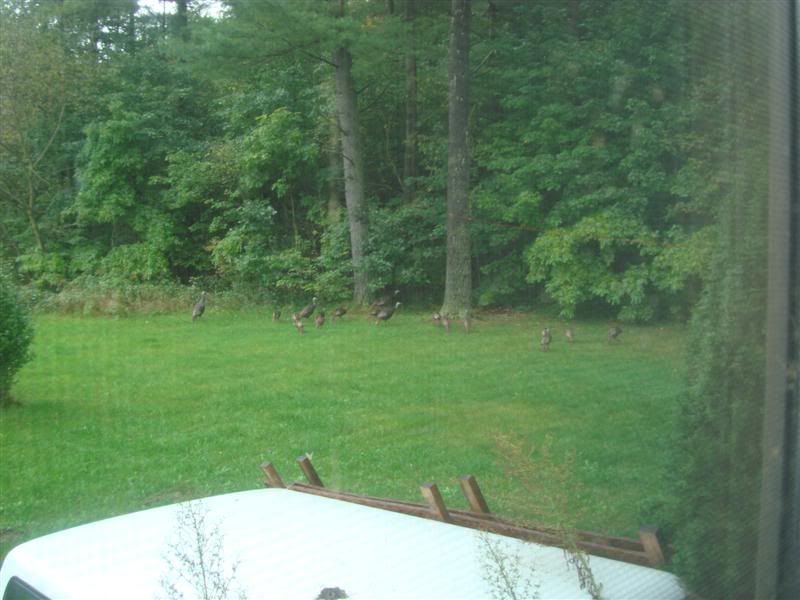
About that time I looked outside and saw our local band of wild turkeys was back.

DSC05446Medium.jpg


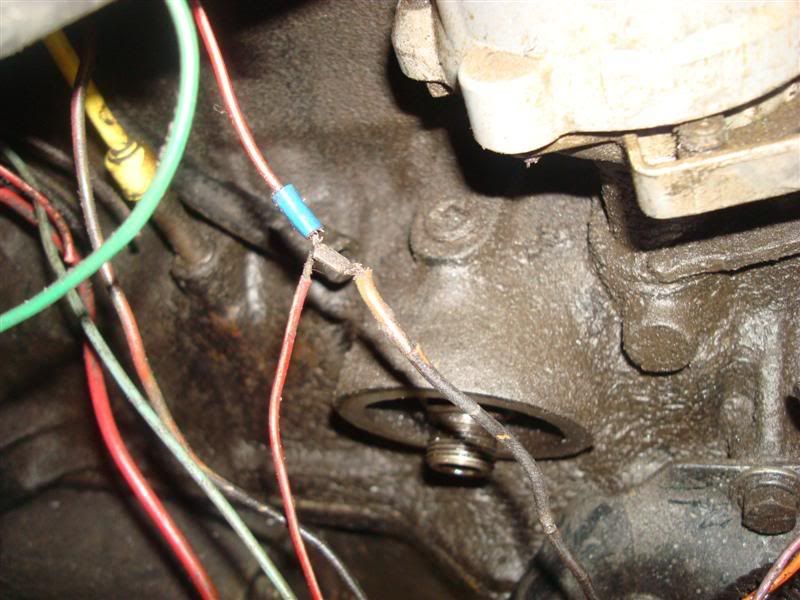
I'll be pleased as **** to rip every last old wire out of this thing someday, but for now I'll have to be content finding, removing, and rewiring these little abortions as I come across them...

DSC05451Medium.jpg


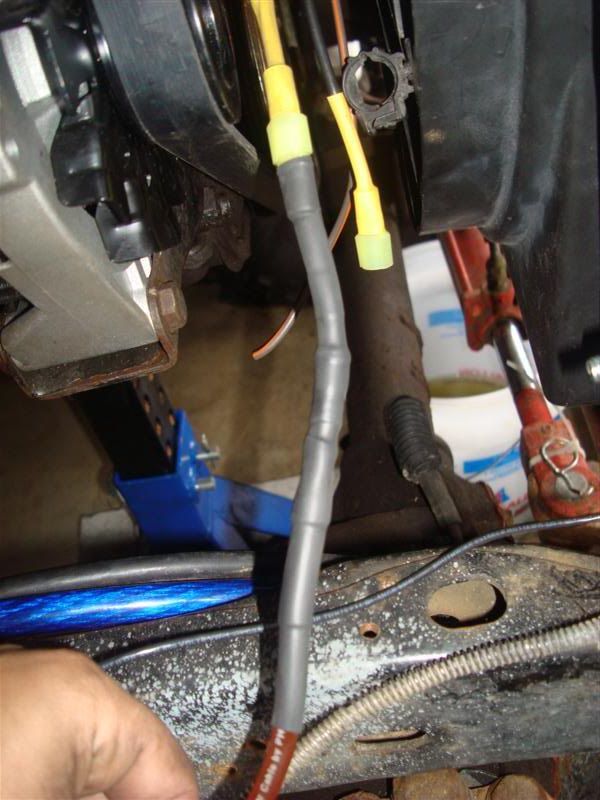
Oh how I love heat shrink :D This (unavoidable in this situation) is an 8 gauge to downstep buttsplice to 12 gauge to weather proof female spade with two layers of various shrinks.

DSC05456Medium.jpg


But everything is turning out pretty decent. I'll prolly grab some of that corrugated wire concealer for everything.

DSC05458Medium.jpg


DSC05460Medium.jpg


DSC05462Medium.jpg


DSC05463Medium.jpg


All I have left to wire now is the keyed switch for the propane solenoid and the power to the gauges. May just pick up a fuse block to mount inside for further power needs :cool:
 
Looking good. Check out Marine Supply places for aux. fuse blocks. I picked up a nice one for pretty reasonable at the local boat shop to clean up the wiring for my in cab winch controls, air, and cd player. It's a six fuse block, so I still have room for three more circuits.
 
Something missing?


No silly! This motor gets it's oil through osmosis. See, it's covering the whole outside of the block... :awesomework: :haha:


(Weeks back when I drained oil there was an obstruction that threatened to wreck the filter while I was clumsily moving the motor around, so I just left it until the obstruction no longer presented a threat)
 
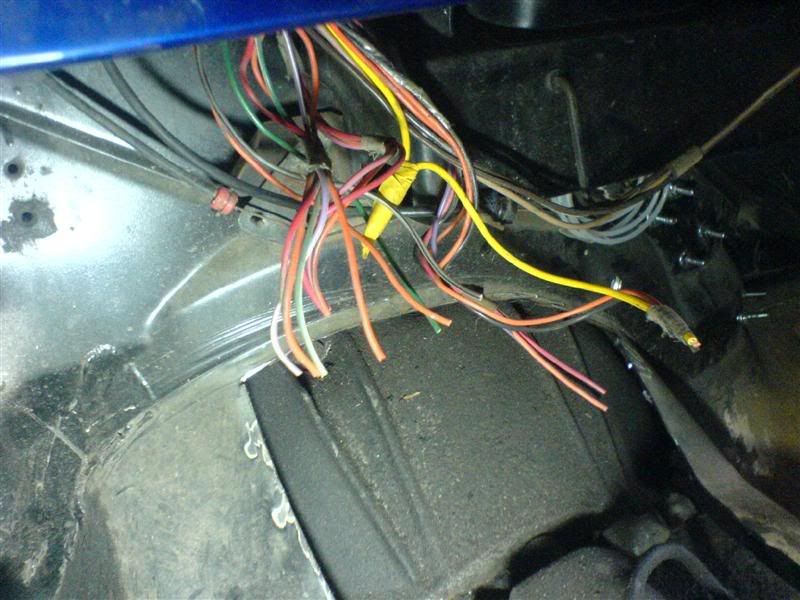
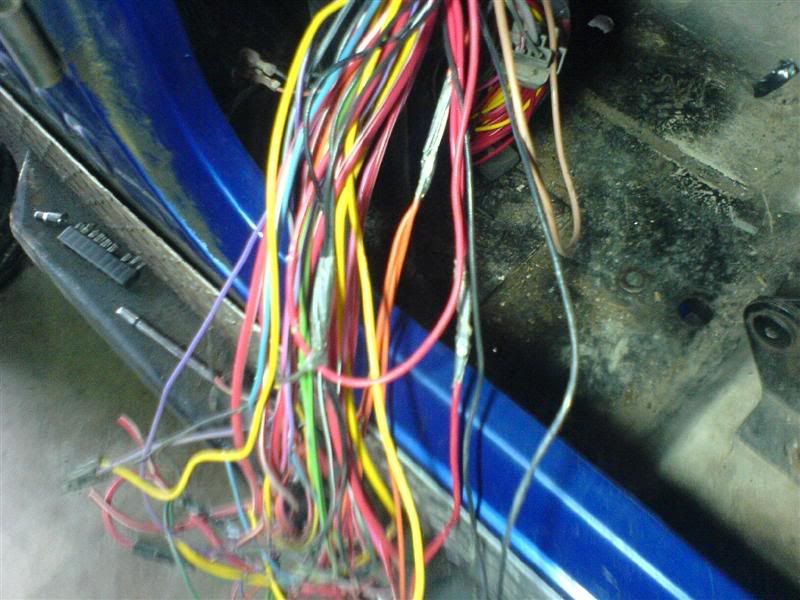
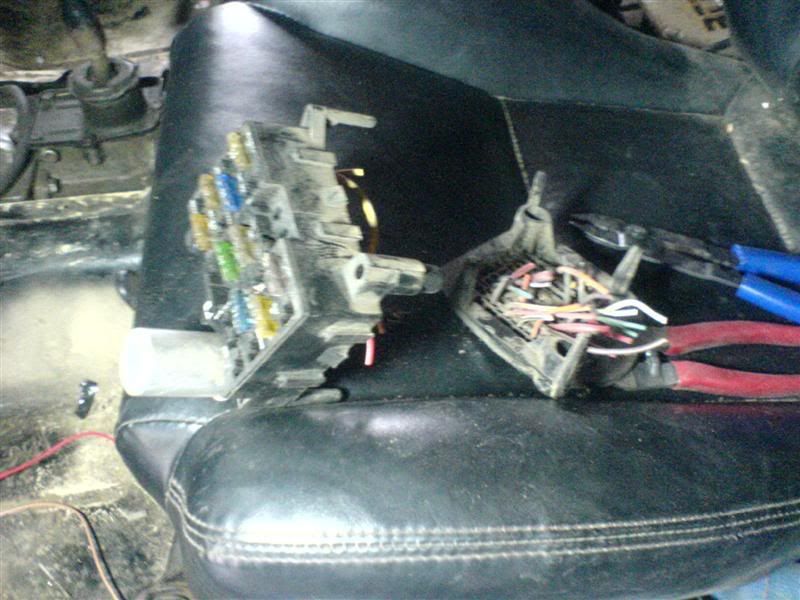
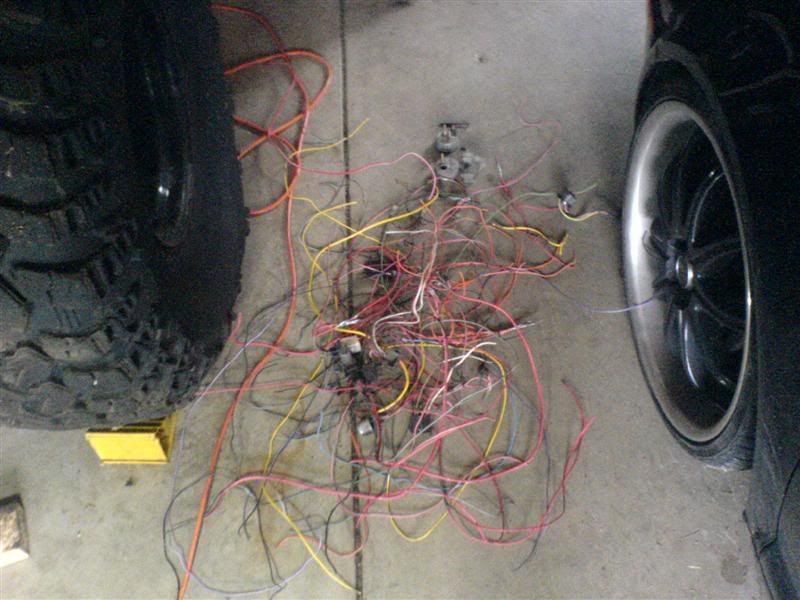
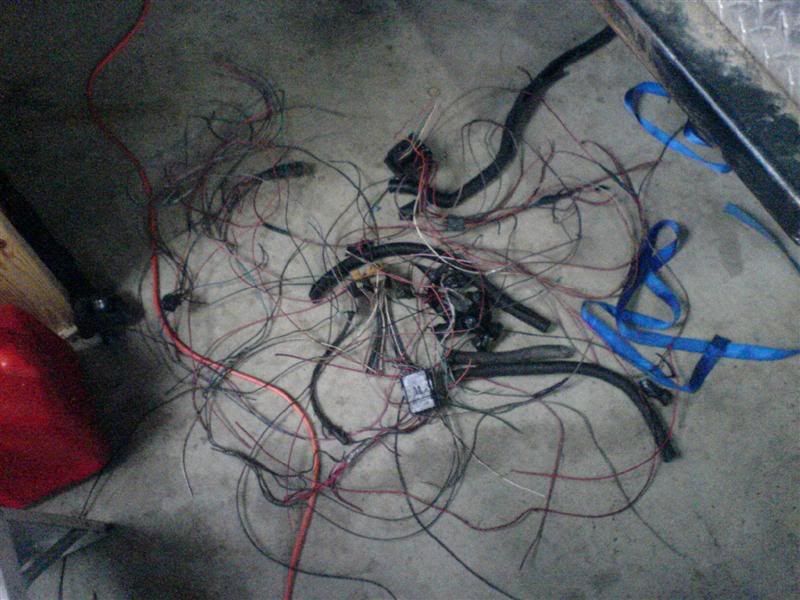
Late last night I got to thinking how annoyed I was at the plethora of wires that serve no useful purpose on my rig. Even more annoying is that on top of doing nothing useful, they seem to be insane fire hazards (as was already proved once with this thing years back).


So today I decided to start cutting. First up was all wires to broken gauges and cobbled together dash lights.

DSC00669.jpg


Then I got to looking and decided turn signals and most of the rest of the crap in the column wasn't really necessary...

DSC00670.jpg


Finally came to the realization I only really NEEDED one or two wires, so... :haha:

DSC00671.jpg


DSC00672.jpg


DSC00673.jpg


I now feel phenomenally better about life :D

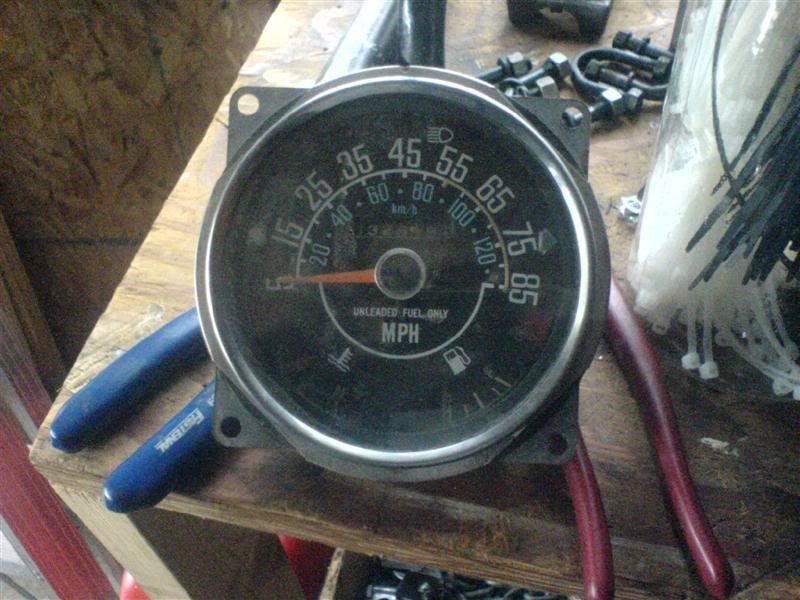
Then got to thinking about where I'd like to mount all my new gauges and switches in the dash so that they were convenient. Space was a little slim until I realized this is useless...

DSC00674.jpg


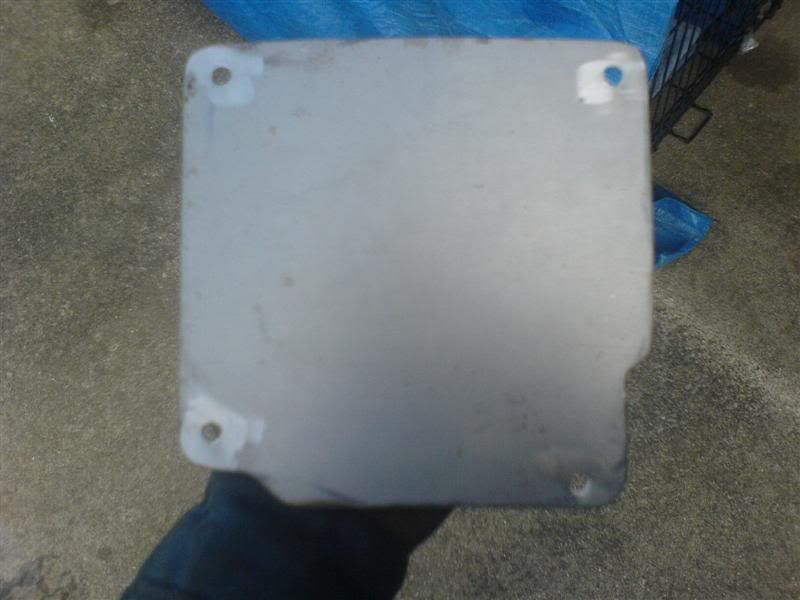
So it went bye bye. I cut up a panel from some sheet metal laying around to cover the huge hole and serve as a mounting point for the rows of new toggles switches.

DSC00676.jpg


Painted it black and have it drying for the night. Finally figured out my water temp sender placement so I'll just need to source up a couple fittings and be good. Hope my fuse panel arrives soon :clappy:
 
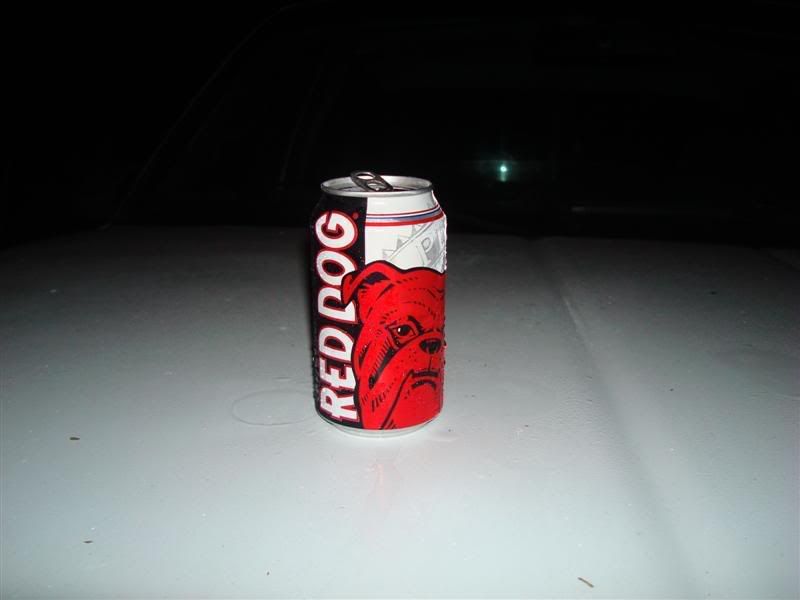
I knew a man who was very scared of anything electrical. He drank red dog and all was well.
 
I knew a man who was very scared of anything electrical. He drank red dog and all was well.


Thought you'd get a kick out of this :haha::haha:

Yes,yes... my avoiding anything electrical like the plague days are over :D
 
Let me preface this by saying I just spent 10 hours in a cold, dark garage with 3 light bulbs and finished off every beer in the house. I'm a wee bit drunkish :redneck:


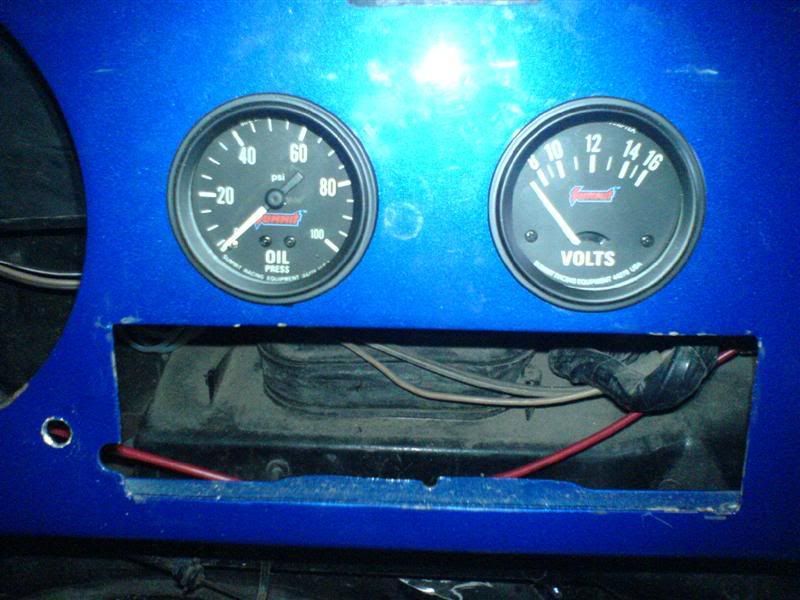
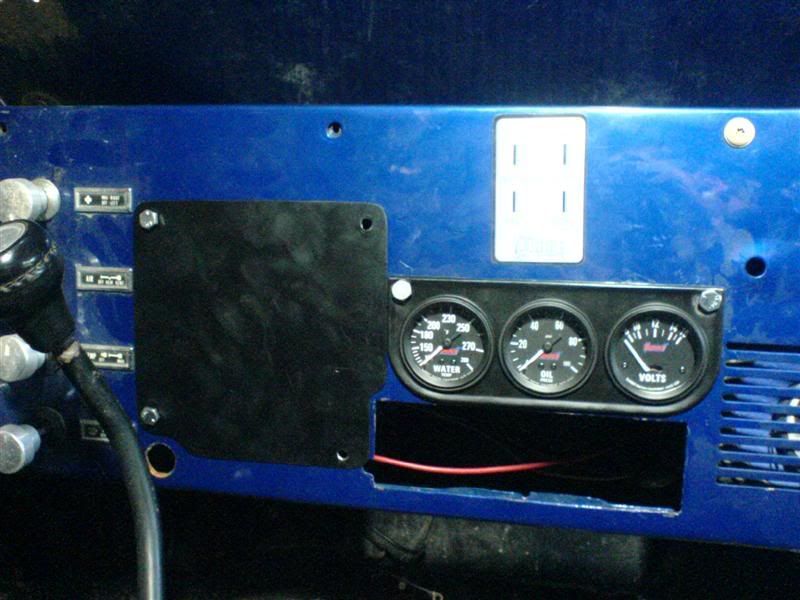
Well I started off thinking how this was a waste of gauge space

DSC00678.jpg


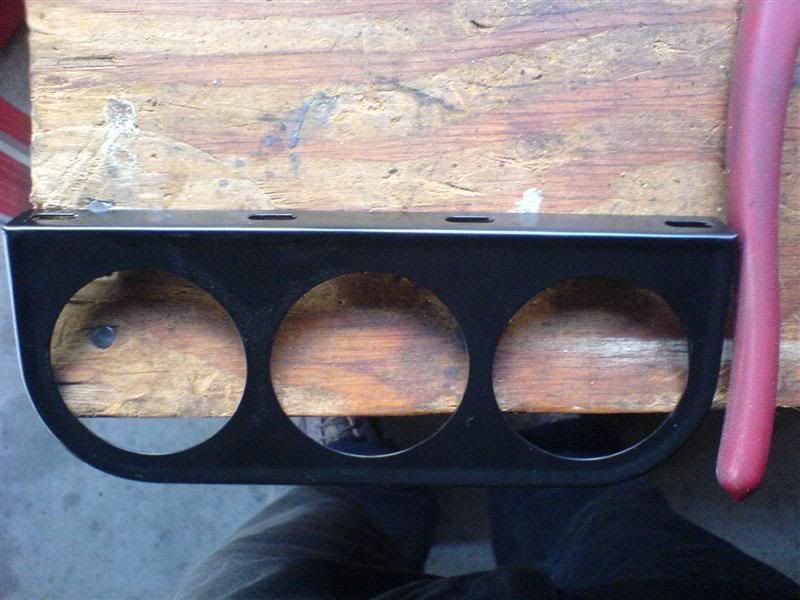
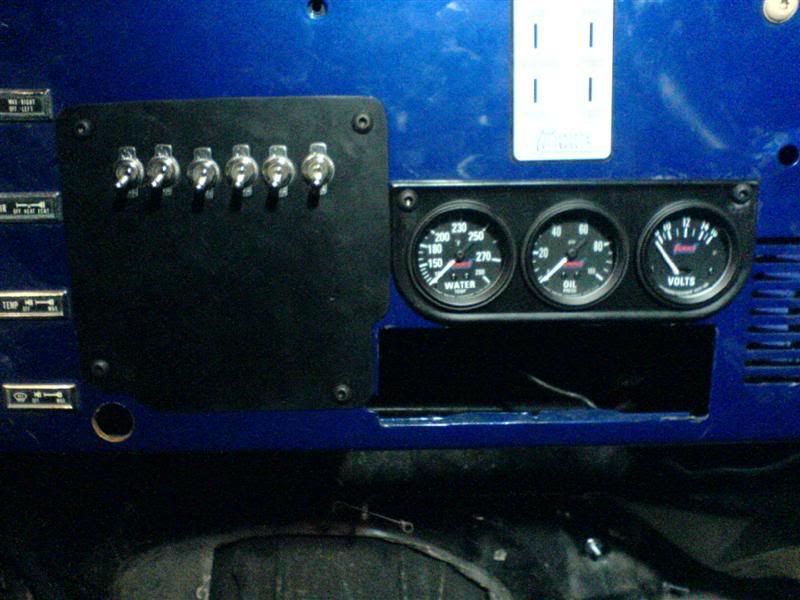
So I figured I could rework the bracket my summit gauges came in

DSC00679.jpg


I cut the top mounting surface so that it was only as deep as the other edges and temporarily bolted it to the dash.

DSC00680.jpg


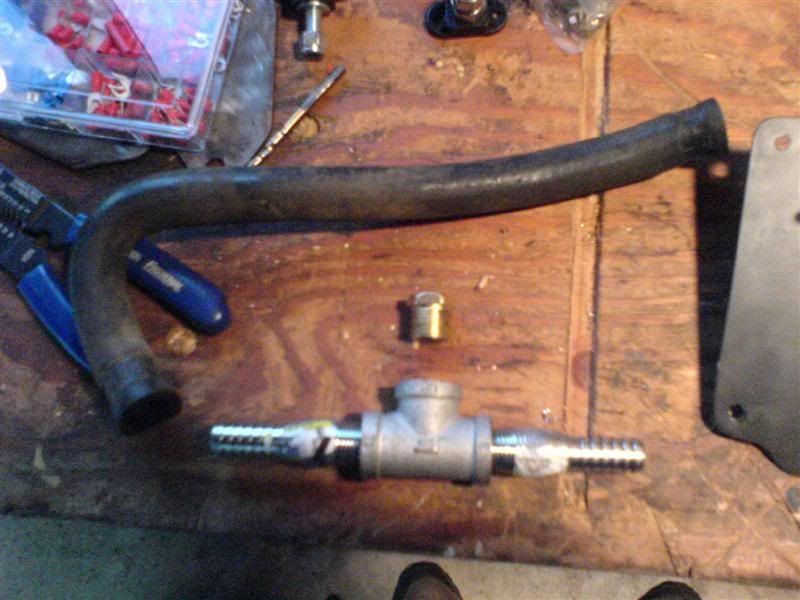
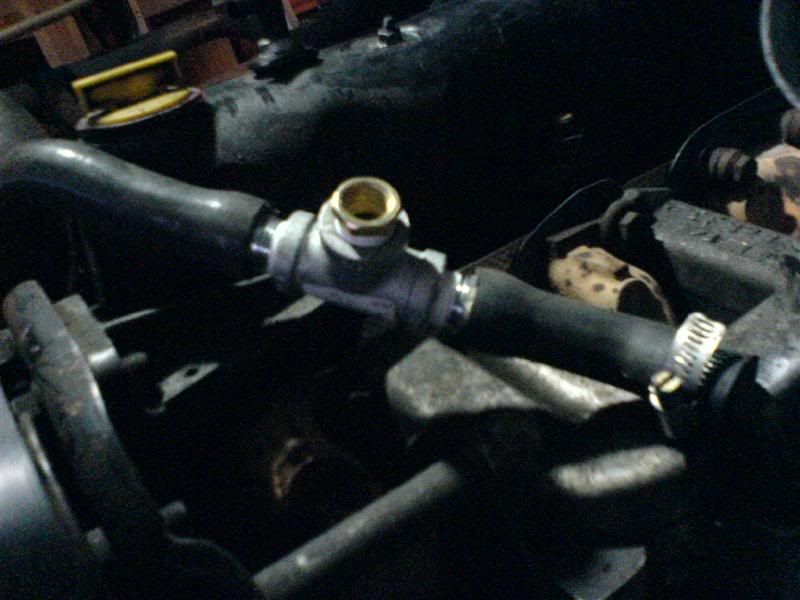
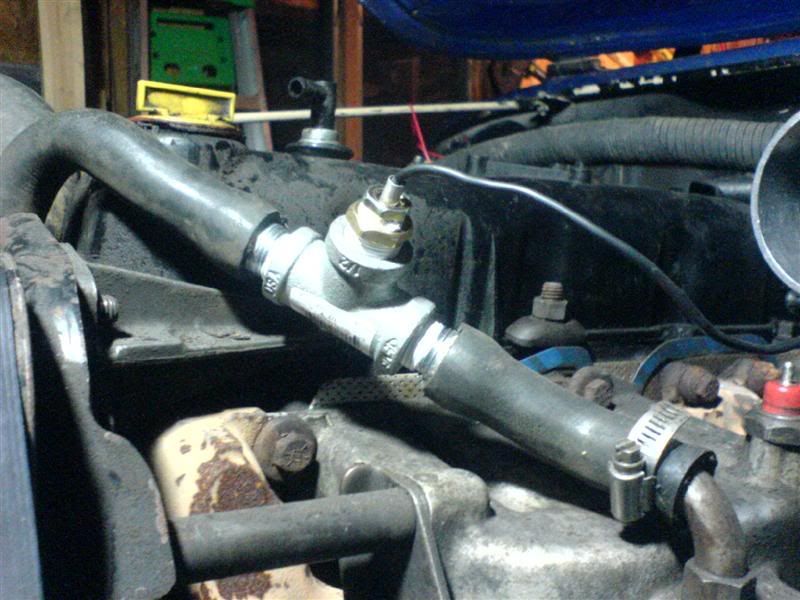
Now I've been racking my brain trying to figure the best way to mount my engine water temp sender. I've found two stock temp senders, but neither one has enough material around it to drill and tap for the larger new sender. So I got on Pirate for some research and decided to just go ahead and splice into a water return line. I figure this is only a few inches from one of the stock senders so even if the water pump failed, the water near this would heat up and trip the alarms... May change it down the road but it should be fine for now.

DSC00681.jpg


DSC00685.jpg


DSC00698.jpg


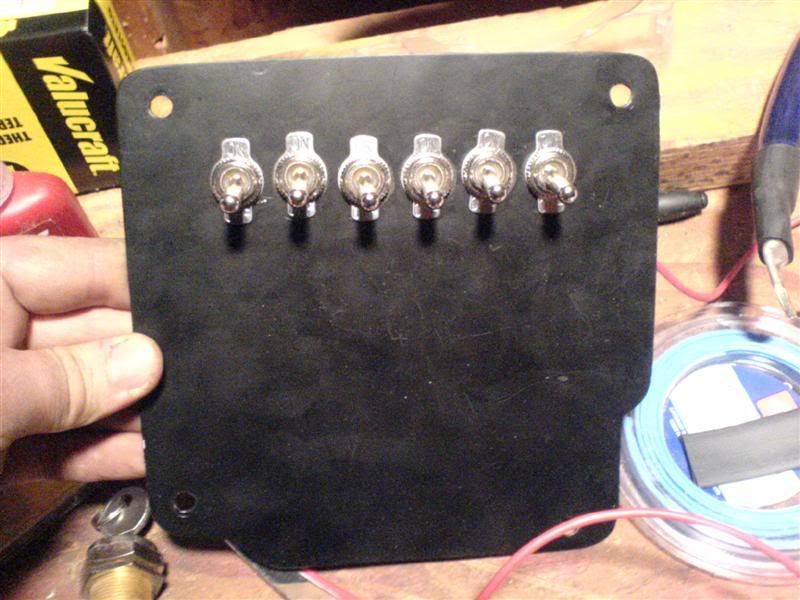
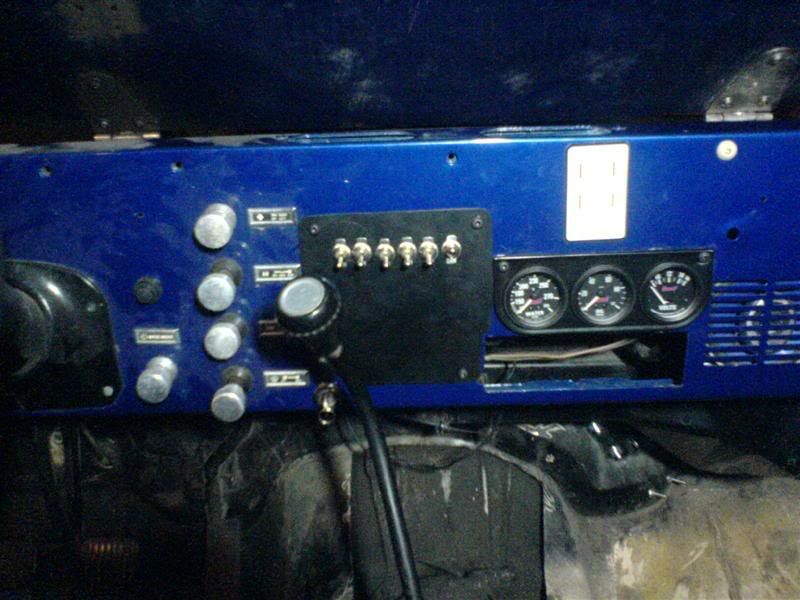
Then I got back to the wiring. Since I had to make this panel to cover the old speedo hole, I figured it'd be the perfect spot for a row of toggles.

DSC00683.jpg


My best crash impersonation

DSC00687.jpg


Picked up some nicer round headed bolts and stuck 'er in. From left to right:

1) Running lights
2) Headlights
3) Rock lights
4) empty
5) empty
6) Elec fan kill switch


Also wired all the gauges with spades so they're individually removable.

DSC00690.jpg


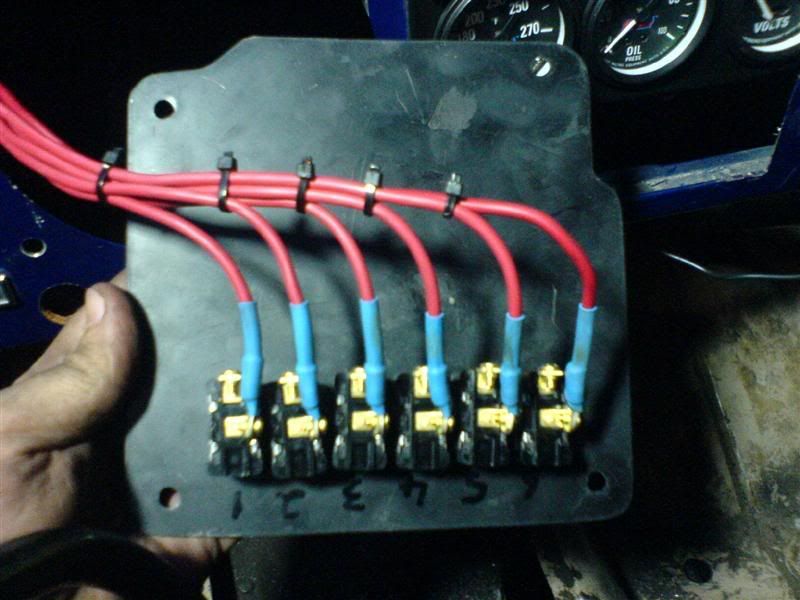
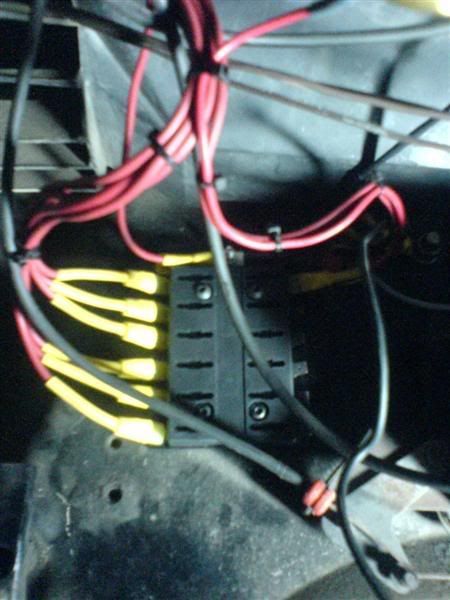
I know crash said he doesn't like this style fuse panel, but I figured since it was already bought, I'd try it. I'm kinda thinking I don't like it already... The spade connectors seem wiggly and chincy. I'm sure it'll work, but I think I'd like something with set screws for a more solid feel. Luckily I planned for such and event and left the wires a bit long.

DSC00694.jpg


I started to rewired the key switch, and now just need to get a solenoid for my fuse panel which will be triggered by the key. Also wired the propane solenoid into the fuse panel along with the new push button ignition switch. Then spent way too long upside down contorting myself reaching under the dash to wire-tie everything out of the way and together.

DSC00695.jpg
 
Last edited:

Latest posts

Back
Top